
Setting up Dynamicweb with ASP.NET MVC
In this how-to we outline how to set up Dynamicweb with ASP.NET MVC.
Creating the project in Visual Studio
To get started:
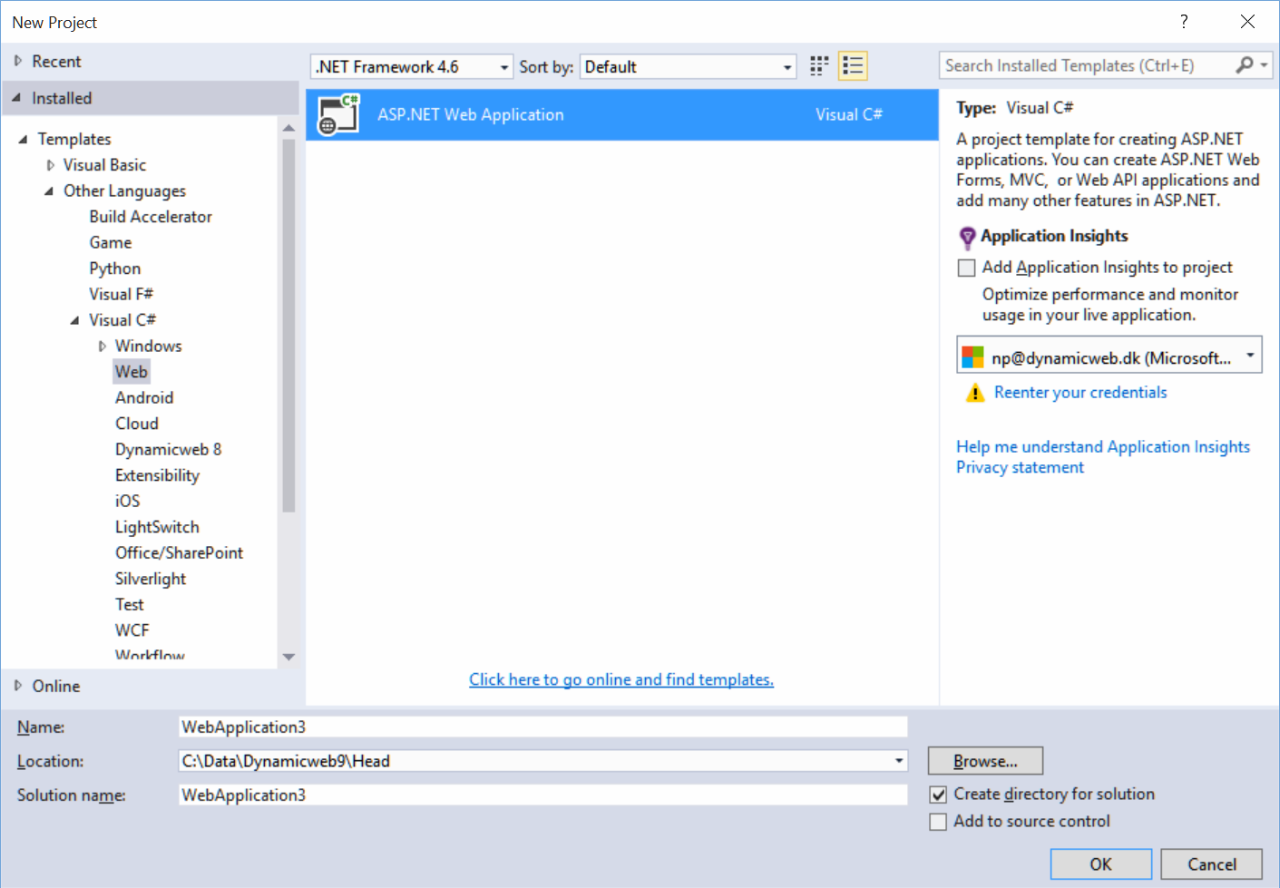
- Create a new project in Visual Studio:
- Choose an ASP.NET Web Application (Figure 2.1)
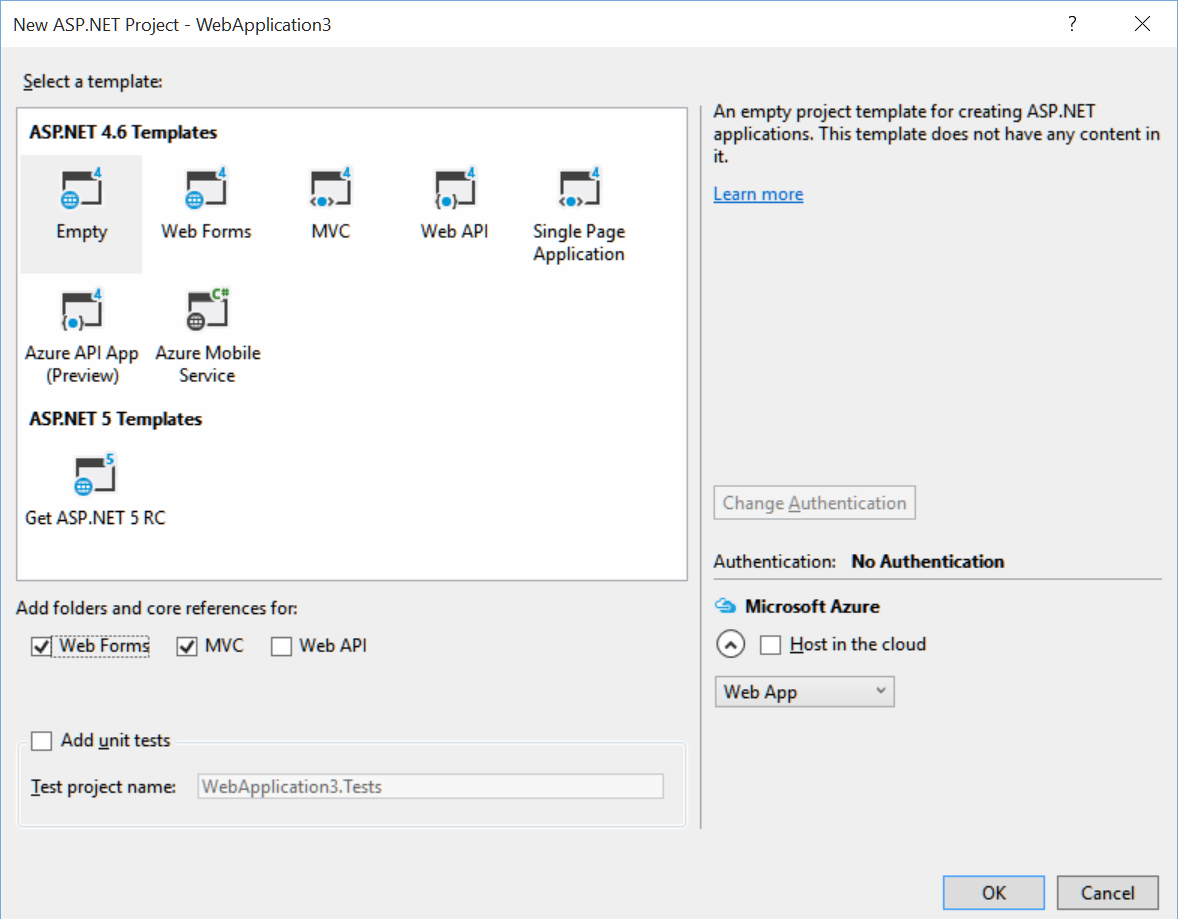
- Choose an empty project with Web Forms and MVC folders added (Figure 2.2)
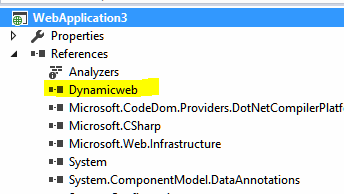
- Add a reference to Dynamicweb.dll (Figure 2.3)
Add web.config from Dynamicweb to the solution
From the Dynamicweb application, take web.config and replace the one in the newly created solution (after a backup has been taken).
This should be enough. Occasionally, settings from the solution web.config may have to be moved to the Dynamicweb web.config.
Altering Global.asax to call Dynamicwebs GlobalAsaxHandler
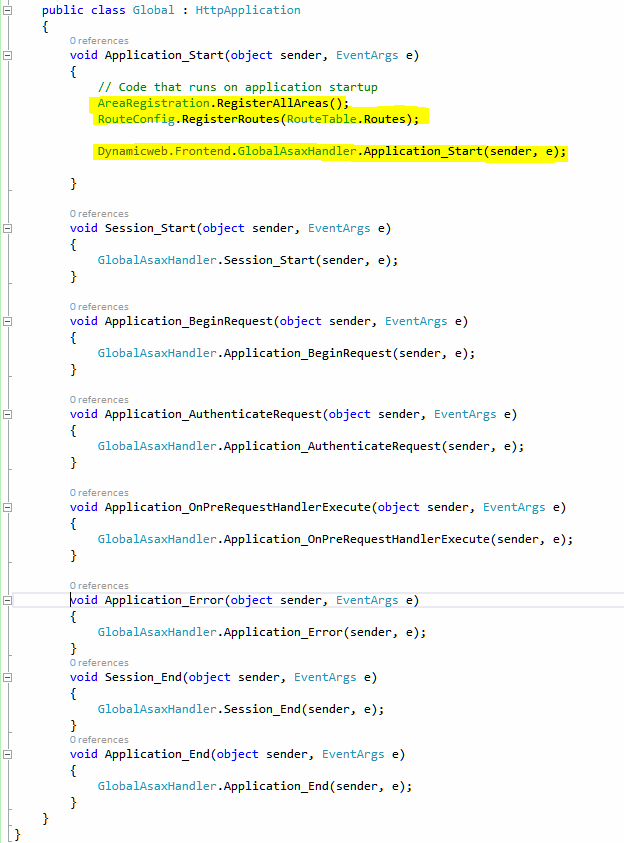
Next, make Global.asax call the Dynamicweb GlobalAsaxHandler.
Add the events exposed by Dynamicweb.
In Application_Start, keep the 2 lines that are originally in the Global.asax when the new Web Application was created and call Dynamicwebs GlobalAsaxHandler after the registration of Areas and Routes (Figure 4.1).
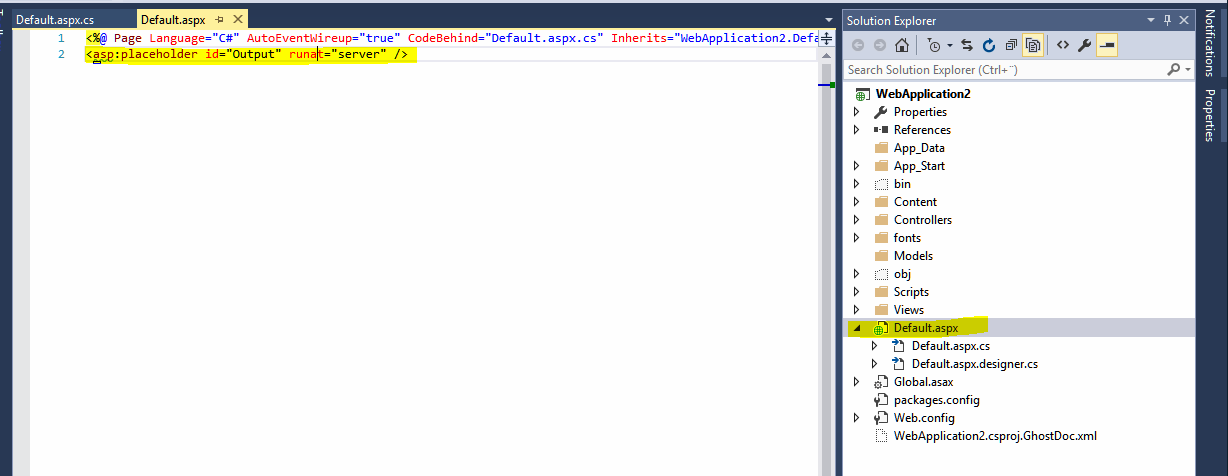
Add a Default.aspx to the root of the solution
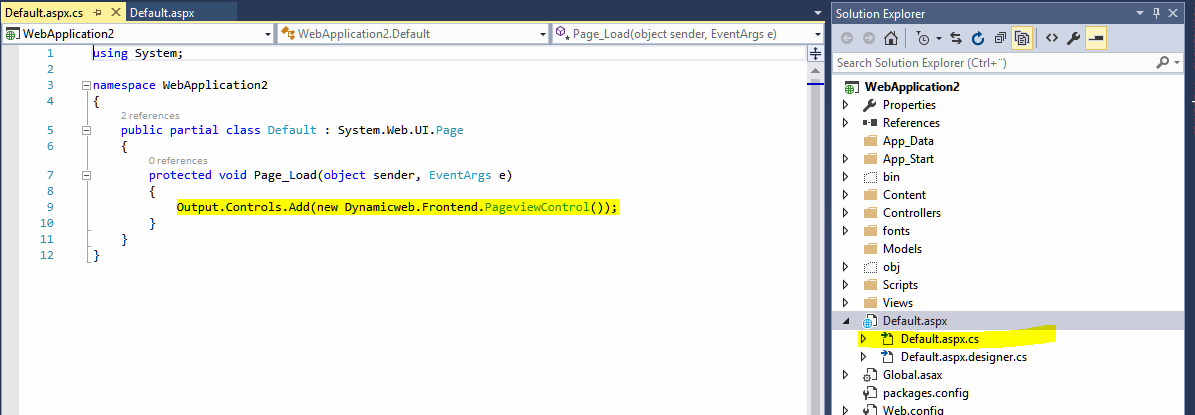
Add an asp:placeholder control (Figure 5.1) and alter the code behind to load the PageViewControl in that placeholder.
Code behind (Figure 5.2):
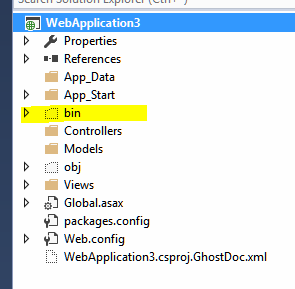
Copy Dynamicweb assemblies to /Bin
From the downloaded Dynamicweb application, copy the entire /Bin folder to the /Bin directory of the Web Application (Figure 6.1). Do this in File Explorer and not inside Visual Studio.
Install Dynamicweb
Setup Dynamicweb by following the normal steps in the installation guide.
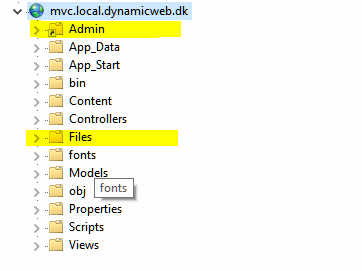
- Create a new website in IIS.
- Add /Admin and /Files as virtual directories (Figure 7.1)
- Install and configure a SQL Server database and make the changes in /Files/GlobalSettings.aspx accordingly.
Follow installation guide for more information.
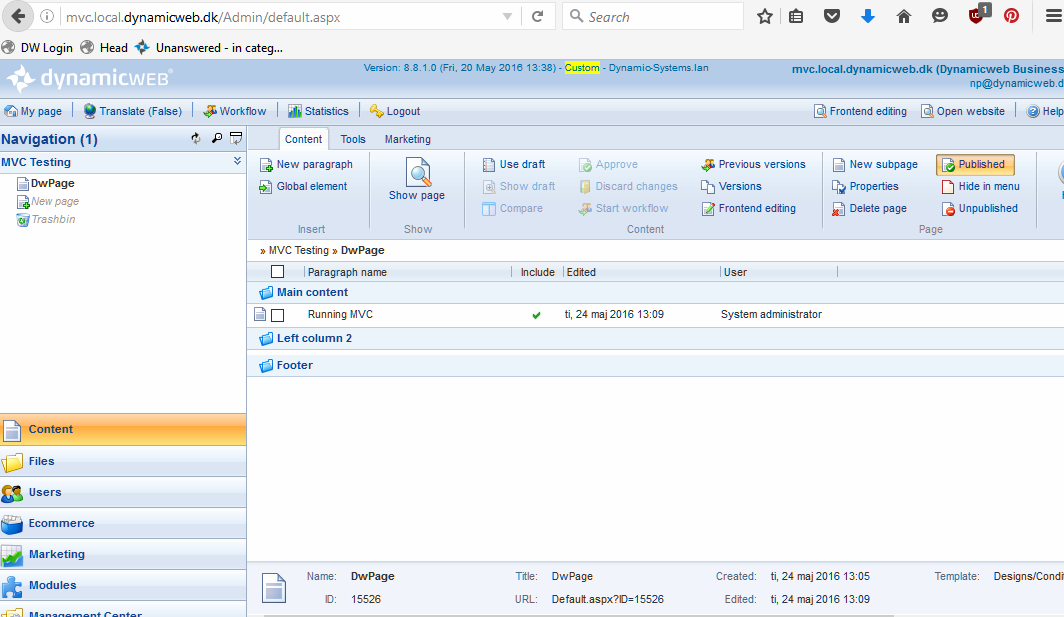
Run Dynamicweb
You can now run a regular Dynamicweb.
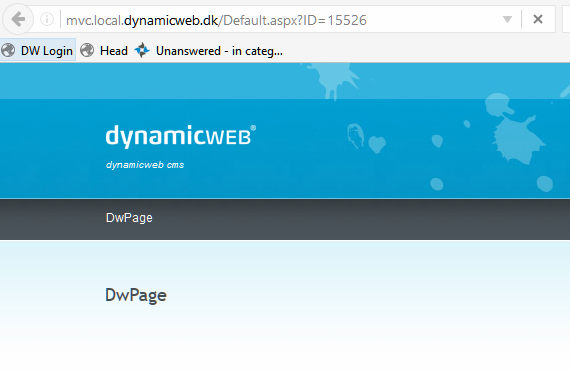
Access the site in a browser to check it out, create a page and see it works (Figure 8.1).
Frontend (Figure 8.2):
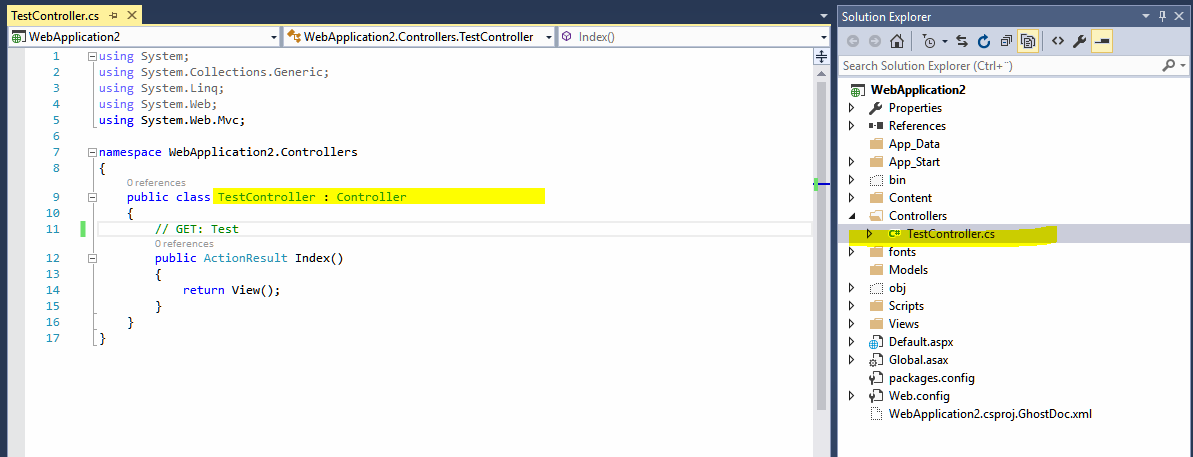
Add controller and view to solution
In the Visual Studio solution, add a Controller and a View (“Test” in this Figure 9.1).
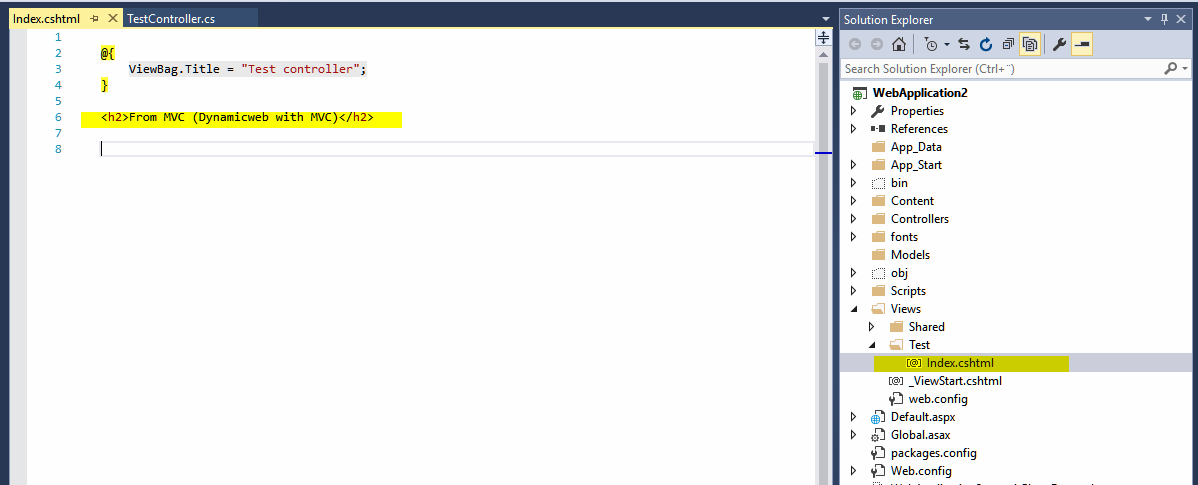
In the Visual Studio solution, add a view for the controller (Figure 9.2).
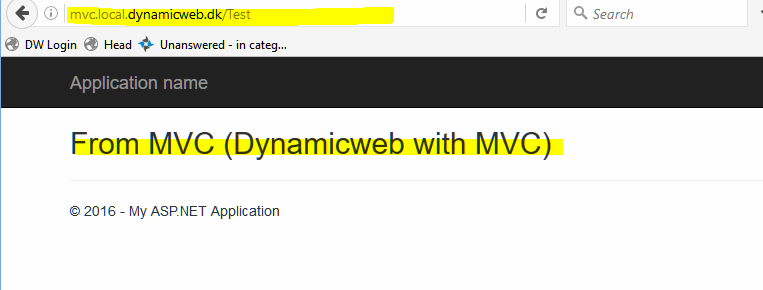
Run MVC page
Build the solution.
You can't build using F5 and start a debugging because of the way the solution has been set up. Instead, build using ALT+B+U and browse the solution in a browser.
Navigate to the Controller /Test ({figurref}).
Debugging
To debug the solution, in Visual Studio:
- Go to Debug, Attach Process
- Choose the w3wp process running the site. Remember to run VS in administrator mode.
As an alternative to attaching the process and enabling F5 debugging, instead of using /Files and /Admin as virtual directories, copy /Admin and /Files directly into the root folder of the Web Application.