

Using facets to filter an Ecommerce Product Catalog
In this tutorial, you will learn how to set up a facet based filter on an Ecommerce Product Catalog, enabling users to filter the products with, for instance, radio buttons, checkboxes or dropdown menus.
In this tutorial, we will start from scratch, covering:
- Creating a new repository
- Creating a new index
- Creating a query
- Creating facets
- Adding the facets to your front end
Simply follow this step-by-step guide, and you’re set.
Feel free to skip to the section you need help on – but for the sake of completeness, we recommend you follow all the steps below.
Create a new repository
- Go to you Management Center
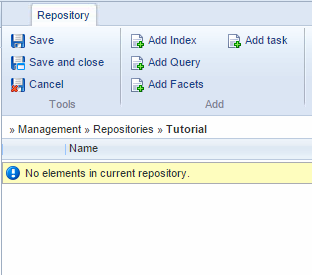
- Right click on Repositories and create a new repository
- Name it and click OK
This creates a new repository (Figure 2.1).
Create a new index
Creating a working index requires you to add the elements in the proper order – Index > Instance > Build > Fields.
- Click Add index
- Name it
- Click OK
- Click Add instance
- Name it
- Select the LuceneIndexProvider
- Provide a folder name
- Click OK
- Click Add Build
- Name it
- Select the Dynamicweb.eCommerce.Indexing.ProductIndexBuilder
- Select Full as your builder action
- Click OK
- Click Add field
- Select field type Schema extender
- Select ProductIndexSchemaExtender as your type
- Click OK
- Save your index, then build the index (click the "build"-button next to your build. It has the the same as your instance)
- Save and close your index – it should look like Figure 3.1

Create your query
- Click Add query
- Name it
- Select your index as data source
- Click OK
- Click Add parameter
- Name it (e.g. Manufacturer)
- Select System.String as type
- Click OK
- Click Expressions > Add group
- In the dropdowns, select the Active field and the Equal operator.
- Click the wand and select Constant & System.Boolean. Set value to true.
- Click Add expression
- Select the Manufacturer ID field
- Select Match any as the operator
- Click the wand and select Parameter > Manufacturer
- Save and close your query

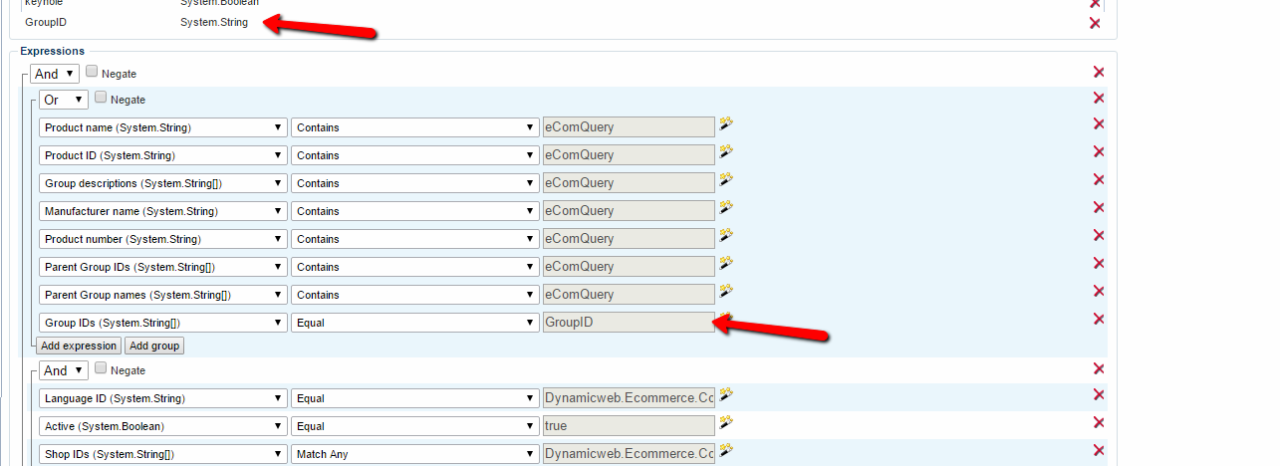
Q: I'm using facets alongside Ecom navigation, and my facets disappear when I click on a subgroup in the navigation. Why?
A: You need to make sure you pass on a GroupID parameter to your query, as in Figure 4.2
Create your facet
- Click Add facets
- Name it
- Select your query as the query for the facet
- Click OK
- Click Add field facet – a field facet will pull all the values from the Manufacturers field and make them into facet options (a drop down menu, in this case).
- Name it (e.g. Manufacturers)
- Select the field Manufacturer ID from the dropdown
- Select the query parameter Manufacturer you created before
- Click OK
- Save and close your facets window

Add your facet to the front end
To add your facet to the front end:
- Go to the Product Catalog module settings on your paragraph
- Under the Show settings, select Index
- Under the Index settings, select your query
- In the Facet Groups selector area, move your facet from left to right
- Under Templates, modify the template you want the facets to show up in using the Facets loop – see example below.
The template above renders all facets in the facet group in the same way, but you can change the template above to switch which type of control to render, based on the data type of the value, or simply the name of the facet.
Which html elements to use, and which type of behavior they should have, is completely up to the implementer. Dynamicweb does not provide any predefined html elements for things like ranges or lists.
- Save and close your module settings
And that’s it. You’re done!
Click Show page and start using your facets