
Control Panel
The Control Panel node contains advanced setting for various apps and features in Dynamicweb - see below for a short description of each setting.
Language Management
The Language Management settings control how content works across websites & language layers (Figure 2.1).
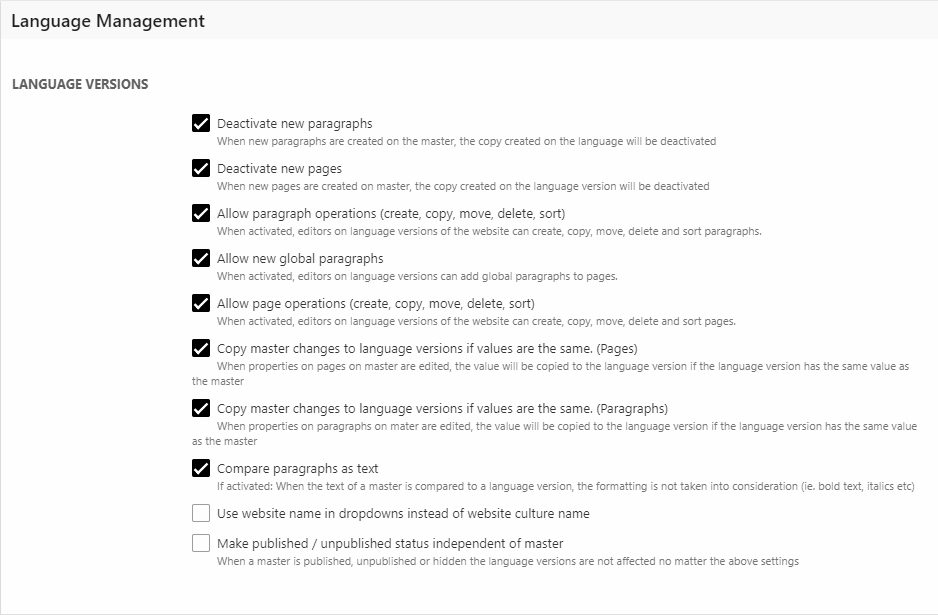
The effects of each setting is explained in the UI, but repeated here below for easy access:
|
Setting |
Effect |
|
Deactivate new paragraphs |
When new paragraphs are created on the master, the copy created on the language will be deactivated |
|
Deactivate new pages |
When new pages are created on master, the copy created on the language version will be deactivated |
|
Allow paragraph operations (create, copy, move, delete, sort) |
When activated, editors on language versions of the website can create, copy, move, delete and sort paragraphs |
|
Allow new global paragraphs |
When activated, editors on language versions can add global paragraphs to pages. |
|
Allow page operations (create, copy, move, delete, sort) |
When activated, editors on language versions of the website can create, copy, move, delete and sort pages. |
|
Copy master changes to language versions if values are the same. (Pages) |
When properties on pages on master are edited, the value will be copied to the language version if the language version has the same value as the master |
|
Copy master changes to language versions if values are the same. (Paragraphs) |
When properties on paragraphs on mater are edited, the value will be copied to the language version if the language version has the same value as the master |
|
Compare paragraphs as text |
If activated: When the text of a master is compared to a language version, the formatting is not taken into consideration (ie. bold text, italics etc) |
|
Use website name in dropdowns instead of website culture name |
- |
|
Make published / unpublished status independent of master |
When a master is published, unpublished or hidden the language versions are not affected no matter the above settings |
Maps
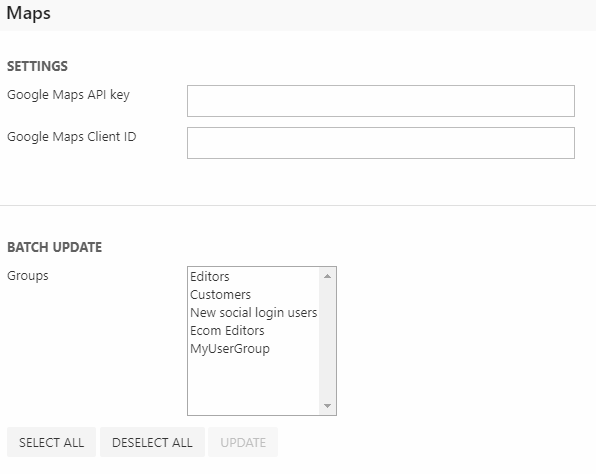
With the Maps settings (Figure 3.1), you can:
- Provide default Google Geocoding API credentials for looking up map coordinates based on user addresses. This is necessary if you exceed the Google-imposed limit on API requests. The default credentials here are ignored if credentials are entered on a Maps app.
- Run batch updates of the location information for users and user groups – this will cause the app to reload location information. You will be presented with a list of users alongside information on whether or not their location has been updated or not
Users
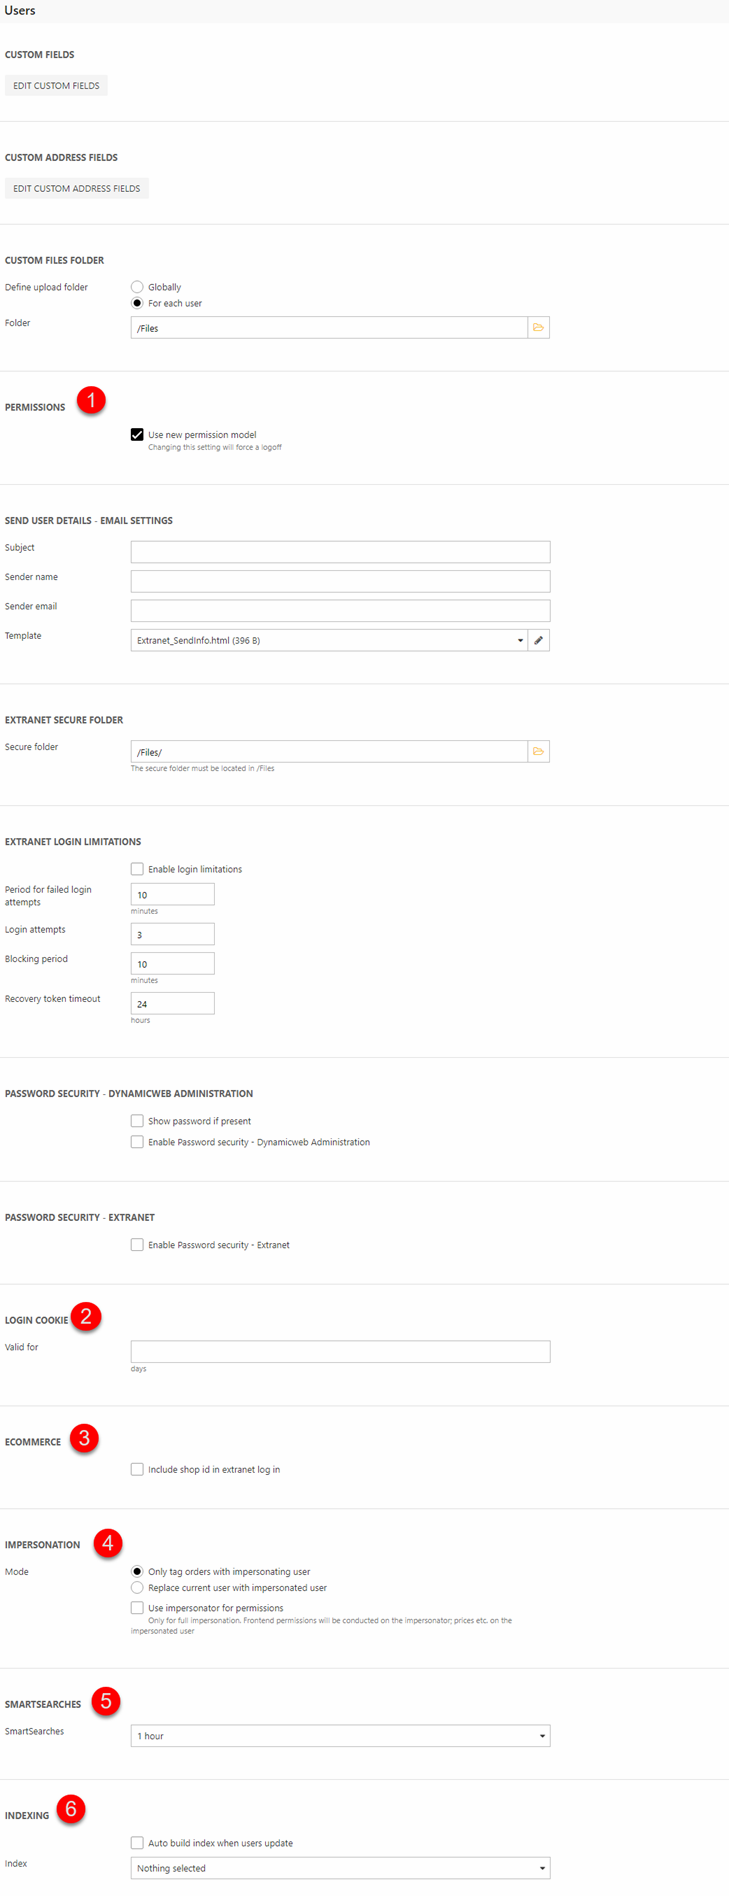
The Users section contains a lot of settings and tools relevant for a number of functions related to user management. In Figure 5.1, some of the settings have been marked with a number. These are described briefly in a table below. The rest of the settings/tools without a number are a bit more complex and are therefore described in more detail in sections below.
|
# |
Settings name |
Description |
Parameters |
Comments |
|
1 |
Permissions |
Tick this checkbox to use the new pemission model. Changing this setting will force a logoff. |
|
|
|
2 |
Login cookie |
Customize for how many days a login cookie should be valid. |
|
|
|
3 |
Ecommerce |
On solutions with multiple websites, you may want to include a shopID when logging users in to the solution. This allows for e.g. 2 different user records with the same email logging into 2 different websites. |
|
Be advised, that you need a license to own multiple stores for this integration to be possible, and that each shop needs to belong to its own website – or the system will not be able to figure out which user to login.
Remember to select a default shop in the Ecommerce settings set in Website properties (Apps > Websites > Edit website > Ecommerce). When using e.g. recover password, include a <input type="hidden" value"shopX"> in the template to help select the proper user instance. |
|
4 |
Impersonation |
Switch between impersonation modes. |
|
You can read more about the different impersonation modes and how to set up impersonation in this article. |
|
5 |
Smart searches |
Control how often your smart searched should be recalculated. |
|
|
|
6 |
Indexing |
Choose to auto build a user index upon users update. |
Select the appropriate user index |
|
Custom fields
Custom files folder
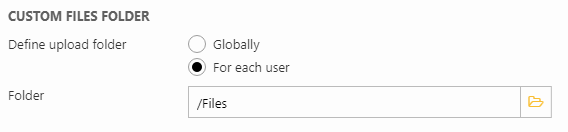
With the custom files folder settings (Figure 7.1), you can choose between having a global custom files folder for upload or having one for each user. Then select a destination folder.
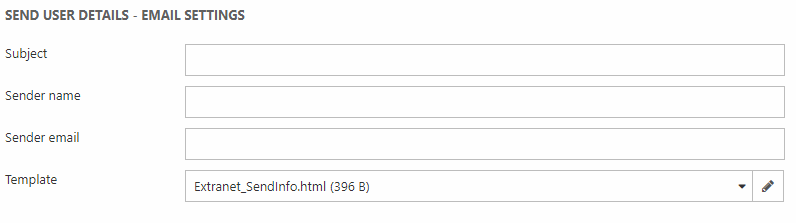
Send user details - Email settings
In the User area, you have the option to send the user details of a specific user to that same user by email. The user information included in the email is based on your template. The user details is sent to the user’s email address.
You can do this on different levels:
- On user level: open the user details and click Send user details in the ribbon bar.
- On user group level: right-click a user group and click Send details to users. Each user in the group will receive their own user information only.
For both options, you will be prompted to fill in some field values. With these Send user data – email settings (Figure 8.1), you can enter default values to subject, sender name, sender email, and select a default template.
Extranet settings
You can customize the location of the Extranet secure folder (Figure 9.1).
To ensure that the files in the secure folder are protected, your server must be configured to disallow direct download. Contact your hosting company for further information. If you are hosting your own solution, simply disable the read permission on the secure folder in your IIS.

With the Extranet login limitations settings (Figure 9.2), you can set a limit on the number of failed attempts allowed – and customize how the system should treat failed login attempts.
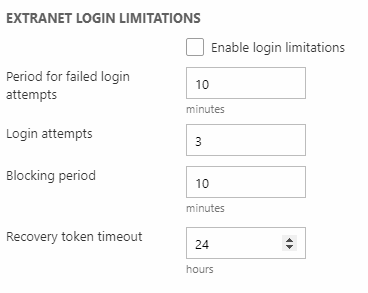
You can also customize, for how long (in days) a login cookie should be valid (Figure 9.3).

Password security settings
With the Password security settings, you can control the password security settings for both extranet users and backend administration users. Apart from the scope of the settings, the options (Figure 10.1) are are identical to each other.
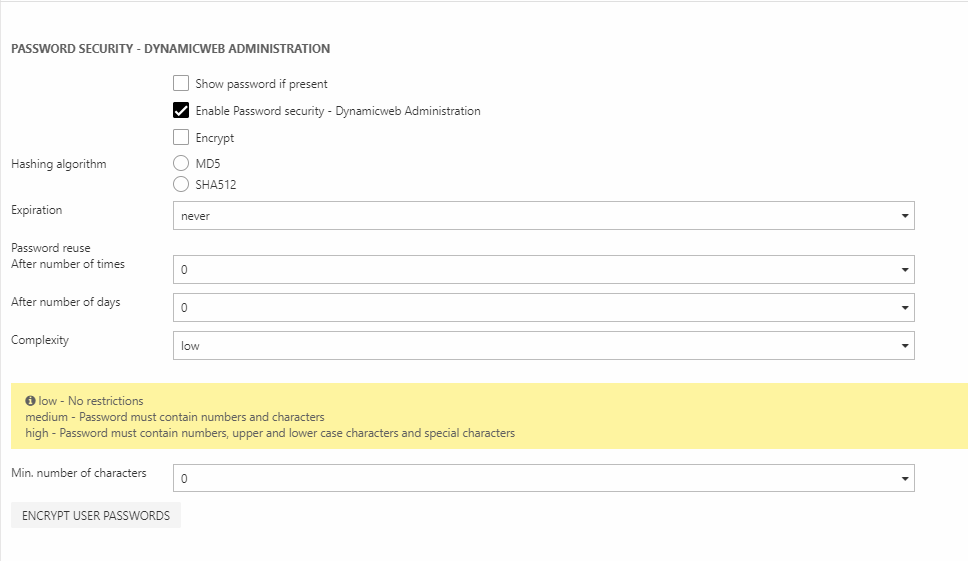
For DW backend administration, you can check Show password if present which will show the current password of a user in plain text if it's not encrypted - not recommended!
Enabling Password security will reveal some parameters:
- Encrypt enables encryption by default – in combination with the extranet app, and user initiated profile creation, this means that your users will not have to worry about their password security. If checked, you can select your preferred hashing algorithm
- Password expiration interval from 30 days up to a year (or never)
- Specify the number of new passwords which must be used or number of days to pass before an old password can be used again
- Minimum required password complexity level
- Minimum number of characters a password should contain
- Encrypt all existing user passwords (irreversible)
File Manager
From the File Manager settings, you have access to a number of advanced configuration options (Figure 11.1) for the file manager.
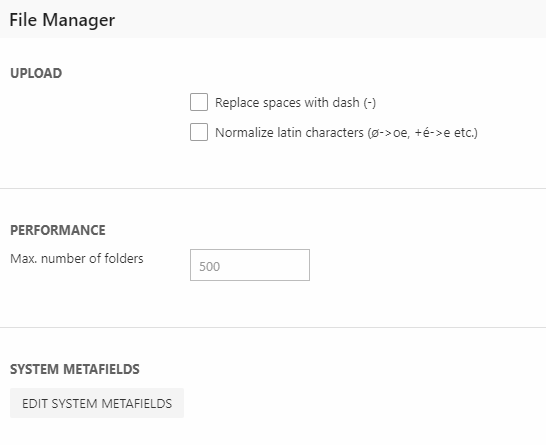
With the settings, you can:
- Activate one or more of the renaming options for uploaded files
- Limit (or extend) the max subfolder count – the default is a maximum of 500 subfolders
- Create system meta fields applied to all files in the file manager – read about meta fields here
External Authentication
With External Authentication, you can integrate with social media platforms and allow users to log in or create an account using e.g. their Google, Twitter or Facebook accounts.
You can read more about External Authentication and the advanced settings in this article.
Item settings
The Item settings unsurprisingly contain settings related to items (Figure 13.1).
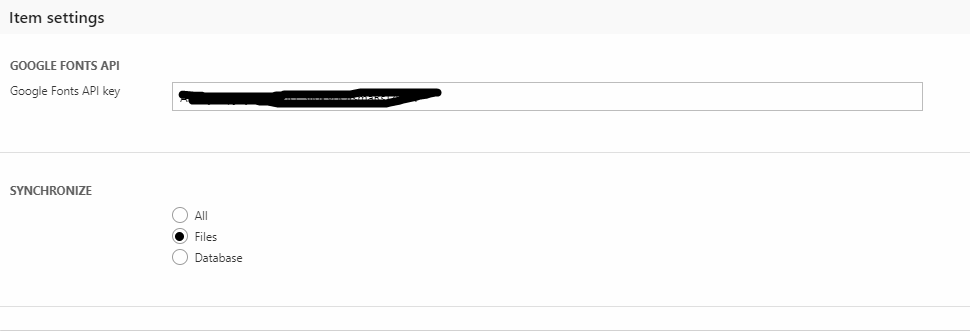
The Google Fonts API Key settings lets you enter an API key for Google Fonts, which is used to pull combinations of font names and font weights in the Google Font item type.
The Synchronize settings let you control how item types are synchronized between two copies of a solution, running on the same instance of the database:
- "Files" means that every developer will have a local copy of the item type definitions. It is XML files placed in \Files\System\Items. Consider 2 devs sharing the same database but they have local copies of /files. If dev1 makes a change to an item type on his machine, then the schema on the database gets updated with this new field. Now dev2 goes and do stuff on the solution, but since he does not have the new schema, but the old one, the field gets deleted again. And this will eventually cause the total loss of data.
- "Database" and syncronisation means that all those XML files with itemtypes gets moved into the database in the table ItemTypeDefinitions - so when one developer makes a change, it will go into the database, and developer 2 will get the same schema right away.
- "All" is a combination, which means that DW gives you a local copy of the XML file from the database and adds the changes you make to the database so it gets synced to dev2.
All solutions must be set to the same synchronization settings for everything to work as intended.