Queries
Queries allow you to find all products in the product portfolio which are similar in some way – regardless of where they are placed in the warehouse structure. You could create a query returning all products with no description, for instance, or all products which are set to a particular workflow state.
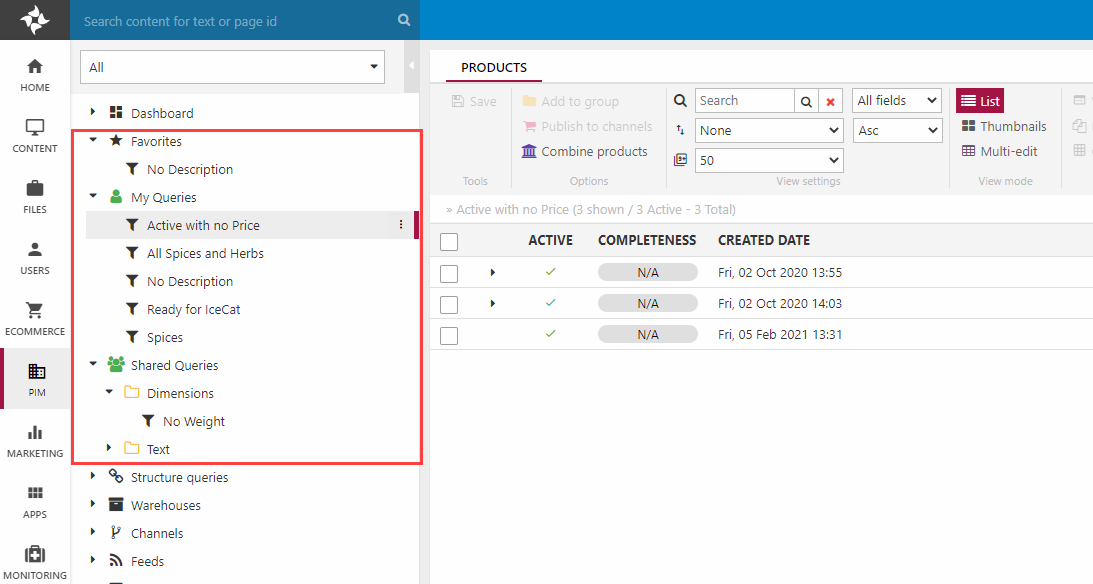
Queries may be personal or shared and can be organized in folders and added to favorites (Figure 1.1).
To create a query:
- Right-click on either My queries or Shared queries
- Click New Query
- Provide a name and select the product index you want to query
- Click OK
This opens the query configuration view which is where the query is defined by adding expressions.
Expressions
The heart of any query is the set of expressions which control what the query returns. The way a query works is that an empty query returns everything, and so expressions can be thought of as a kind of filter which makes it possible to limit what you want to see.
An expression basically tests whether a given value is set in a field – in Figure 2.1 we check if the product is Active and if it has a Price less than or equal to 0.

So the anatomy of an expression is this:
- On the left side you have a field in the index – this can be a product field or a generated field
- In the middle you have an operator – this is the part which defines what you’re actually testing for, e.g. GreaterThan, LessThan, Equal, or IsEmpty.
- On the right side you have a test value – this is what you’re testing for
The operators and test values available for an expression are dependent on the data type of the field you’re testing. For instance, a boolean is a data type which can only be true or false – and so the only operators available are Equal and In (for comparing the value of the field agains more than one test value).
Expressions may be combined in AND-groups (all expressions inside the group must be true for a product to be included in the result) and OR-groups (one of the expressions in this group must be true for a product to be included in the result). You can also check Negate for a group to return all elements not matching the expressions. All in all, this makes it possible to create pretty powerful and complex queries – although in most cases it’s not necessary to complicate things!
To add an expression to a query:
- Click Add group (only for first expression)
- Select an index field
- Select an operator
- If the operator requires it set a test value
- Click OK
You can read more about expressions in the indexing documentation which goes into detail with e.g. how some of the more complex operators work.
Sorting
When a query is executed, the products matching the expression criteria will be rendered in the content pane, where you can review and work with them using the views available to you (see below).
By default, products are sorted by ProductID, but you can define a default sort order in the query definition (Figure 3.1).

To do so:
- Click Add Sorting
- Select a Field and a Direction
- Click OK
Don’t forget to save the query before exiting. To remove a default sort order click the red X and save.
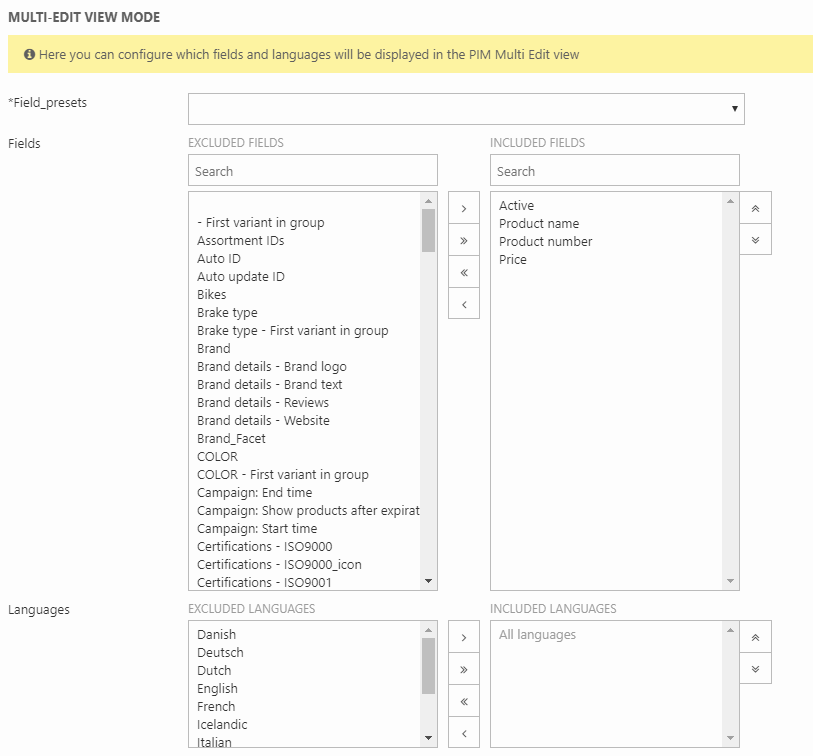
Multi-Edit View Mode
Next, you can define which fields and languages are shown by default when a query is accessed in the Multi-Edit view mode (Figure 4.1).
You can either:
- Select a predefined field group
- Create a selection manually using the Fields and Languages selectors
A few things to keep in mind:
- The more fields and languages you include, the slower the PIM list will be to work with – this is a browser memory issue, not a Dynamicweb issue
- The fields and languages are listed in the same order they have on the right side of the selector, so you should sort them to your liking using the sorting arrows
Of course, when working with a query result you always have the option of adding or removing fields and languages from the present view. The display configurations are merely default instructions for the Edit view mode.
If a query matches only a particular variant, the rest of the variant cluster (master & non-matching variants) will be displayed in a dim grey, which will help you identify the relevant products in a speedy manner.
The visible fields selector can override this predefined selection, but the view will revert to the fields defined here the next time the query is accessed.
List View Mode
Using the List View Mode settings you can specify which columns are shown in list view (Figure 5.1).

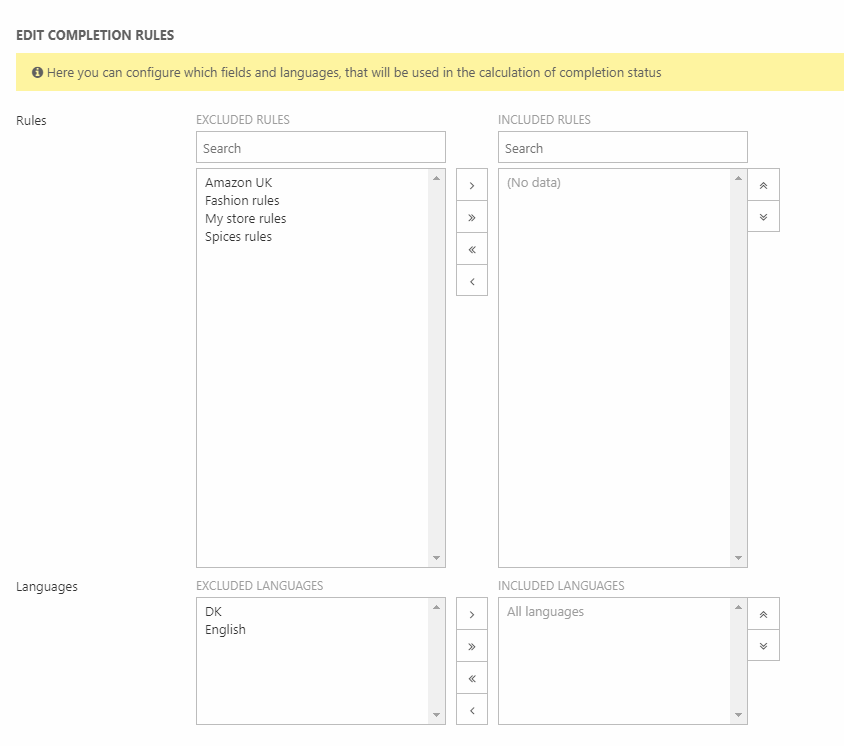
Edit Completion Rules
Finally, you can select one or more completion rules and apply them to the query (Figure 6.1). Completion rules calculate how wel a product has been enriched for a various purposes. Read more in the Product Enrichment article.