
Product Group Images and Descriptions
When using Dynamicweb you can add images and descriptions to product groups. Swift can then use these images in various places to make more attractive menus & product lists.
The following columns make use of product group images and descriptions:
- Mega menu
- Off-Canvas navigation
- Product list group image
- Product list group poster
- Product list info
- Product group list
The product group fields used will typically be the fields under Media or custom fields in the Product Group Fields section. The examples below will show you which fields to use for each column.
Once added, you will still have to edit the columns in order to style the elements, as is default behaviour for Swift.
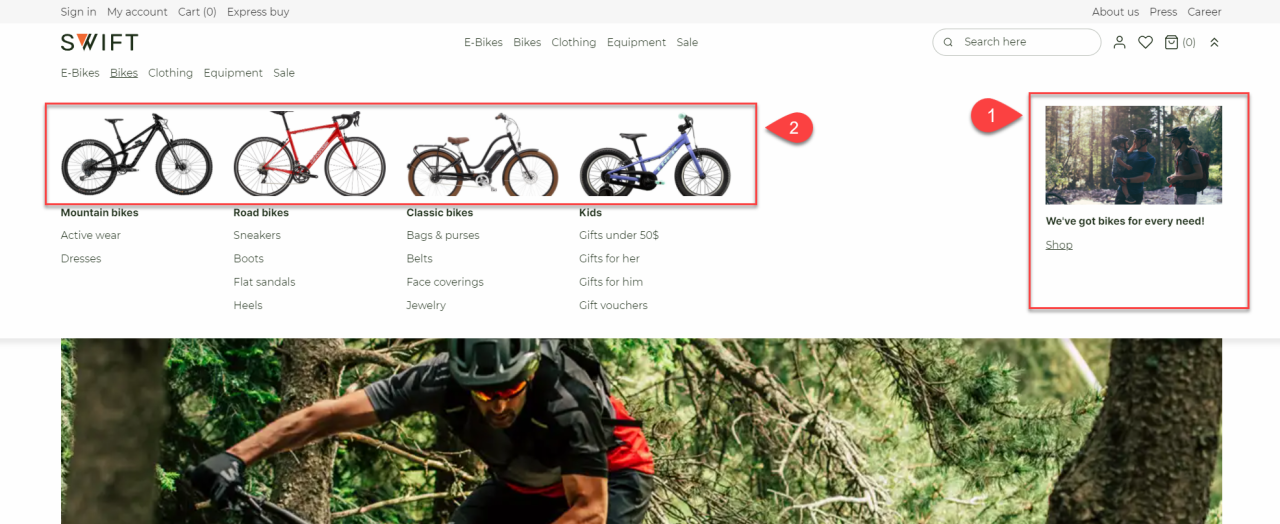
Mega Menu
The mega menu is often used to display your different product groups and their belonging subgroups. This column allows both product group promotion elements and product group navigation images. Product group promotion elements are related to the main product group and are elements displayed to the right when you hover the mega menu on the main group (1). The product group navigation image is a small image that will be displayed above each product subgroup (2).
Let’s say you have a main product group (e.g., “Bikes”) with subgroups (e.g., “Mountain Bikes”, “Road Bikes”, etc.) and want to use the Product Group Promotion fields:
- Go to Ecommerce and locate the main folder – click Edit group
- Scroll to the Product Group Fields section
- Add an image, description, label, and link to the Product Group Promotion fields
- Hit Save and close
If you want to configure the product group navigation image you will have to enter each individual product subgroup:
- Go to Ecommerce and locate the relevant product subgroup (e.g., “Road Bikes”) – click Edit group
- Scroll to the Product Group Field section
- Add a Product Group Navigation Image
- Hit Save and close
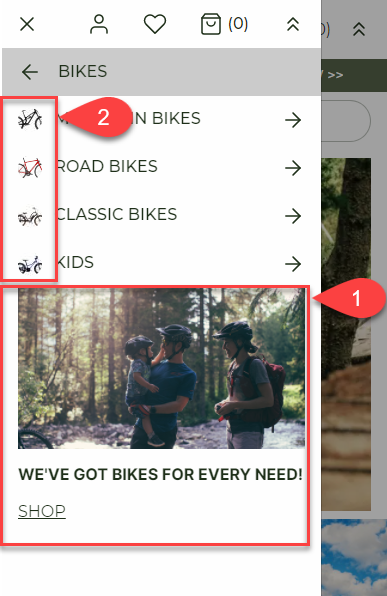
Off-Canvas Navigation
The Off-Canvas Navigation, like the mega menu, uses the Product Group Fields. Again, the structure of your products will be important. For these to properly work you must have product main groups divided into subgroups. On the Off-Canvas Navigation column the Product Group Promotion elements are at the bottom of the canvas (1) and the Product Group Navigation Images are placed next to the product subgroups (2).
As an example, you could have a main product group (e.g. “Bikes”) with subgroups (e.g. “Mountain bikes”, “Road bikes”, etc.). If you want to use the Product Group Promotion fields:
- Go to Ecommerce and locate the main folder – click Edit group
- Scroll to the Product Group Fields section
- Add an image, description, label, and link to the Product Group Promotion fields
- Hit Save and close
If you want to configure the Product Group Navigation Image you will have to enter each individual product subgroup:
- Go to Ecommerce and locate the relevant product subgroups – click Edit group
- Scroll to the Product Group Fields section
- Add a Product Group Navigation Image
- Hit save and close
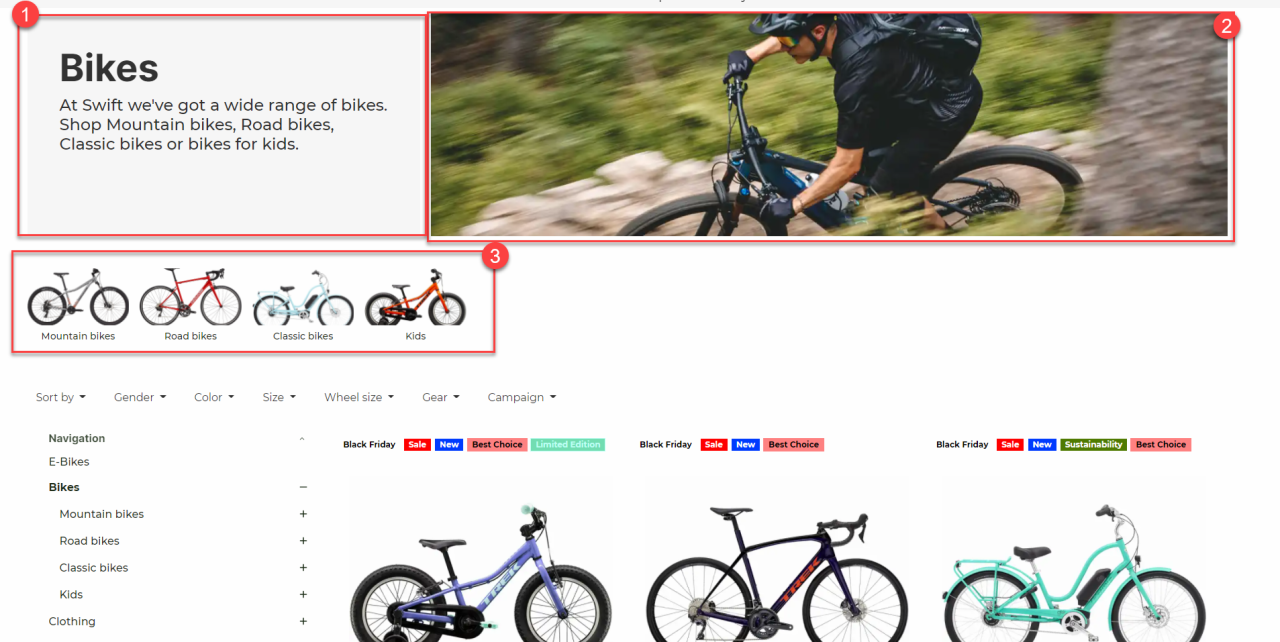
Product List Group Image, Info, and Poster
The three columns product list group image, product list info, and product list group poster are somewhat similar. The Product List Group Poster is a combination of the two other columns and therefore uses the same fields.
The Product List Group Image uses the field called Large in the Media section:
- Go to Ecommerce and locate relevant product group – click Edit group
- Scroll to the Media section
- In the Large field add the image
- Hit Save and close
The Product List Info uses the Description field in the Settings section:
- Go to Ecommerce and locate the relevant product group – click Edit group
- Locate the Description field in the Settings section
- Write your product group information
- Hit Save and close
As mentioned, the Product List Group Poster is a combination of the two columns mentioned above. Therefore, it uses the same fields:
- Go to Ecommerce and locate the relevant product group – click Edit group
- Locate the Description field in the Settings section
- Write your product group information
- Scroll to the Media section
- In the field Large add the image
- Hit Save and close
Product Group List
The Product Group List will need the right structure of your product main groups and subgroups. This column uses the Large field in the Media section and should be placed on each subgroup (e.g., “Mountain bikes”, “City bikes”, etc.) in a main product group (e.g., “Bikes”). This column also allows you to choose which subgroups you want displayed, as you need to select the subgroups to be displayed. Using the example above, you could have 5 subgroups in the main product group “Bikes”. If you only want to display 2 subgroups (could be “Mountain Bikes” and “Road Bikes”), then you only select those 2 subgroups in backend.
- Go to Ecommerce and locate relevant product group – click Edit group
- Scroll to the Media section
- In the Large field add the image
- Scroll to the Product Group Fields section
- Make sure to tick the Selected Group checkbox
- Hit Save and close