
Website settings
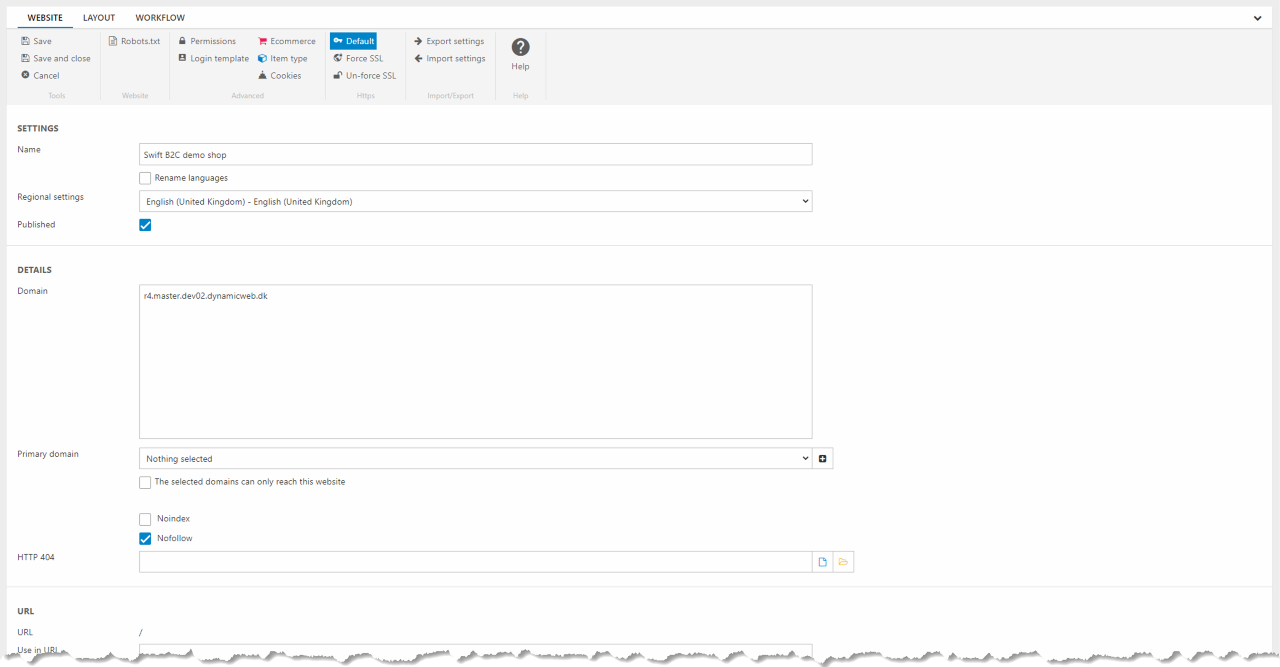
The website settings page is a general page with settings involving the core-elements of your website. For instance, you can edit name and regional settings, ecommerce, cookie notice and much more. The page is entered by clicking the three vertical dots next to the website selector and clicking “Edit” in the drop-down menu.
Guides placed on this page will all be based in the website settings page.
Show prices with/without VAT
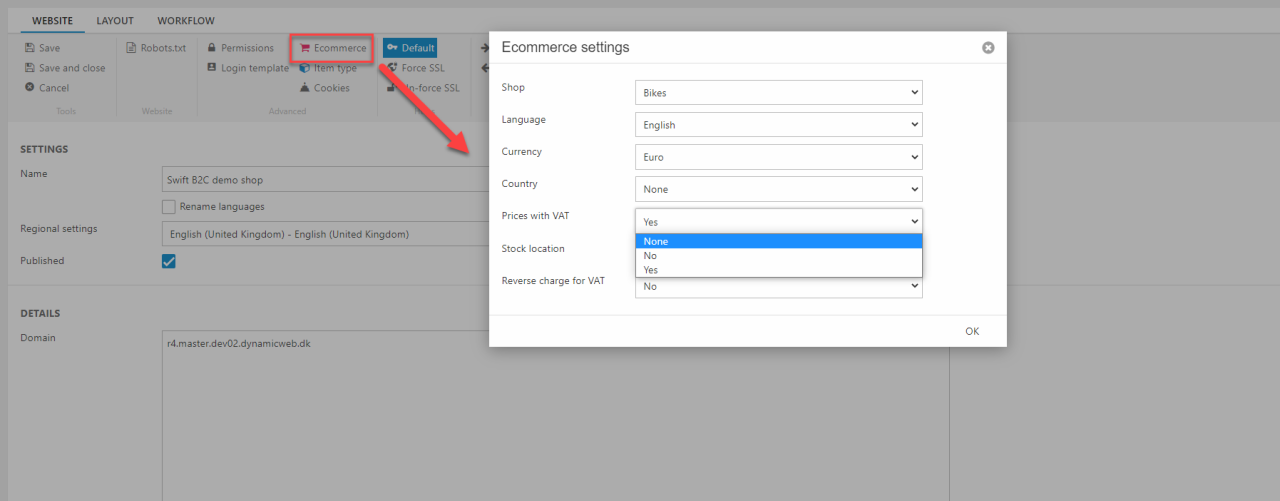
As a B2B company you sometimes want to display your prices without VAT. This is done in the Ecommerce section. Clicking this will open a dialog where different ecommerce related settings are available (Figure 2.1).
Here you can choose between three different settings for Prices with VAT.
Remember to save your changes.
Anonymous users
If you scroll all the way to the bottom of the website settings, you'll find a section called Anonymous users. This section lets you to choose who’s allowed to see prices on products and the “Add to cart” button. Swift lets you differentiate between viewers who are logged in and viewers who aren’t.
Should you want your product prices or “Add to cart” button to be hidden use the drop-down menu to change the settings. Remember to save the changes.
Linking the design pages
In order for your design pages, Themes, Branding and CSS tool, to work properly, you should remember to link them with your website. This is done in the Design section in the website settings. On Figure 4.1 the linkage of the design pages of the Swift Demo site is shown.
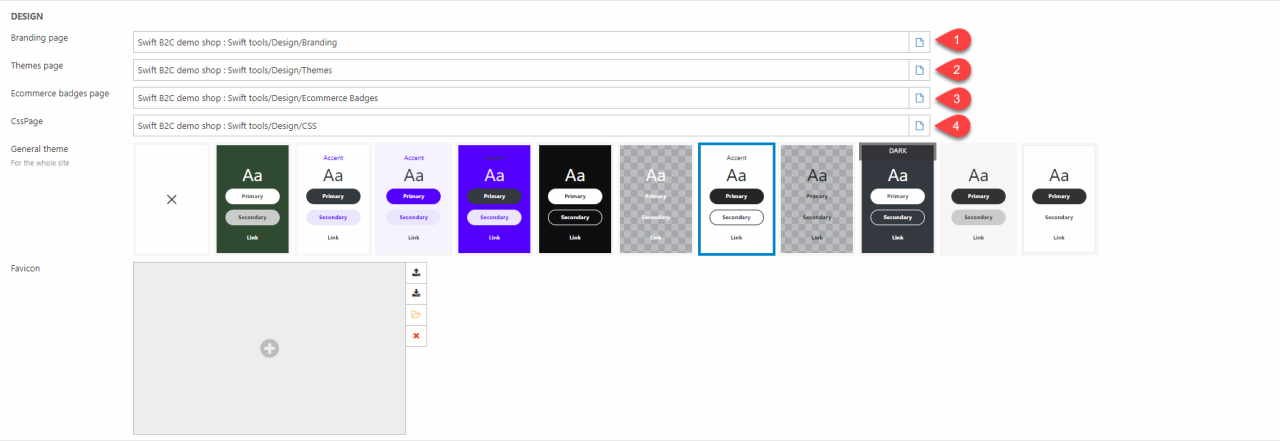
The pages should be linked in the following order:
- Branding page
- Theme page
- Ecommerce badges page
- CSS page
Setup new Favicon
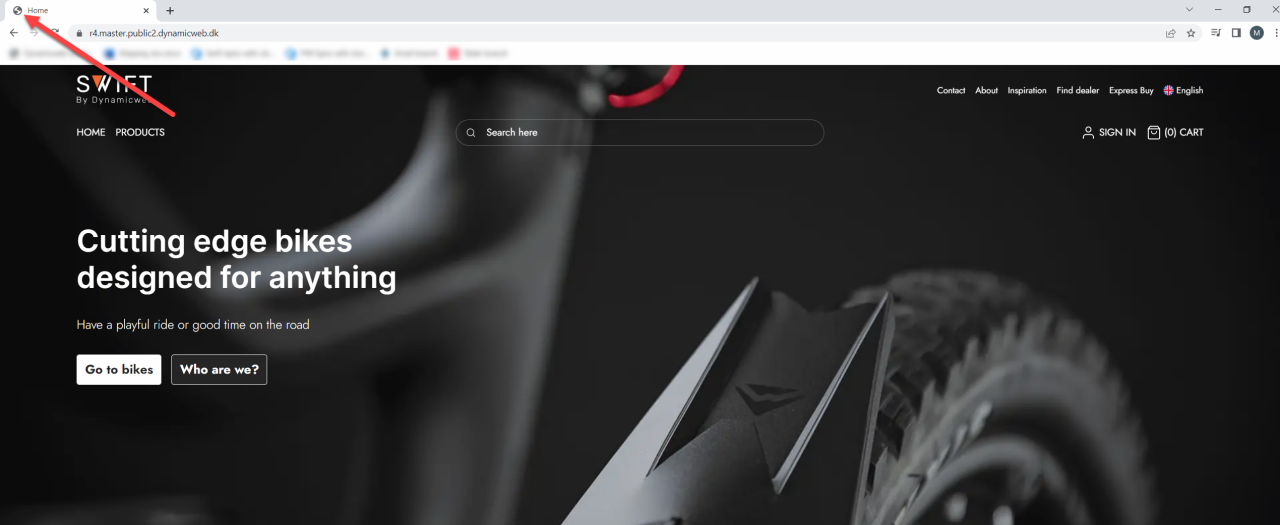
The favicon is the little icon shown on the browser tap (Figure 5.1). Using the Swift demo site, the favicon is by default a grey globe. To change this, you will have to enter the website settings.
To change the favicon:
- Scroll to the Design section and locate the “Favicon” file field
- Add the wanted favicon file
- Scroll to the top and hit Save and close
You should clear your browsing data to see the changes.
Disable wide or ultra-wide breakpoints
A viewport is the visible area of the web page. It can vary from small on mobile phones to large on. Swift is built with default ultra-wide breakpoints; this can cause too large containers on large screens. You can disable these wide breakpoints in the website settings.
The settings are placed in the Master Layout section.
In the settings you have three different options:
- Keep default breakpoints
- Disable ultra-wide breakpoints only
- Disable both wide and ultra-wide breakpoints
The ultra-wide breakpoints have a minimum width of 1920px and the extra wide breakpoints has a minimum width of 1600px.