Publications
Please note that as the publication tool is a design folder of its own it does not require Swift for the setup. However, it does require a DynamicWeb and Publications license.
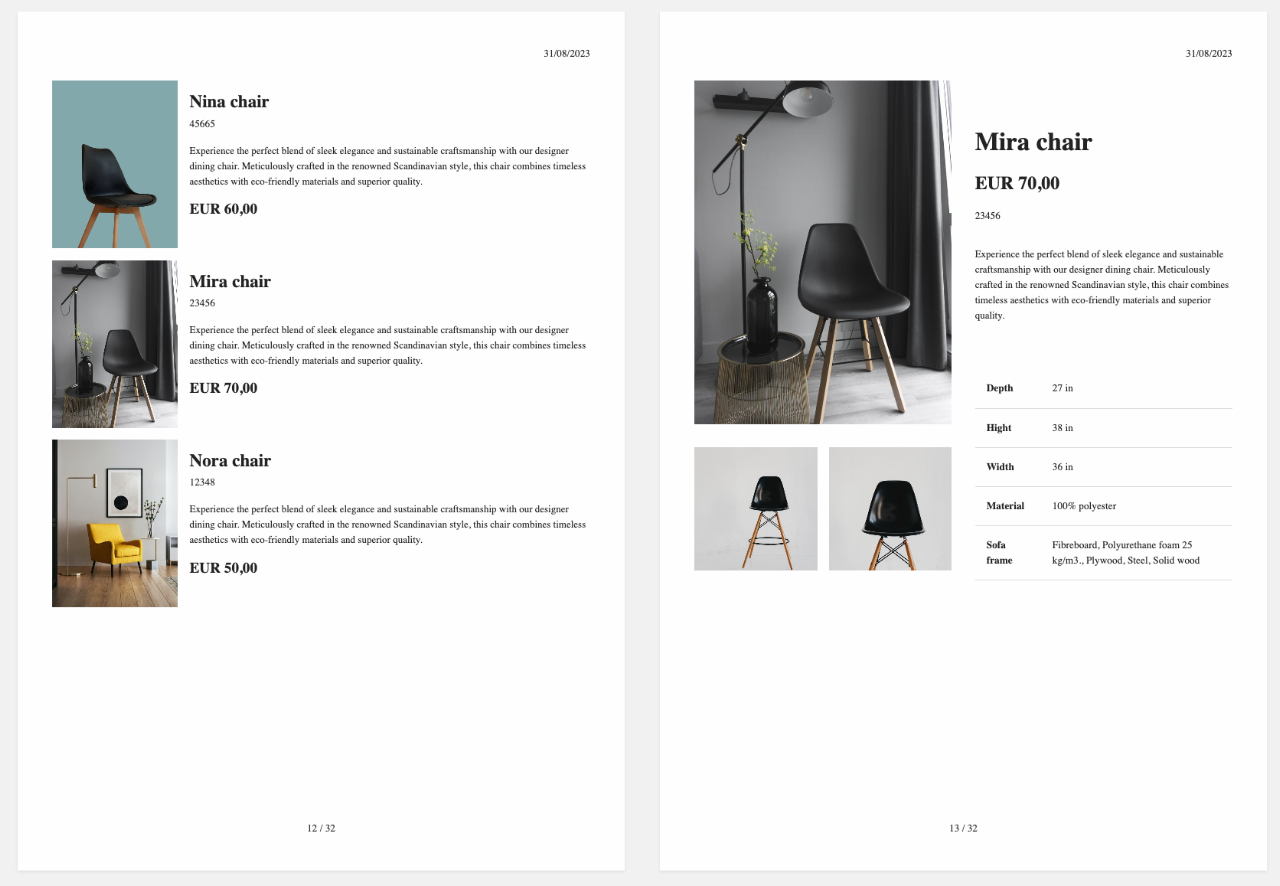
Publication is a tool to set up designs for printable catalogs containing content pages, data sheets, price lists based on already existing product information from DynamicWeb.
Set-up Publications
Set up publications templates & Itemtypes e.g. on SWIFT
- Download Files here
- Take the entire folder Publication folder and place it under Files/Templates/Designs
- Take the entire folder Publication items folder and place it under Files/Templates
- Take the entire System folder and place it under Files these folders are the most important
- It consis of System/Items folder and System/Indexes folder
- Remember to Refresh item types under Settings/Itemtypes
- Follow the set up for Publication website here
Structure
Before explaining how to set up the publications tool from scratch, we will explain a bit about the structure to help you understand the tool.
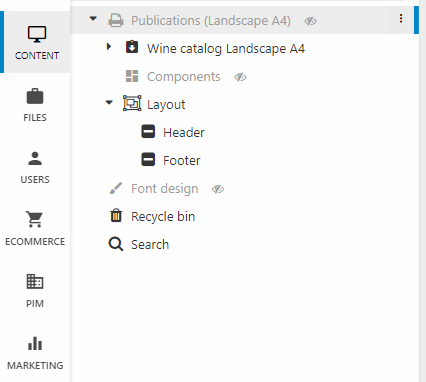
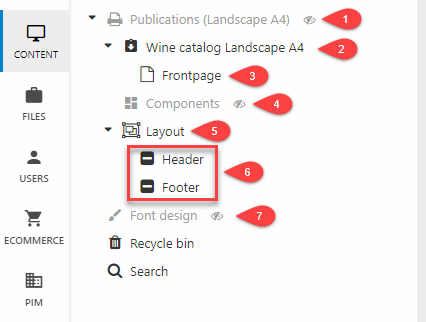
On Figure 3.1 is an example of how the publications tool can be structured.
- Publications folder
- Catalog folder
- Content page - this could also be a Product list or Product pages container
- Component folder
- Layout folder
- Header/Footer pages
- Font folder
All of the folders and pages mentioned above will be explained in this article.
Publications folders
Publications folders are the foundation of the catalog. As you might want to create multiple catalogs you can also create multiple publication folders. The publications folder can this be seen as the wrapper for each catalog.
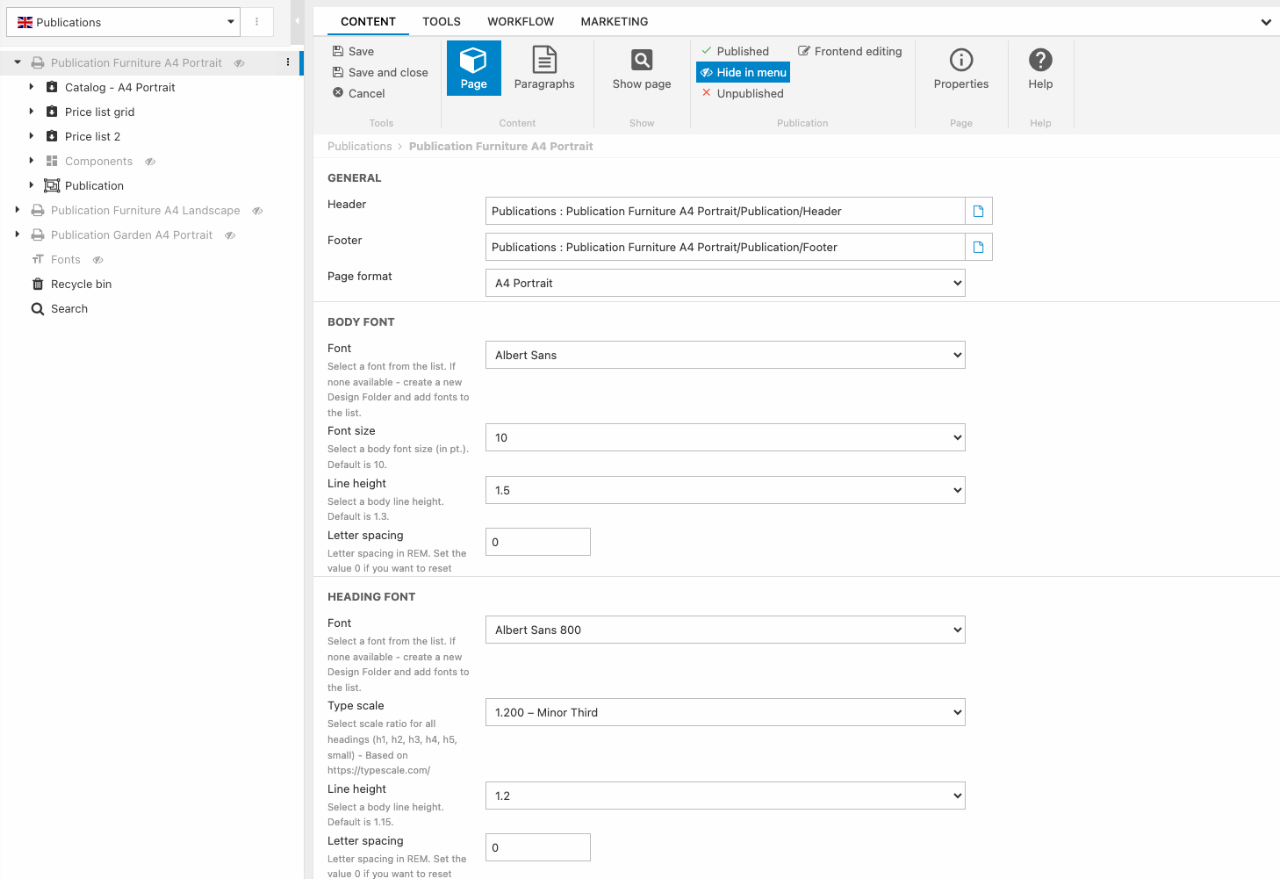
The publication folders holds information about the page format, heading and body font and typescale settings. This is also where you design and link the header and footer. This way all pages in the catalog placed in this publication folder will have the same header and footer.
As subpages for the publication folder you can create a component folder, a layout folder and a catalog folder.
Component folder
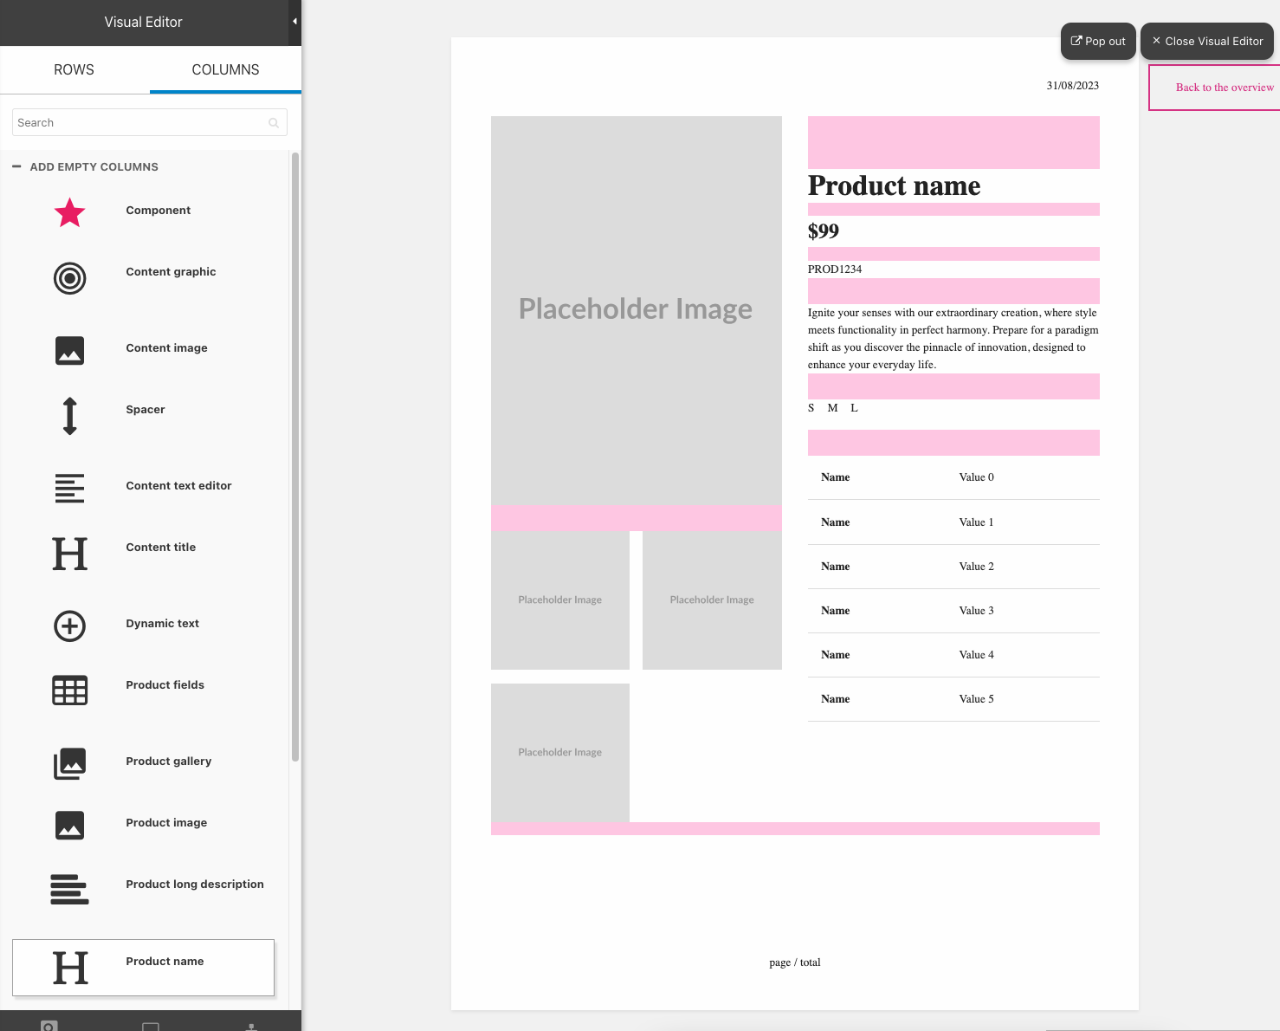
Components are a way to further customize the design of a catalog. The components allows the designer to break free of the otherwise rigid structure made from the rows. Normally you would only be able to fit one item type per column, but with components you can design a component card, consisting of multiple item types. The card can then be placed on an empty column space in a row.
Layout folder
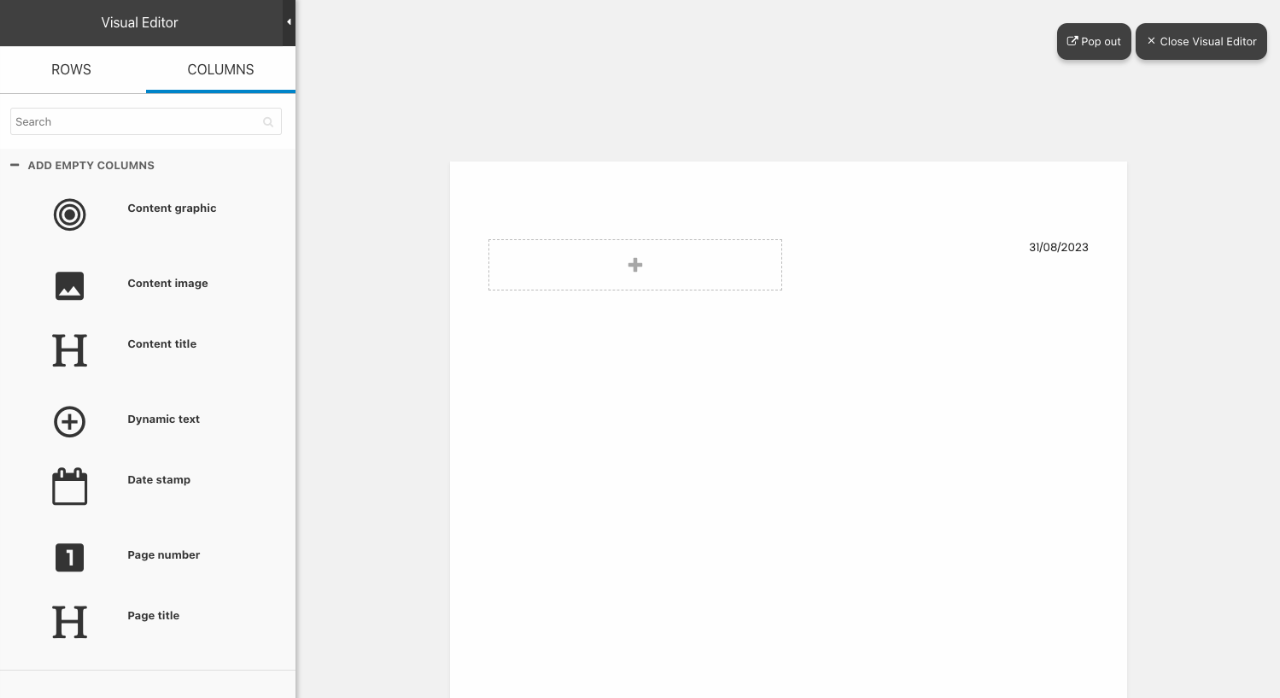
The layout folder is where you place the header and footer of the catalog. Headers and footers are often small watermarks that will create a connection between the different pages. This could also be page numbers. As you often want to keep the design of headers and footers relatively simple, you only have a few options in terms of content columns: Content Image, Content title, Date stamp, Page number and Page title.
Manual setup
If you want to setup the publications tool manually or want to see if your setup is configured correctly please follow this guide.
Website creation
First you need to create a new empty website.
When creating the new website you will need to fill in some information.
For general information:
- Name the website
- Select the regional settings
- Enable as published
In the ecommerce section found by clicking “Ecommerce” in the Advanced section in the ribbon page:
- Select a shop
- Set a language
- Choose the currency
- Choose the country for the website
Enter the layout ribbon page by clicking “Layout” in the top ribbon bar.
- In the layout dropdown, choose Publications_ContentPage.cshtml
Enter the Website Ribbon by clicking “Website” in the top ribbon bar.
- On Item type select
- Publication Master for Website properties
This conclude the configuration for the website creation. Next you will need to create the pages to make the publications tool usable.
Publication folder
The first thing to do is to create a publications folder.
- Click on the three vertical dots next to the website name and create a new page
- Choose the publications folder. Name it something relevant and make it hidden in menu
Before you can link a header and footer or assign fonts for body and heading you will have to create those first.
Creating fonts
With Font Layout you have the option to add custom fonts or use google fonts. This is done in the Paragraphs section in the ribbon page.
- Click on “Paragraphs” in the ribbon page.
- Create a new paragraph and choose “Font”
- Name it something relevant, ideally the name of the wanted font
- Setup the font by choosing either a google font or a custom font.
Header and footer
The next thing to do for the publications folder to work, is to create a header and footer. For this you will need to create a layout folder.
- Create a new page in you newly created publications folder
- Choose “Layout folder” and name it something relevant like “Layout”. Make sure it is published
- In this layout folder create a new page
- Choose “Header/Footer layout”. Name it “Header” and make sure it is published
- Create a new page in the layout folder
- Again, choose “Header/Footer layout”. Name this one “Footer” and make sure it is published
These are the pages you should design for your header and footer. Head to our examples to see how they could look.
Now you can head back to the publications folder and select the created fonts and header/footer for the publications folder. Remember to save your changes.
Components
Before you start designing the actual catalog you might want to make ready for the use of components. As you want to keep components for different publications folders separated, the component folder is placed in each individual publication folder.
- Create a new page in the publication folder
- Choose the “Component folder” and name it something relevant like “Components”
- Make it hidden in menu
It is in this folder, that you want to place and design your component cards.
Catalog folder
To start creating the catalog, you need to create the catalog folder. This is also done in the publications folder
- Create a new page in the publication folder
- Choose the “Catalog folder” and name it something relevant to your finished catalog
- Make sure it is published
It is in this catalog folder that you want to place all your pages, product list and product pages containers.
When you have finished this simple setup, you should have a structure looking like Figure 13.1