
Integration customer center in Swift
The Integration Customer Center is an app which displays data retrieved directly from a remote system in real-time.
The Integration Customer Center also supports OpenOrders, which means you are able to view the order status rather than only the order confirmation. You will have a range of information about the order shown on a template. This information includes: size and terms of the order, how much of the order that has been shipped, and how much is yet to be shipped.
This guide will explain how to create a page using this app in your customer center.
Manual setup
If you want to set up the integrated customer center manually, follow this guide:
- In the content tree navigate to the customer center folder, in Swift that’s Content/Navigation/Utilities/My account
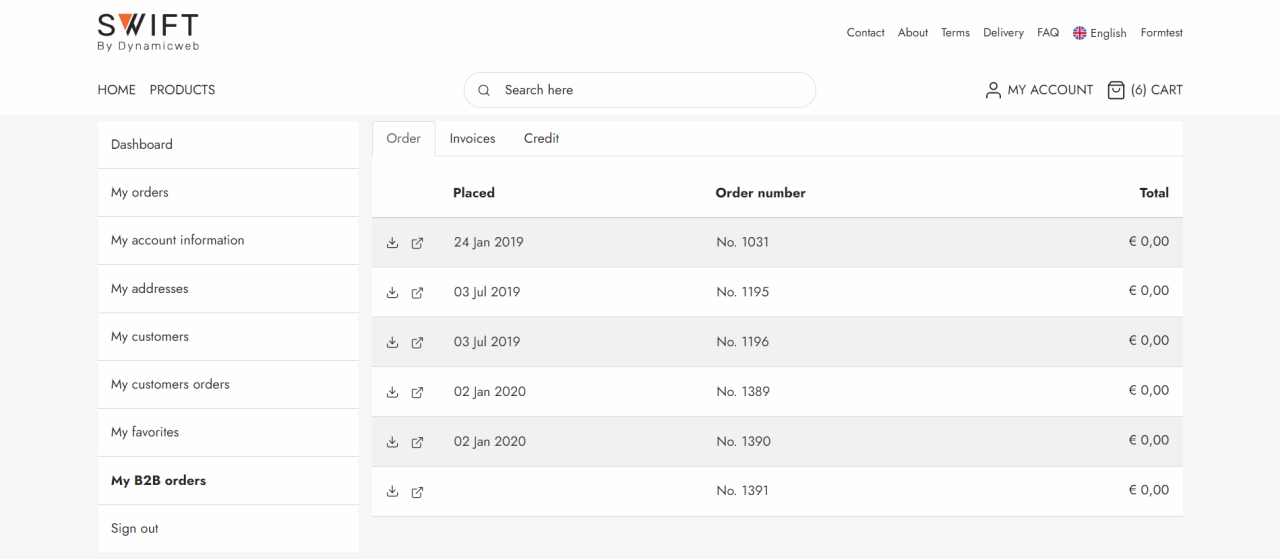
- Add a new page and call it something like “My B2B orders”
Now open the Visual Editor of the page.
- Add a row. Ideally you should keep the theme from your other pages in the customer center. In Swift that means adding the 3/9 row with 2 columns.
- In the first column, add a navigation column and link it to your customer center (Navigation/Utilities/My account)
- In the other column add the Customer center app. Make sure to link the following fields to the following pages:
- Orders page to My orders
- Account settings page to My account information
- Addresses page to My addresses
When all this is done enter the app part of the settings by clicking “App” in the top banner menu. In the app settings make sure that the navigation template is changed to TabsNavigation.cshtml. Also, you’ll need to create three pages: MainPage, Invoices and Credit. You can read more about creating these pages in our earlier created guide about the integration customer center in general. That guide will help you create the pages.
As it’s important to enter the right information we’ve created an image (Figure 2.1) to show the specific page settings of each of the three pages: MainPage(1), Invoices(2) and Credit(3).

When you’ve created the three pages remember to save your changes and then your integration customer center is done.