Implementing comment sections
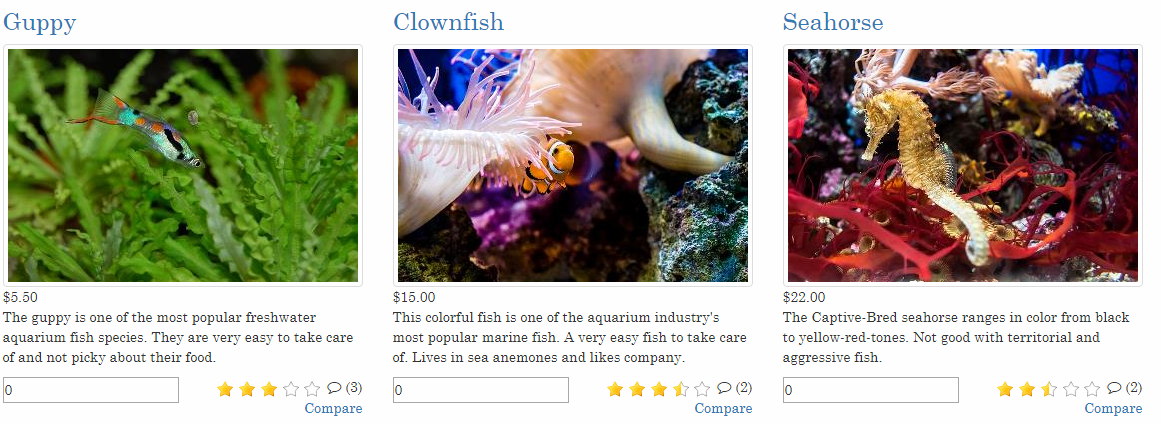
Comment sections can be a popular and useful addition to a website, allowing users to comment on everything from the usefulness of a product (Figure 1.1) to the contents of a news article.
In this how-to, we will implement a comment system for products & pages, using the Comment.cshtml template provided by Dynamicweb.
This template supplies the layout for a basic comment box, and hooks into the Dynamicweb backend where you can review and moderate the comments posted.
The Comments.cshtml template
The template you will be using is called Comment.cshtml and is located in Files > Templates > Comments.
This template contains:
- A number of variables used in the markup
- Some CSS styling which may be removed or modified as you see fit
- A section for rendering comments which have been posted
- Javascript for validating comments being posted
- A section for rendering a comment box and posting a comment
We will be concentrate primarily with the comment rendering and submission parts.
Comments on products
To use the comment template, you must include it where you want it to be rendered– e.g. in the product details template:
- Go to a page with a product catalog app attached
- Open the app settings
- In the Templates section, open the Product template and include the template somewhere appropriate:
On most solutions you also have access to a default template – ProductDetailsComments.cshtml – showing you a sample implementation.
In frontend, a product details page could now look like Figure 3.2, depending on where you included the comments template.
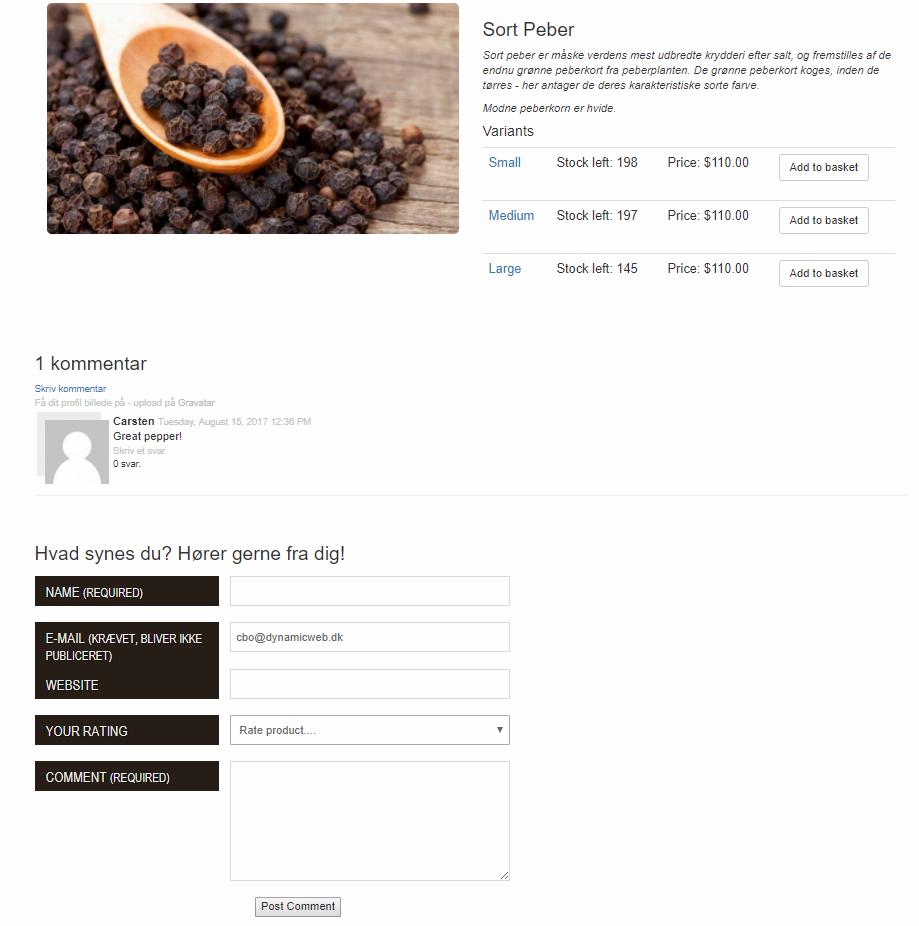
As you can see, the default template has some idiosyncrasies when it comes to language.
This can be changed by editing the relevant Comment.cshtml template sections, e.g. the comment input field labels, etc.
Once you’re happy with the layout, post a few comments and proceed to the next section.
Comments on pages
Using the Comment.cshtml template on regular pages or item-based pages is pretty straight forward:
- Copy the template (Comment.cshtml) to the design folder (/Templates/Designs/YourDesign/)
- Include the template where you want the markup to appear – i.e. in a page template of some sort
- Open the Comment.cshtml template and locate the writecomment section
- Comment out the <!-- product catalog level comments params --> section and uncomment the <!-- page level comments params --> section:
This supplies the system with the correct PageID and ItemType required for comments to work on pages.
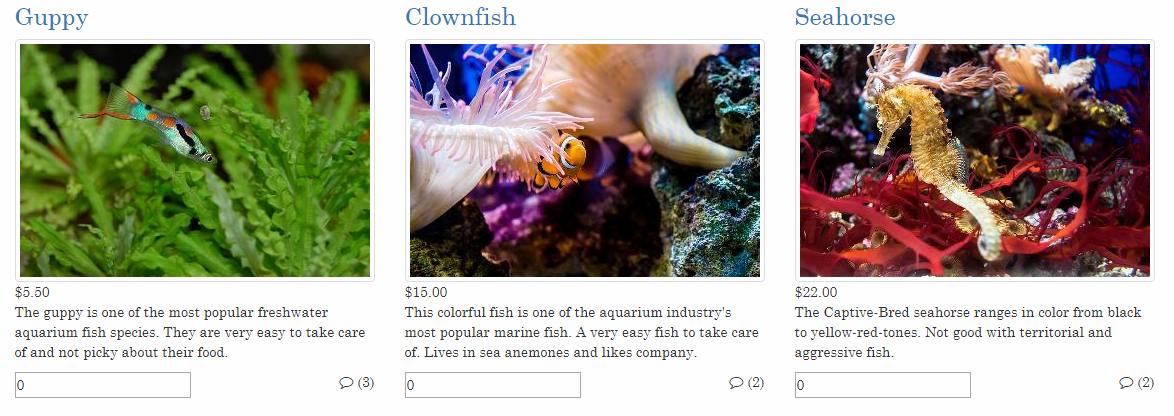
Implementing a comment counter
Now that your users can add comments to pages and products, you can implement a comment counter on the product list (Figure 5.1) – this will let users immediately see whether there are comments or reviews to read.
To implement a comment counter:
- Go to a page with a product catalog app attached
- Open the app settings
- In the Templates section, open the List template
- Inside the product loop used to render each product, use the tag Ecom:ProductCommentCount to render a comment counter where it makes sense
You can use fancy font awesome icons and whatnot to make it look good, of course:
This should produce a fancy little comment counter as in Figure 5.3.
For more options when rendering comment counters, please consult the template tag manual.
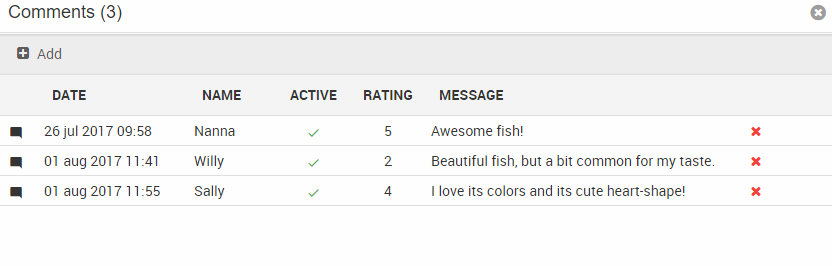
Moderating comments
You can moderate the comments on products in backend and add, delete and change existing comment’s content, rating and other information.
To administer the comments for a product, you must go to the Ecommerce node and find the specific product and click Comments in the ribbon bar (Figure 6.1).

To administer the comment for a page, you must open the page and go to Properties. Open the Layout tab and click Comments in the ribbon bar (Figure 6.2).

Both administer pages for comments will look like (Figure 6.3).