
Implementing a PriceRange query
In this tutorial you will learn how to implement range searches in your Ecommerce, allowing your users to specify that they want to find only products where a value (typically Price) falls within a particular range.
In this tutorial, we will start from scratch, covering:
- Creating a new repository
- Creating a new index
- Creating a query with ranges
- Adding a range selector to a template
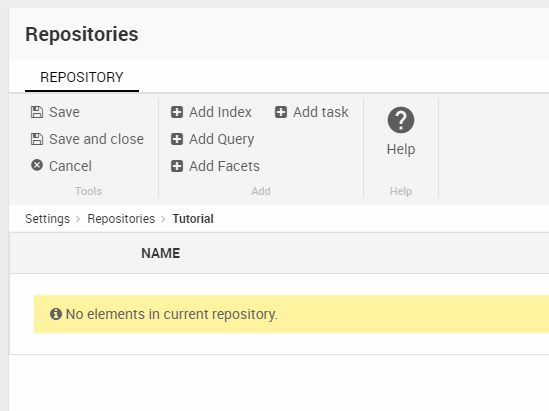
Create a repository
A repository is a kind of top folder for indexing configuration files – each repository can contain a number of indexes, queries etc.
Create a new repository:
- Go to you Settings
- Right click on the Repositories node and Click New Repository
- Name it
- Click OK
This creates a new repository and opens the configuration page (Figure 2.1).
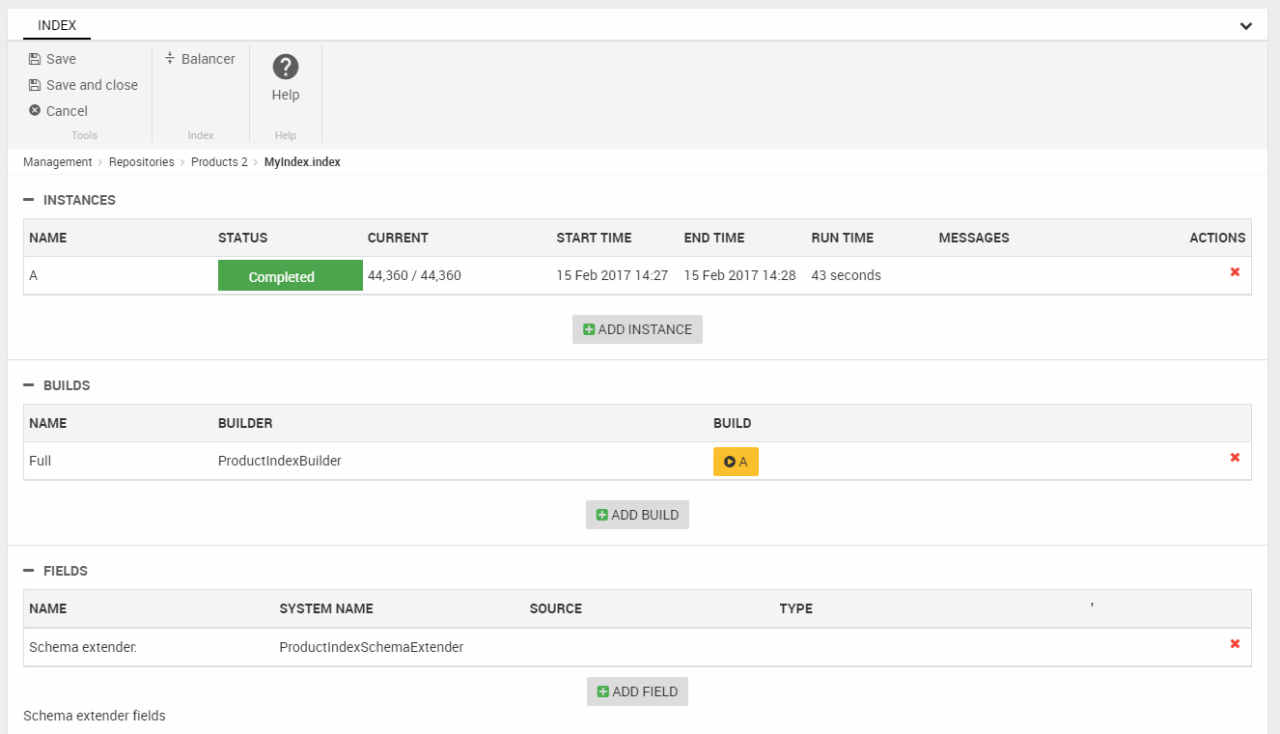
Create an index
Next, you must index your content – in this case your products. This is a fairly complicated process, but of course it only needs to be done once, after which the index can be automatically rebuilt at intervals.
Creating a working index requires you to add the elements in the proper order – Index > Instance > Build > Fields.
- Click Add index
- Name it
- Click OK
- Click Add instance
- Name it
- Select the LuceneIndexProvider
- Provide a folder name
- Click OK
- Click Add Build
- Name it
- Select the Dynamicweb.eCommerce.Indexing.ProductIndexBuilder
- Select Full as your builder action
- Click OK
- Click Add field
- Select field type Schema extender
- Select ProductIndexSchemaExtender as your type
- Click OK
- Save your index, then build the index (click the "build"-button next to your build. It has the the same name as your instance)
- Save and close your index – it should look like Figure 3.1
Create the PriceRange query
Once the index is configured and built, you can start querying it - asking it to return information to you. For a pricerange query, you need to create a parameter to pass values to, and an expression using the query to limit the product returned to the ones matching the values passed to the parameter.
- Click Add query
- Name it
- Select your index as data source
- Click OK
- Click Add parameter
- Name it (e.g. PriceRange)
- Select the bracketed System.Double[] type - you will pass two values to the parameter, so it must be an array
- Click OK
- Click Expressions > Add group
- In the dropdowns, select the Active field and the Equal operator.
- Click the pencil and select Constant & System.Boolean. Set value to true.
- Click Add expression
- Select the Price field
- Select Between as the operator
- Click the pencil and select Parameter > PriceRange
- Save and close your query

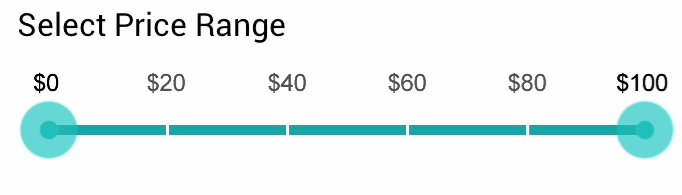
Rendering a range selector
To find products between two price values, you must create some sort of input control passing two values to the PriceRange parameter:
To add a range selector to your frontend:
- Open the Product Catalog app settings
- Under the Show settings select Index
- Under the Index settings select your query
- Open the Product List template and create a way to pass values to the parameter in the ParameterName=X,Y format, e.g.:
Here, I loop through all parameters, and for each parameter which is not rendered as a facet and which is an array, I render two simple input fields, then pass the values to the query by submitting a form.
And - that's it :)