
Creating Maps using GeoLocation
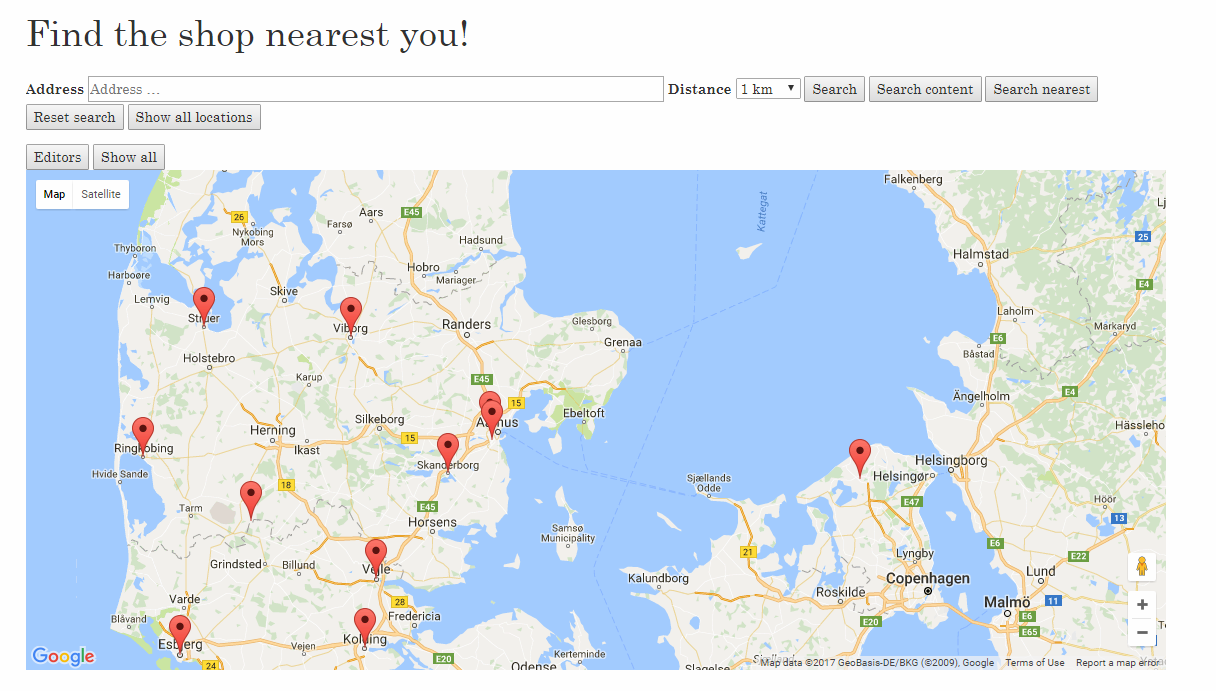
The app “Maps” makes it possible to create maps and add markers that indicate different locations on either persons or companies/groups. Using users and user groups, you can render markers on your map corresponding to the users’/user group’s Address, Address 2, Zip code, City and Country. You can customize the map and make it show only the locations you specifically pick out.
There’s also a search function implemented, that allows a frontend user to enter an address, a name or just a city, and search within different radii.
The Maps app settings
First, you must attach the Maps app to a paragraph. Then you will see the settings available for this app.
Selecting the map data
Under Groups, Users and Smart search (Figure 3.1), you can select which users/groups/smart search groups you want to show on the map, depending on whether they have an address/city and country registered. If you want to use only the subgroups for a user group, select Use only subgroups.

If you choose a group under Groups, the group address will be shown. However, if you choose that same group under Users, every user in that group’s addresses will be shown.
Rendering the map
Under Map Settings (Figure 4.1), you can customize the map’s appearance.
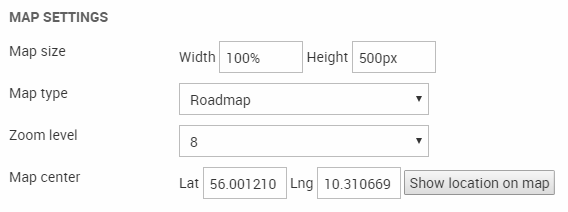
You can:
- Resize the map with the width and height
- Choose a map type
- Set a default zoom level and center of the map
- The map center can be entered manually as coordinates
- If you click Show Location on map, you can drag the marker on the map directly instead and click Save location to render the new coordinates
With the Marker Settings and Clusterer Settings (Figure 4.2), you can customize how a person in frontend should be able to interact with the map.
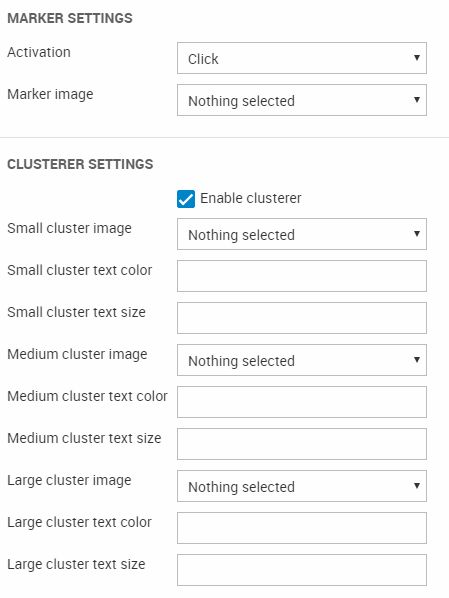
In Marker Settings, you can:
- Choose how a frontend user should activate the markers on the map to show their individual information (click, double-click, mouse-over)
- Choose a marker image for the markers
In Clusterer Settings, you can enable clustering for those pointers that are close to each other. This reveals even more settings to customize the cluster images, text color and size.
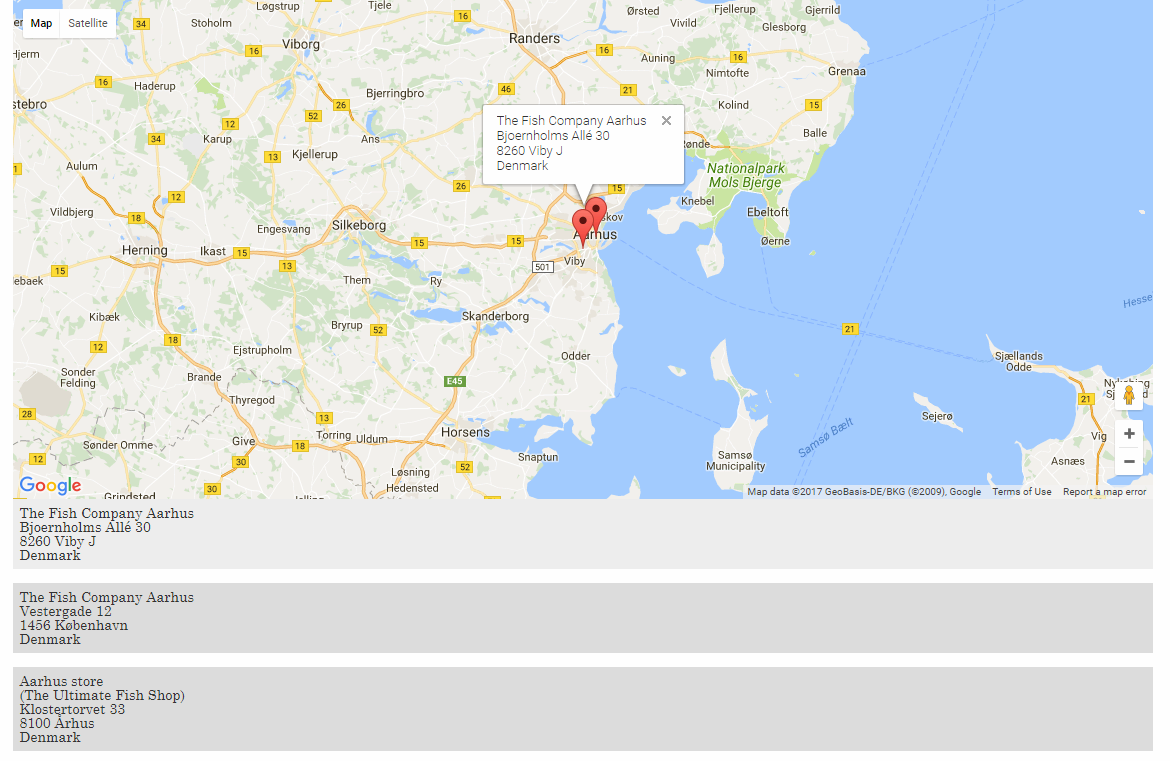
In the Location List Settings and Template Settings, you can customize the template and enable a location list (Figure 5.1).
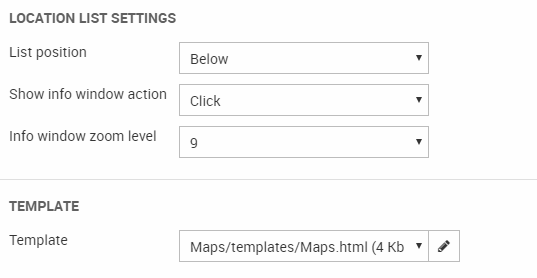
A location list is a list of all the users/groups shown on the map with their information beneath. The frontend user can then click/double-click/mouse-over to zoom in on them on the map or to get their spot on the list highlighted. In (Figure 5.2), you can see a frontend example of a location list.
Google API settings
In the last settings you can change the Google Maps API key and Client ID.
When you’re going live, you’ll need a Google API key. You can get a key from Google’s Developer site.
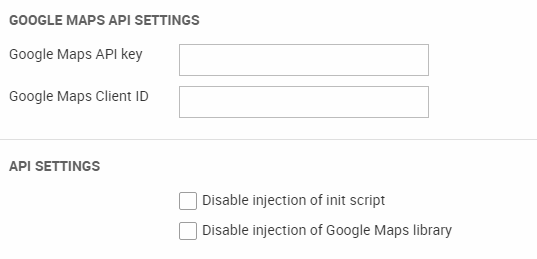
You can:
- Either enter your Google Maps API key
- Or use your Google Maps Client ID instead (on Google’s Developer site, you can read more about how to use each)
- Disable injection of the default JavaScript (InitScript) in templates
- Disable injection of Google Maps library in templates
If you enter a Google Maps API key in the settings for the Maps app, you will override the potential API key you might have entered in Settings > Control Panel > Maps. If you have entered an API key here and want to use this, simply leave the spaces blank in the app settings.
If you use more than one map on your solution and want to use different credentials for each map, this can be useful.