
User Indexes
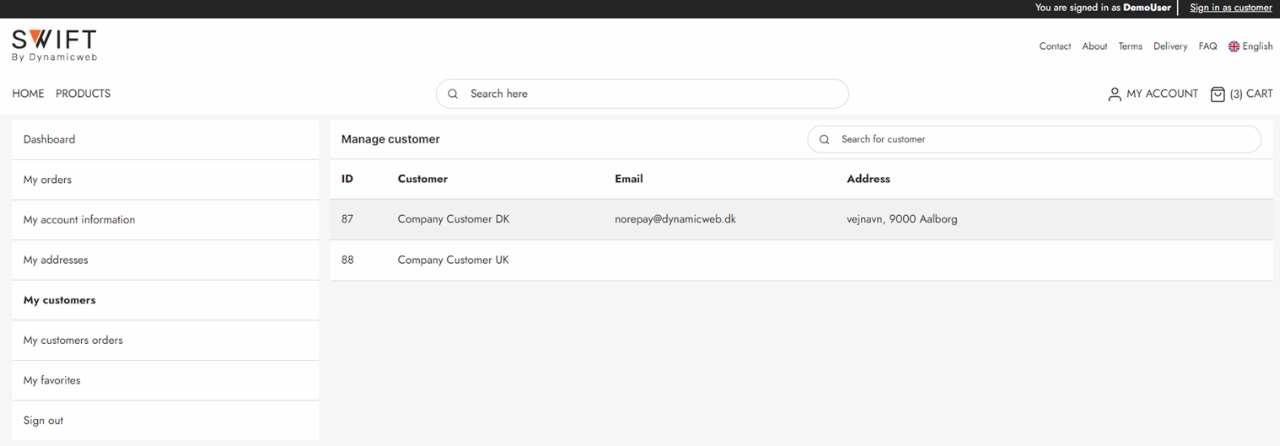
A user index is an index of all user data on a solution – standard user fields and standard custom fields. It does not contain information about user behavior – order value, other statistics, etc. User indexes are typically used when you want to e.g. publish a list of users to frontend using the query publisher (Figure 1.1) and when you want to use queries to select lists of recipients for email marketing campaigns.
To create a user index:
- Go to Settings > Repositories and open/create a repository
- Click Add index in the toolbar
- Name it
- Click OK
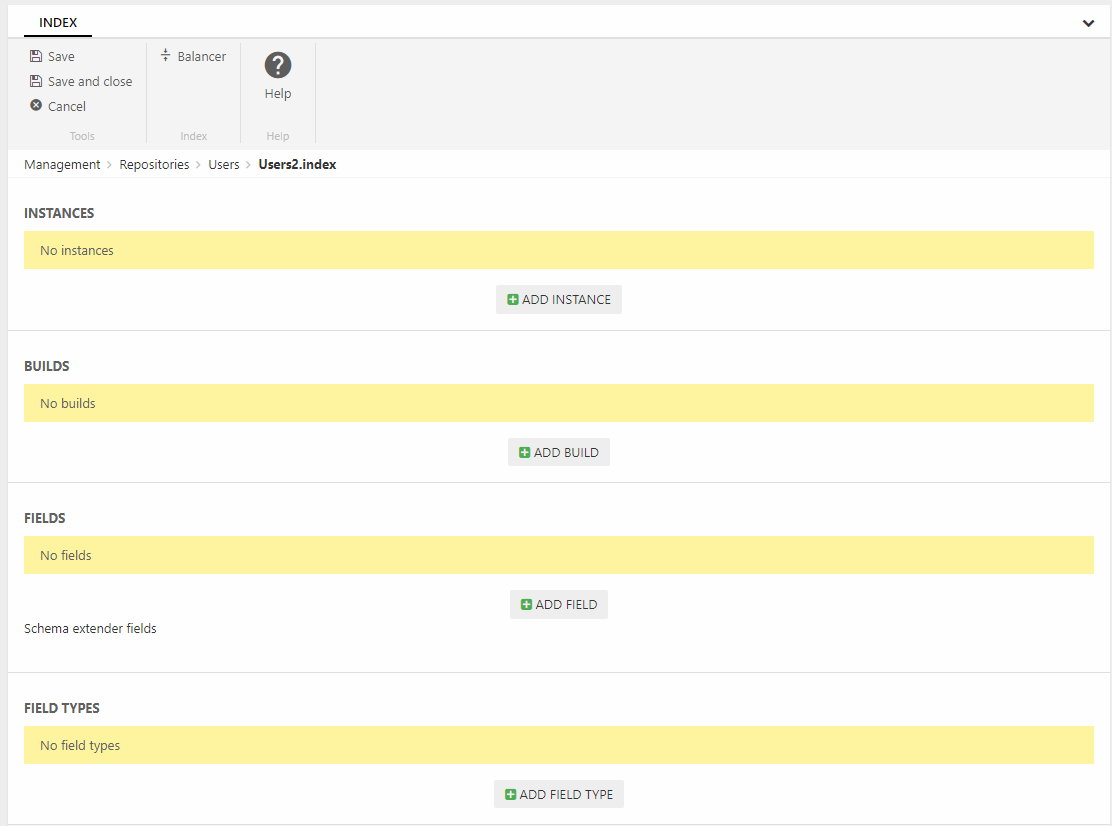
This creates an empty index (Figure 1.2) – you should now add instances to it.
Adding instances
An instance is a file in the file archive – it is this file which is being searched when a query is executed. Since instances are often rebuilt to make sure they contain the most recent changes to product data you want to create at least 2 instances. This ensures that there’s always an instance to search, even if one instance is currently being rebuilt.
Create two instances:
- Click Add instance
- Provide a name – you could call one instance ‘Users A’ and the other instance ‘Users B’
- Specify a folder to place the instance file under
- Click OK
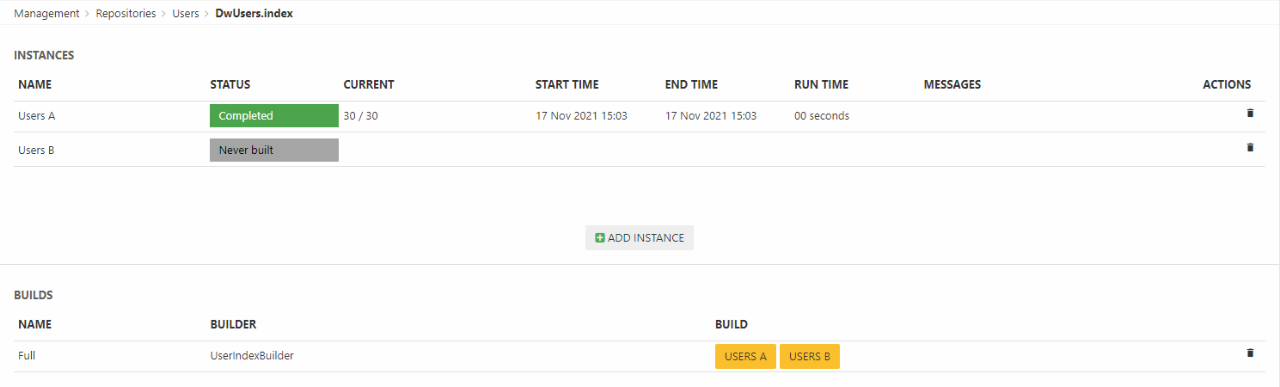
Once created your instances will look something like:
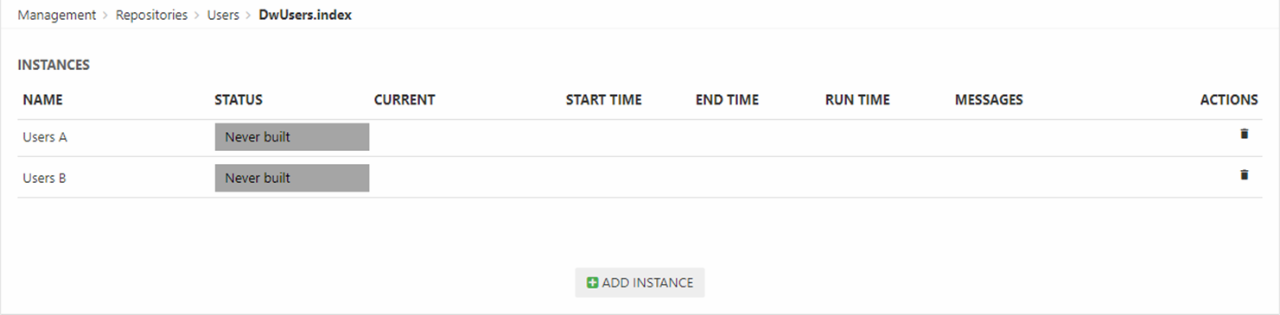
When an instance is built, a set of index files are generated under System/Indexes/YourIndexName/YourInstanceName – but before you can build it you must create a build configuration.
Adding a build configuration
So now that you have two instances you want to build them – to do so you need to create a build definition. Each type of index has a specific builder associated with it – in the case of a product index this builder is helpfully called the UserIndexBuilder.
To add the build configuration:
- Click Add build
- Provide a name
- Select the UserIndexBuilder
- Select a builder action:
- Full rebuilds the whole index
- Update rebuilds the users which have been edited in the timespan between the current time and the HoursToUpdate builder setting
- UpdateWithIds is a mode used by the system to update smaller batches of users as they are saved
- Review the builder settings
- Set up notifications if appropriate
- Click OK
The following builder settings are available – please review carefully to see if any of them are relevant for your setup:
|
Setting |
Value |
Comments |
|
HoursToUpdate |
Integer – default is 24 |
Used by the Update builder action to find a list of users to index |
|
DoNotFailOnMismatchingCount |
Boolean - defaults to true |
When true, the index will not fail to build if a user has been created or deleted while the index was being built |
So now you’ve specified how you want the index to be built – you should now specify what you want to include in the index.
Adding fields
Lucene indexes are composed of small documents, with each document divided into named fields which contain either content which can be searched or data which can be retrieved. Each field added to the index can therefore be stored, indexed, and analyzed depending on what you want to use it for:
- Stored fields have their values stored in the index
- Indexed fields can be searched, the value is stored as a single value
- Analyzed fields have their values run through an analyzer and split into tokens (words)
Generally speaking, a field you want to display in frontend must be indexed and a field where you want the user to search for parts of the value in free-text search must be analyzed. Field which are to be published using the query publisher should be stored. Fields you want to display as facets should be indexed but not analyzed.
To make things (a lot) easier for you we’ve created a default set of fields typically used in product indexes – this default field set is defined in something called the UsersIndexSchemaExtender.
To add the fields from the schema extender to the index:
- Click Add field
- Select the schema extender field type
- Select the UserIndexSchemaExtender
- Click OK
This adds a whole bunch of fields to the index (Figure 4.1).
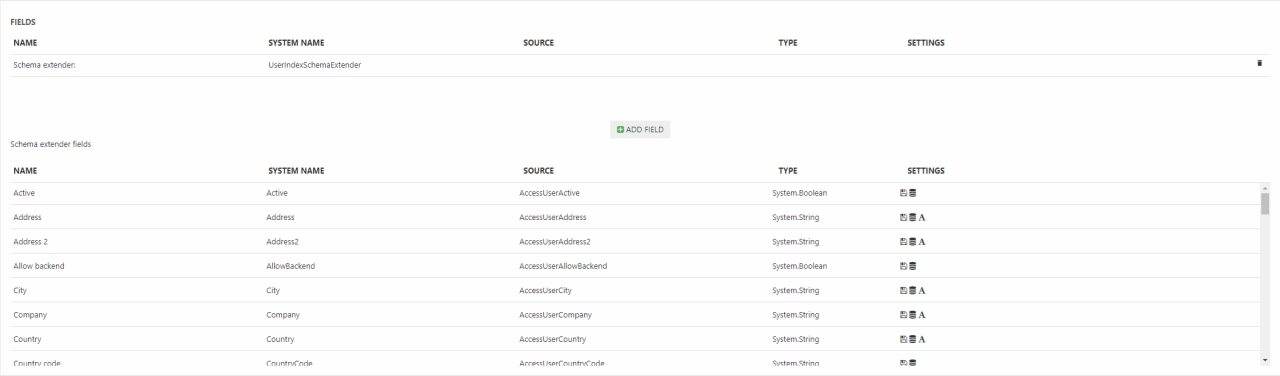
Most of these fields are standard user fields and any custom user fields, but there’s also a number of fields which are generated whenever the index is rebuilt:
|
Field |
Field content |
|
Groups |
An array of user group IDs where the user is a member |
|
GroupNames |
An array of user group names where the user is a member |
|
Is Admin |
True if System Administrator or Administrator |
|
Combined order totals |
The sum of Order Price with VAT from orders completed by this user |
|
Largest order price |
Largest Order Price with VAT entry associated with this user |
|
Order count for last 30 days |
A count of completed orders associated with this user within the last 30 days |
|
Bought products |
An array of product IDs from order completed by this user |
|
Loyalty points total |
The sum of LoyaltyUserTransactionPoints from EcomLoyaltyUserTransaction associated with this user |
|
Loyalty point last added |
A DateTime entry of the last time loyalty points were added to the users |
|
Loyalty point next expirery |
Oldest loyalty point transaction date by the user summed with global setting /Globalsettings/Ecom/LoyaltyPoints/ExpirationPeriodInMonths |
For each field you can see the Name, System Name, Source and Type – and whether the field is stored, indexed and analyzed. You can also add fields to the index manually – see the Custom Fields article.
Building the index
Once you’ve added instances, a build configuration, and a set of fields to the index you should build it – to do so click a yellow button with an instance name on it (Figure 5.1).
Of course, you don’t want to do this manually every time – you want to do a combination of the following:
- Rebuild the index every time an integration job has been executed
- Rebuild the index on a schedule – see the article on tasks
If you have more than three instances defined you can also choose between two different balancing methods for selecting an alternative index when the primary index is being built:
- Click Balancer in the toolbar
- Choose between the two modes:
- ActivePassive selects the next instance on the list of instances – so if instance A is unavailable (building, has failed), instance B will be used unless it’s unavailable, in which case instance C will be used, and so on.
- LastUpdated selects the most recently built index
On solutions with heavy traffic and frequent product data updates we recommend using the LastUpdated mode to ensure that visitors are always shown the most recently updated product data. On solutions with only two instances (the vast majority of solutions) it is not necessary to select a balancer mode, as the “other index” will always be used when an index is unavailable.