
Multiple product details pages
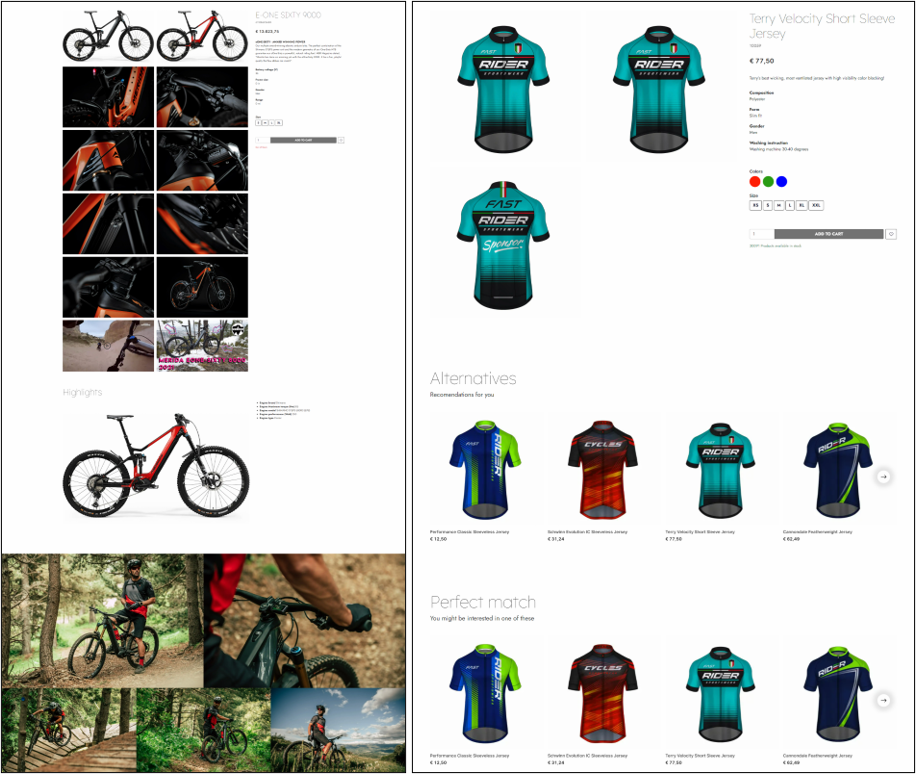
Different type of products often requires different kinds of product details pages. Customers might want a lot of information about some products, e. g. computers, but need less information when choosing USB cords. On the Swift demo site, we’ve made multiple details pages to make sure all the different products still look great (Figure 1.1). For the special E-bikes we’ve made sure to display both all the specs of the bikes and images of the bike in use. For our bike jerseys and other clothes items, we’ve made a simple page containing the basic details while also showing alternative products through a product slider.
We’ve earlier made a quick walkthrough of the product details page; you can find it here.
Creating a new product details page
By default, all products will show on the same product details page called “Details” in the content tree. But every product group can have its own product details page. The easiest way to do that is to make a copy of the default product details page and customize it afterwards, but you can also use presets or do it manually. For now, we’ll just copy the existing page:
- In the content tree locate the default product details page called “Details” by unfolding the product list page called “Products”
- Right click while hovering the details page and click “Copy here”
- Give it a name matching with your intentions and hit Submit
As only the primary product details page should have the navigation tag “ProductDetailPage”, you’ll need to remove this:
- Go to the properties of your newly created product details page.
- In the top menu bar click on Options. After that click Navigation and delete the navigation tag.
- Hit OK and Save and Close.
Now your new product details page is ready for customization in the Visual Editor. We recommend that you keep the multiple product details pages in the same theme, to make your customers feel at home while shopping different types of products.
Besides customizing your page, you’ll only need to link the intended product group(s) with your new details page. To do that:
- Click on Ecommerce in the area navigation on the left side and navigate to the product group you want to be displayed on the new details page. On Swift that could be “Clothes”
- Click “Edit group” and locate the “Primary page” field in the Meta Information section
- Link the product group with the newly created product details page
- Do the same for all the subgroups
When all this is done your products in the chosen group should use the new product details page. By redoing the steps, you can keep creating new product details pages should you need that.
If your products still use the default product details page, it might be because you haven’t set the default group on the products. To check this:
- Go to Ecommerce in the area navigation and locate the product that use the wrong details page
- Click “Related groups” and make sure the right group is selected as Primary