Example 6: Moving things around
Where Rapido is built for configurability, there will be times where a customer has special requirements for the layout - requirements which are not possible to achieve using the website settings. Fortunately, the Blocks engine makes it easy to move things around. Let’s try it out.
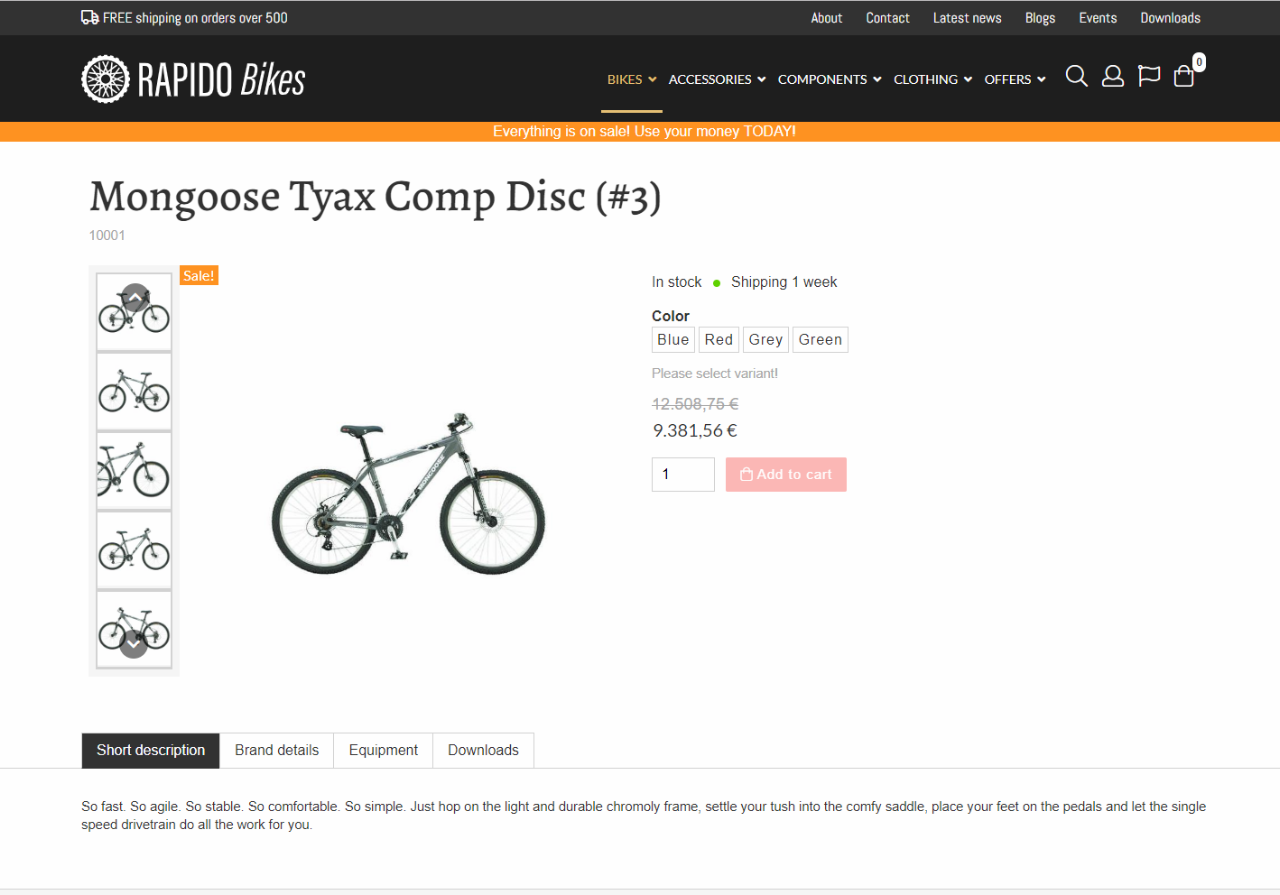
In this scenario, your customer has these requirements for the layout of the product page (Figure 1.1):
- The product name should be on the top of the content
- The short description must shown as the first tab instead of the long description
- Do not render the custom fields showing Brand, Material & Eco-friendlyness information
- The Stock and Shipping indicators should be shown at the top of the remaining content in right-side column
By now you probably know the drill:
- Open the eCom/Product/Blocks/Custom__Blocks.cshtml template
- Add @using Dynamicweb.Rapido.Blocks.Extensibility to get a list of imported resources (if you did example 3, this step has already been completed)
Our first change involves retrieving the block containing the product name, modifying it, and then replacing the original with the modified block:
For the second change we want to remove the short description block from the right column and instead add it as the first tab. So we retrieve the existing block, modify its properties, and then add it to the tabs extensibility point – and of course, we must also remove the original block:
As you can see, the new block does not replace the long description block in the tabs menu – you’ve just added it before the other blocks. Removing the long description block and the custom fields block (like the customer ordered) is a separate operation:
Finally, you want to move the Stock and Shipping indicators to the top of the remaining right-column content:
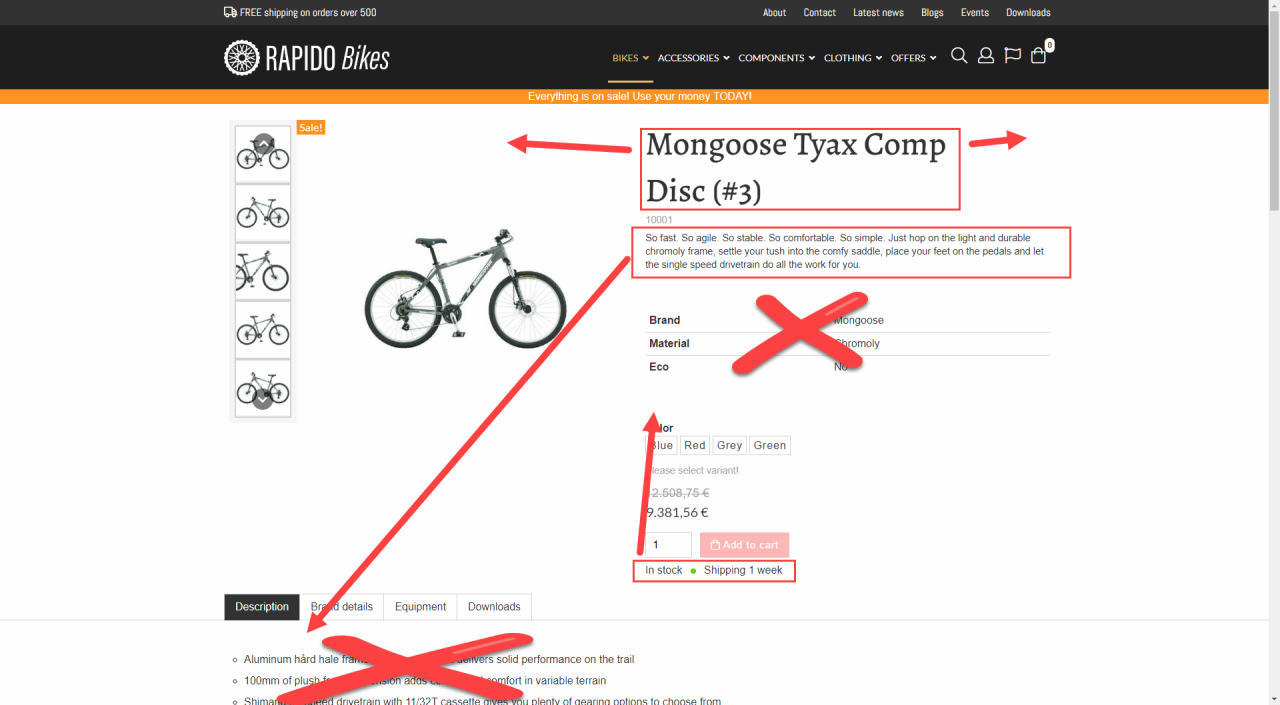
After completing these modifications, your product page should looks something like Figure 2.3.