
Example 3: Extending the product page
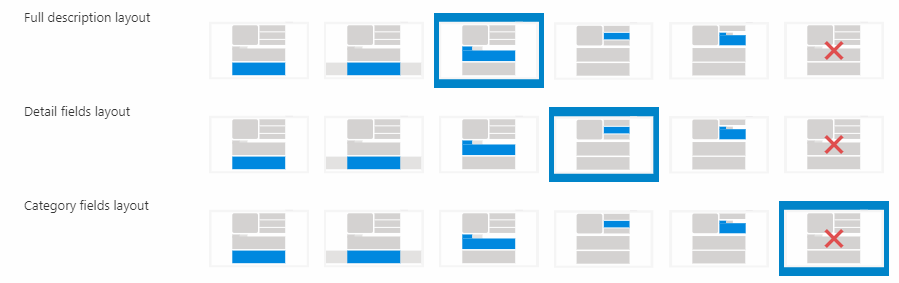
Like the Master template, the product page can be configured in a multitude of ways using the Rapido website settings (Figure 1.1), where the default Blocks can be moved around or hidden completely, depending on your needs.
The process for extending the product page is exactly the same as it was for the Master template above. The only difference is that the custom template is located under Rapido/eCom/Products/Blocks/Custom__blocks.cshtml instead.
In this example, we will create a custom Insurance block and add it to the product page:
- Open Rapido/eCom/Products/Blocks/Custom__blocks.cshtml in VS or equivalent
- Add @using Dynamicweb.Rapido.Blocks.Extensibility to get a list of imported resources
- Define an Insurance block and add it to the product page:
Note that we are adding a Design to the definition. This instructs Rapido to use a small grid builder – /Components/GridBuilder.cshtml – to render the Template content in a particular way. Of course, the RenderType selected must match the surroundings; the Tab type, for example, will only render when placed in a block using tabs.
Speaking of the Template content, create a helper with some appropriate markup:
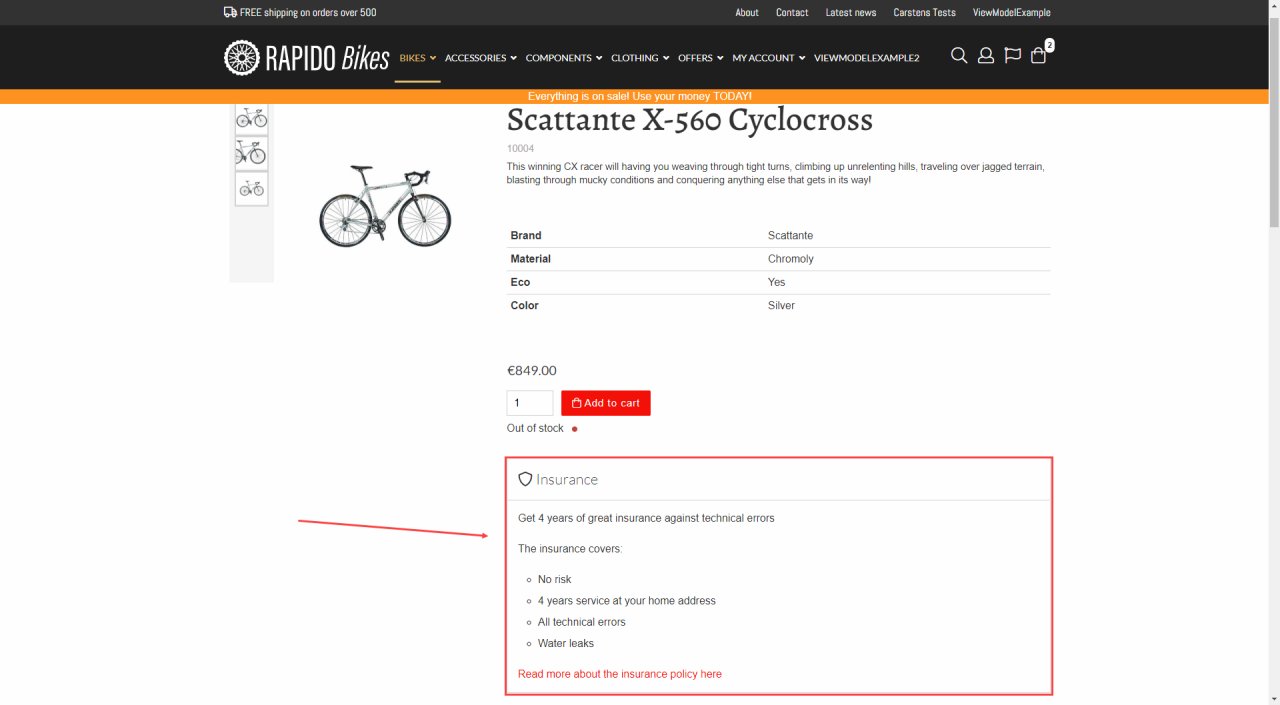
After adding this helper, your product page should include the custom Insurance section (Figure 2.1).
You can, of course, add the Block somewhere else – see the available extensibility points by adding @productsPage.GetBlocksStructure() at the bottom of the Products.cshtml template – or move it up and down inside a Block by changing the SortId. Tens – 10, 20, 30, etc. – are used by Rapido.