
Implementing rating on products and pages
In addition to a comment section, a rating can be added to your products and pages. Ratings can be displayed various places (Figure 1.1), which you will be guided through in this how to. Since the rating is a label fitting into the comment section, you might want to implement comments before implementing ratings.

The Comment.cshtml template
The template you will be using is called Comment.cshtml and is located in Files > Templates > Comments.
This template contains:
- A number of variables used in the markup
- Some CSS styling which may be removed or modified as you see fit
- A section for rendering comments which have been posted
- Javascript for validating comments being posted
- A section for rendering a comment box and posting a comment
We will be adding a new label to the comment box section.
Info: Remember to change the level comment params for the comment template (in the “writecomment” section) if you’re switching between comments on products and comments on pages.
Implementing rating
To implement a rating option to your comment box, you must:
- Open the Files node
- Go to Templates > Comments and edit the Comment.cshtml file
- Scroll all the way down to the bottom (in the “comment submission” part), and paste the following code amongst the other labels
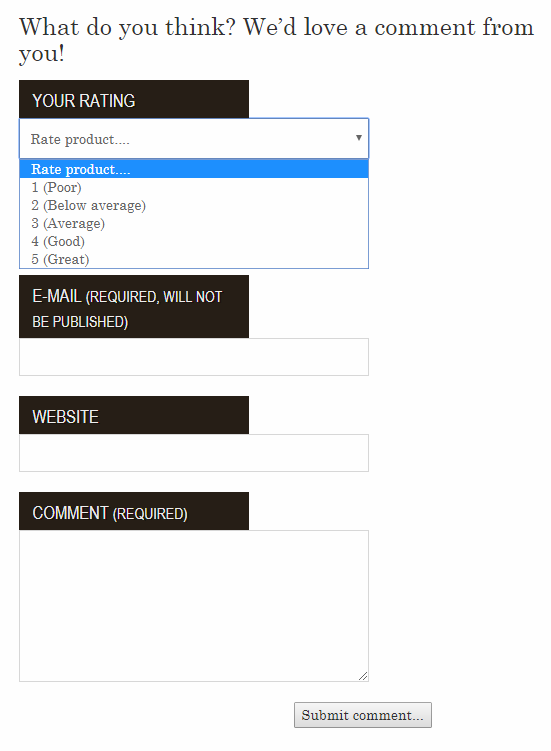
The section we are inserting could look like this:
You can change the options and their value at any time.
Which will look like Figure 3.2 in frontend:
An entire “comment box” section of the Comment.cshtml template with a rating label could look like this. This template is to be used for ecom products only (change the level params in the template to enable it for pages).
Erase everything after “</script>” and paste the following instead:
Displaying a product’s rating on a products details page
You can display a products rating by the use of numbers, percent and stars. This can be shown anywhere on the product details page and on a regular or item-based page like a news article.
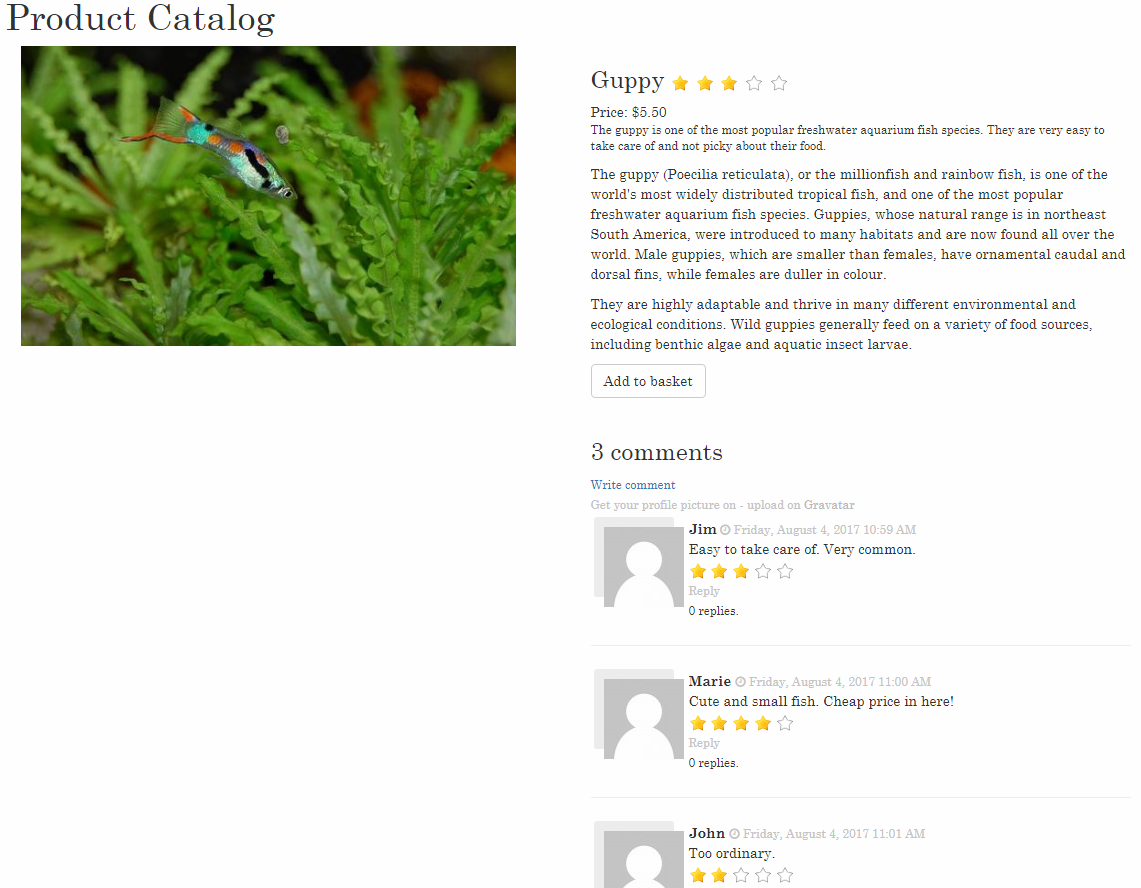
In Figure 4.1, the rating is shown in two different ways on the same product details page. See the template tag manual for more tags you can use for pages.
- At the top, the rating is shown as a generic average value of the ratings given in the comments. This tag can be placed wherever you’d like in the ProductDetails.cshtml or ProductDetailsComment.cshtml template.
- In the comment section, stars are used to display every comment’s rating of the product. This tag has to be placed inside the comment loop in the Comment.cshtml template.
Comment sections are different than pages. Here you can only use these to tags:- Rating – will return the rating in numbers
- Stars – will return the rating shown with five stars to be filled
Displaying a product’s rating in the product list
You can display each product’s average rating in the product list (Figure 5.1). To do this, you must insert your tag inside the product loop of the Product list template (ProductList.cshtml).
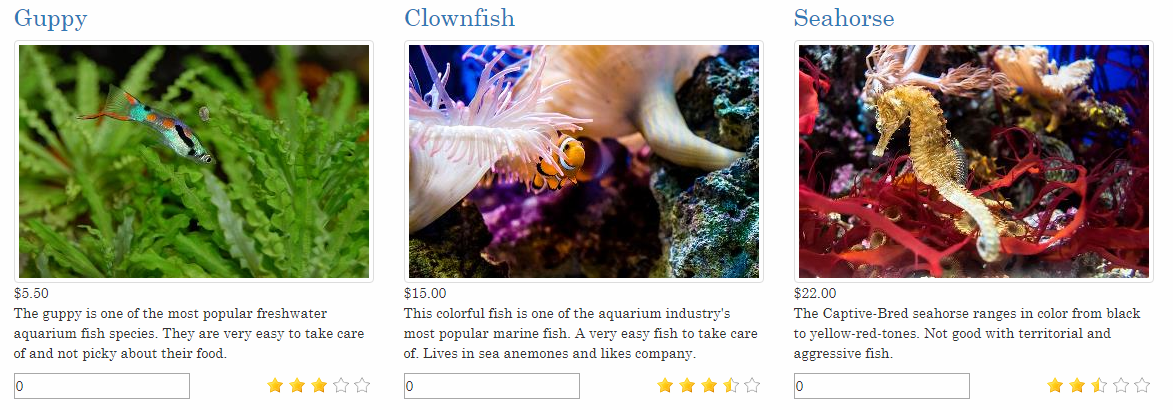
Info: There is already a product list template with rating and comparison implemented for the product catalog which is called ProductListCompareAndRating.html
To display the rating e.g. with stars in your product catalog, you must:
- Go to your store and open the product catalog app
- Open app settings
- Under Templates, edit the List template
- Inside the product loop, insert the following somewhere
Moderating ratings
Since ratings are linked to their specific comment, you can moderate ratings by moderating the comments on your product/page.
To administer the comments for a product, you must go to the Ecommerce node and find the specific product and click Comments in the ribbon bar (Figure 6.1).

To administer the comment for a page, you must open the page and go to Properties. Open the Layout tab and click Comments in the ribbon bar (Figure 6.2).

Both administer pages for comments will look like this (Figure 6.3). Here you can add, delete and change existing comments’ content, rating and other information.
