
Social Media Publishing
With the Social Media Publishing module, you can schedule and publish content from Dynamicweb directly to social media channels.
You can:
- Schedule and publish content directly to Twitter
- Schedule and publish content to directly Facebook
Social Media Publishing therefore allows you to do conduct even more of your marketing efforts from within Dynamicweb, without having to use external services.
In order for Social Media Publishing to work, you must create an app on the social media (Twitter or Facebook).
This app functions as a doorway to your social media account, through which Dynamicweb posts content. Read about creating a Facebook app here – or a Twitter app here.
You also need to set up publishing channels in Dynamicweb - you can read more about that under the Implementing section.

Basic Concepts
In this section you will learn about:
- Creating and scheduling social media messages
- Social media publishing statistics
Navigating to the Social Media Publishing tool
To get started with Social Media Publishing:
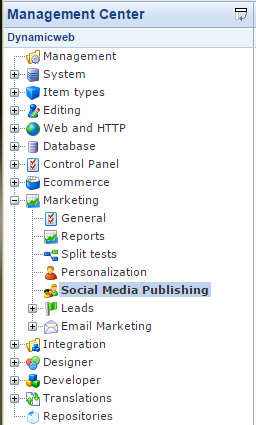
- Click Marketing on your accordion
- Notice Social Media Publishing on your marketing tree
- Click the plus-sign to fold out your Social Media Publishing folder structure (Figure 3.1)
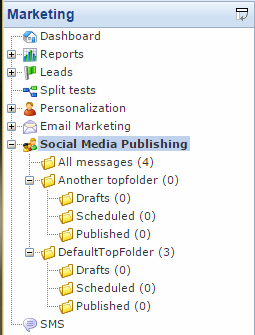
From here, you create and manage your social media messages.
Creating a social media message
To create a social media message:
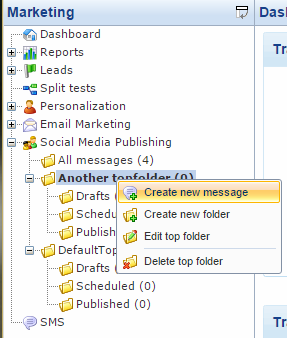
- Navigate to your marketing tree
- Open the Social Media Publishing folder structure
- Right click on a top folder
- Click Create new message (Figure 4.1)
This takes you to the ‘Create message' view (Figure 4.2).
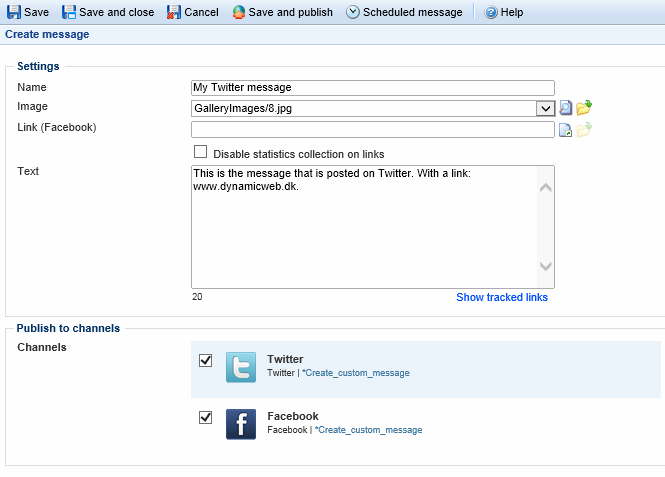
From here, you can:
- Name your message – this name is used only as an internal name, in the Social Media module
- Select or upload an image – if you want to post an image along with your message
- Supply a link – if you have selected one or more Facebook publishing channels. If you publish to both Facebook and Twitter at the same time, the link will only appear on Facebook.
- Enter a text – the message you want to post to your channels
- Select one or more channels to publish to
Twitter has a 140 character limit – if you exceed 140 characters in the text field, posting to Twitter will fail.
You can disable statistics collection on links by checking the checkbox, at the cost of missing out on tracking statistics – this will give you a few more characters to work with.
You can create custom messages for a channel by clicking Create custom message next to the channel on your list of channels. In this way, you do not have to compromise on your content, and only post 140 characters on Facebook, for instance. Instead, create a custom 140 character message for your twitter channels.
Publishing or scheduling a social media message
Once you have created a message, you probably want to publish it to your channels.
To publish a message:
- Click the Save and publish button (Figure 6.1)

As you can see, you can also elect to Save your message, Save and close your message, Cancel your message, or Schedule it for later publication.
Scheduling a message may be useful, if you want to keep up activity at times when no one is at the office – be it during holidays, weekends, or at night (if you do business in other time zones, or maybe like to target insomniacs).
To schedule a message:
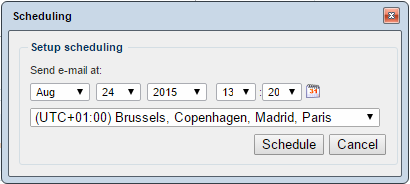
- Click Schedule message – this brings up the Scheduling window (Figure 6.2)
- Specify a month, day, year, and time to publish your content
- Select the appropriate time-zone
- Click Schedule
Your social media message will now be moved to the Scheduled-folder until it has been sent, after which it will be moved to the Published-folder.
The Published-folder overview
From the published folder, you can get an overview of your social media marketing efforts. For each message, you will be able to see ({figure ref}):
- The creation and publication date
- The message name
- The channels/media published to
- A preview of the text

A red cross over the media/channel icon means that the message was not delivered successfully – you will need to reopen the message by right-clicking on it and selecting edit message, fixing the issue, and clicking Republish.
Selected errors and fixes:
- Invalid or expired token means that the channel is not authorized or has lost authorization. The channel must be (re)authorized from the management center (read more here)
- Status is a duplicate occurs when two identical messages are published in a short timeframe. Messages are checked against recent messages, so that a user cannot submit the same status twice in a row.
Social Media Publishing statistics
On your list of published messages, click a media/channel icon to go to the Statistics overview for that message (Figure 8.1):
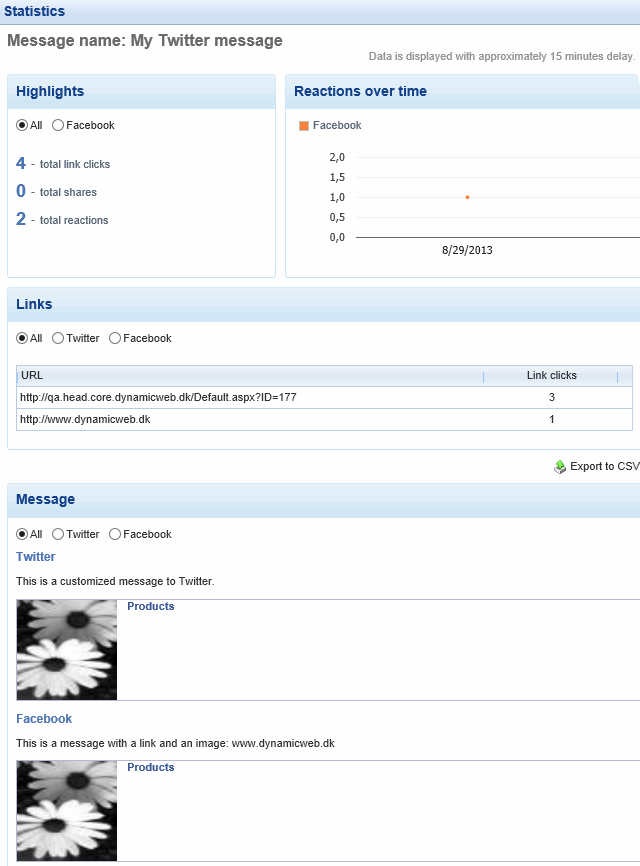
Here you can see:
- Total link clicks – the number of times the link was clicked from all channels
- Total shares – how many times the content was shared on Facebook or retweeted on Twitter
- Total reactions – the sum of likes, shares, comments and retweets across channels
You can also see statistics for each individual channel, see a visual representation of the reactions over time, check which particular links were clicked, and see what the message contained for each channel.
The statistics can be exported as a .csv file by clicking Export to CSV

Implementing
In this section you will learn about:
- Setting up social media channels
Setting up social media publishing channels
Before you can publish content on social media, you must set up one or more social media publishing channels to publish your content through.
Currently, Dynamicweb supports Twitter and Facebook natively, but you can create your own social media providers.
To set up a publishing channel:
- Click Managment Center on your accordion
- Click Marketing > Social Media publishing (Figure 10.1)
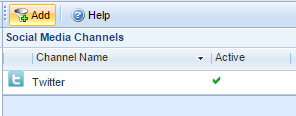
This takes you to the Social Media Channels page. From here, you can add new social media channels.
To do so, click the Add button (Figure 10.2):
This takes you to the channel setup view (Figure 10.3):
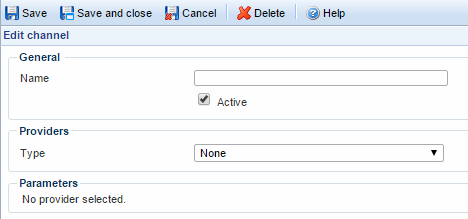
From here you must:
- Name your channel
- Select the type of channel (Facebook or Twitter, unless you create your own social media provider)
- Specify any parameters required by the social media provider
Parameters are social media specific, and based on the authentication process for the social media in question.
Social Media Parameters for Twitter
For Twitter, you must:
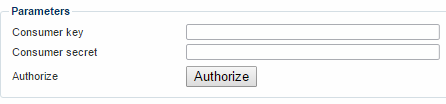
- Provide a consumer key, which is an API key provided by Twitter when your application is created
- Provide a consumer secret, which is a kind of password provided by Twitter when your application is created
- Click authorize to get your social media channel validated and authorized
For a(n external) guide on how to create a Twitter app, read here.
Social Media Parameters for Facebook
For Facebook, you must:
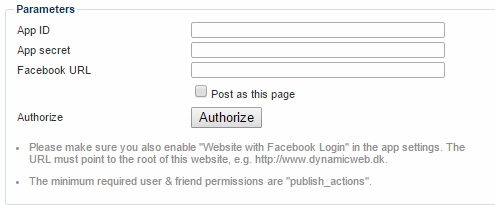
- Specify an App ID, which is provided by Facebook when your application is created
- Specify an App secret, which is provided by Facebook when your application is created
- Provide the URL to your Facebook page – you need this, if you want to post as a page, rather than with your personal account. Check post as this page if you want to post as the page – if unchecked, you post with your personal account on the page provided.
- Click Authorize to validate and authorize your social media channel
For a(n external) guide on how to create a Facebook app, read here.


