Customizing content in a navigation column
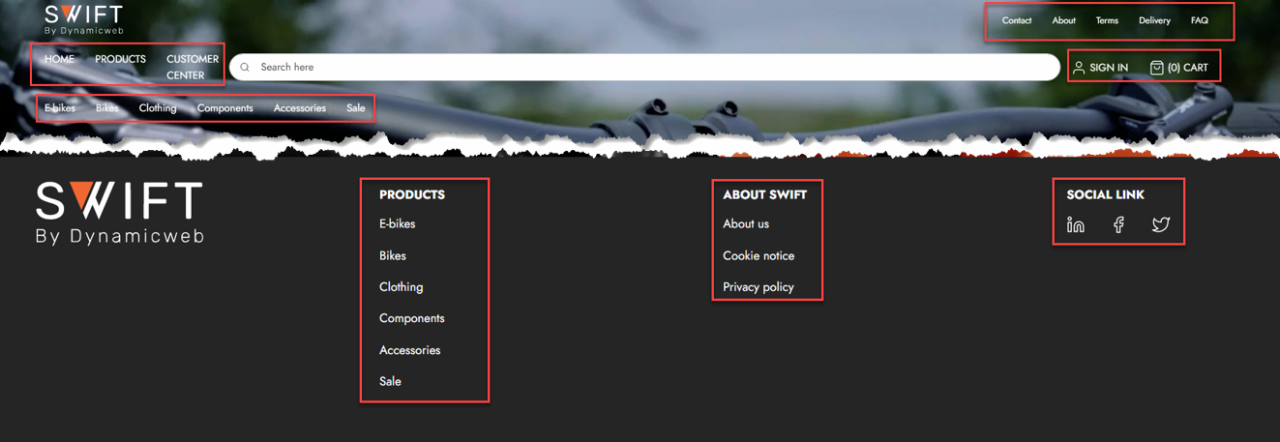
Often your headers and footers consist of a combination of navigation list with different styling. They can be horizontal or vertical, displayed without, with or only of icons. Examples of different kind of navigation can be seen on Figure 1.1. You can read more about the navigation column here.
How navigation works
In Swift, the shown links in navigation lists are based on folders containing different pages. These can be found in the content tree. This means that if you want to change the displayed links in the navigation list, you’ll need to locate the folder in the content tree (1) and either create or remove pages in the folder containing these pages (2).
Adding a new link
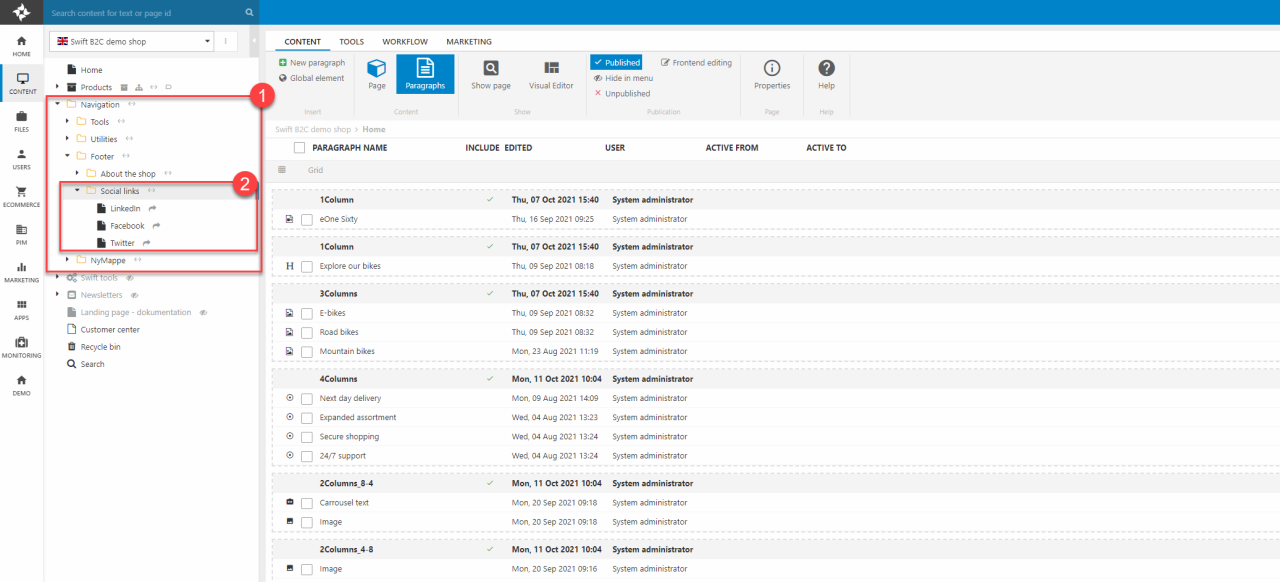
Let’s say you want to remove the icon of LinkedIn and instead add the icon of Instagram in your navigation Social Links. This is done by either deleting or hiding the page of LinkedIn and creating a new page with the icon of Instagram. The new page should then redirect the customer to your page on Instagram.
If you only want to create a new content page with no redirection to other pages, you’ll just need to follow the guide of how to create new pages. A guide explaining how to add new pages has already been made and can be found here.
Normally hiding the page will be enough, this will also save you some time, should you change your mind about the page in the future. The guides for deleting or hiding the page can be found here.
The most important thing when working with social media links is making the redirect to the right places. With social media links you probably want the customer to enter your page on the social media and not a page on your own site. We’ve already described how to redirect a page to an external page. That guide can be found here.
Linking to the same page in two different navigation lists
Sometimes you can end up wanting to link to the same page in two different navigation columns. Let’s say you want a link to your “About us” page in both your header and footer but with different content around it, as it can be seen on figure 1.1. By how the tool is constructed you would need to create two identical pages to make a link in both the header and footer. This would be time consuming to both create and manage over time.
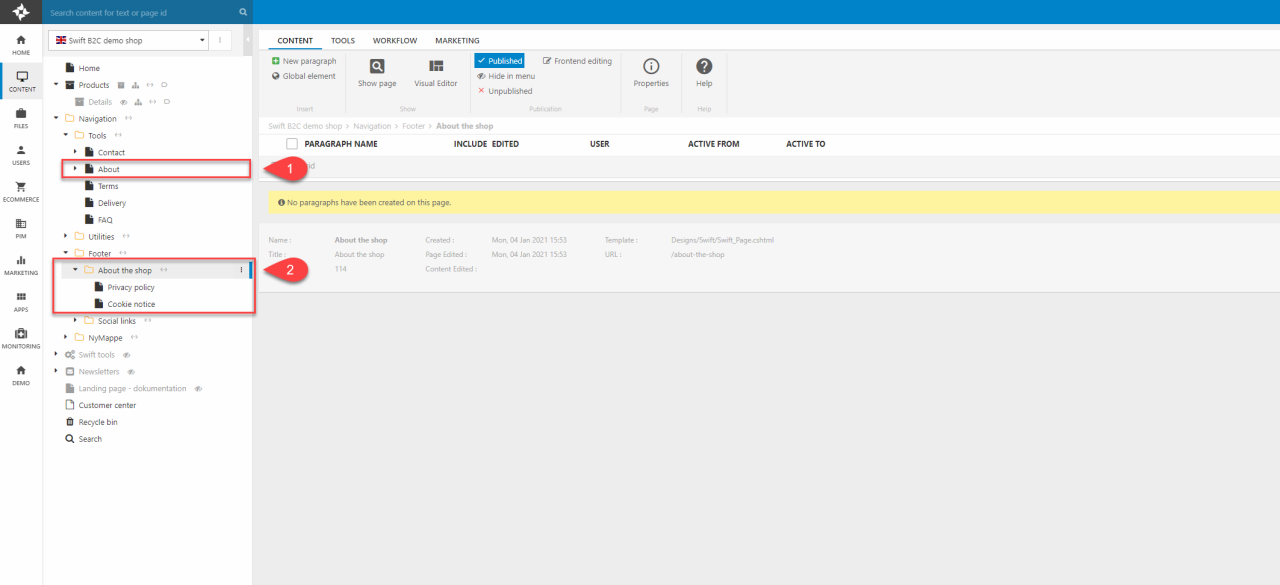
Instead, we’ll create a page that will be an internal link to the original page. In this example we already have an “About” page in a folder called Tools (1). Now we want to create a new page in the footer folder called "About the shop" (2). This will be an empty page that will redirect to the original “About” page.
To create a new page, follow the steps made in the guide about creating pages.
After the page has been created, you’ll be shown the content of the page, which should be empty. Enter the properties of the page. The button for the properties is located at the top center of your screen and marked with an "i" inside a circle.
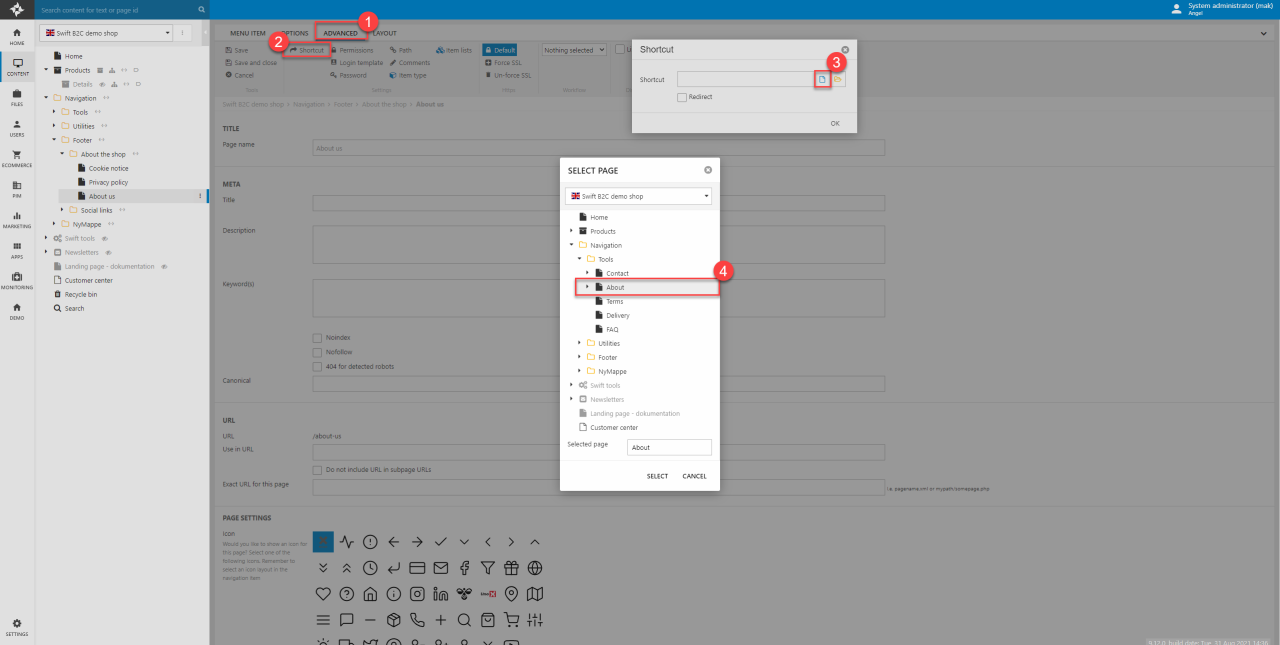
- Hit Advanced (1) in the top action bar
- Hit Shortcut (2) located just beneath.
- In the pop-up hit the blue page icon (3) which will open a new pop-up with the content tree displayed.
- Navigate to the original “About” page (4) that your newly created page should redirect to. Make sure to hit the original page. The page name should be shown in the box at the bottom of the pop-up.
- When all this is done click SELECT at the bottom and OK in the small pop-up. REMEMBER to hit Save and close in the top left corner, otherwise you’ll have to do these steps again.
You should now see a small yellow label displayed as content on the page saying that the page is an internal link to your selected page.
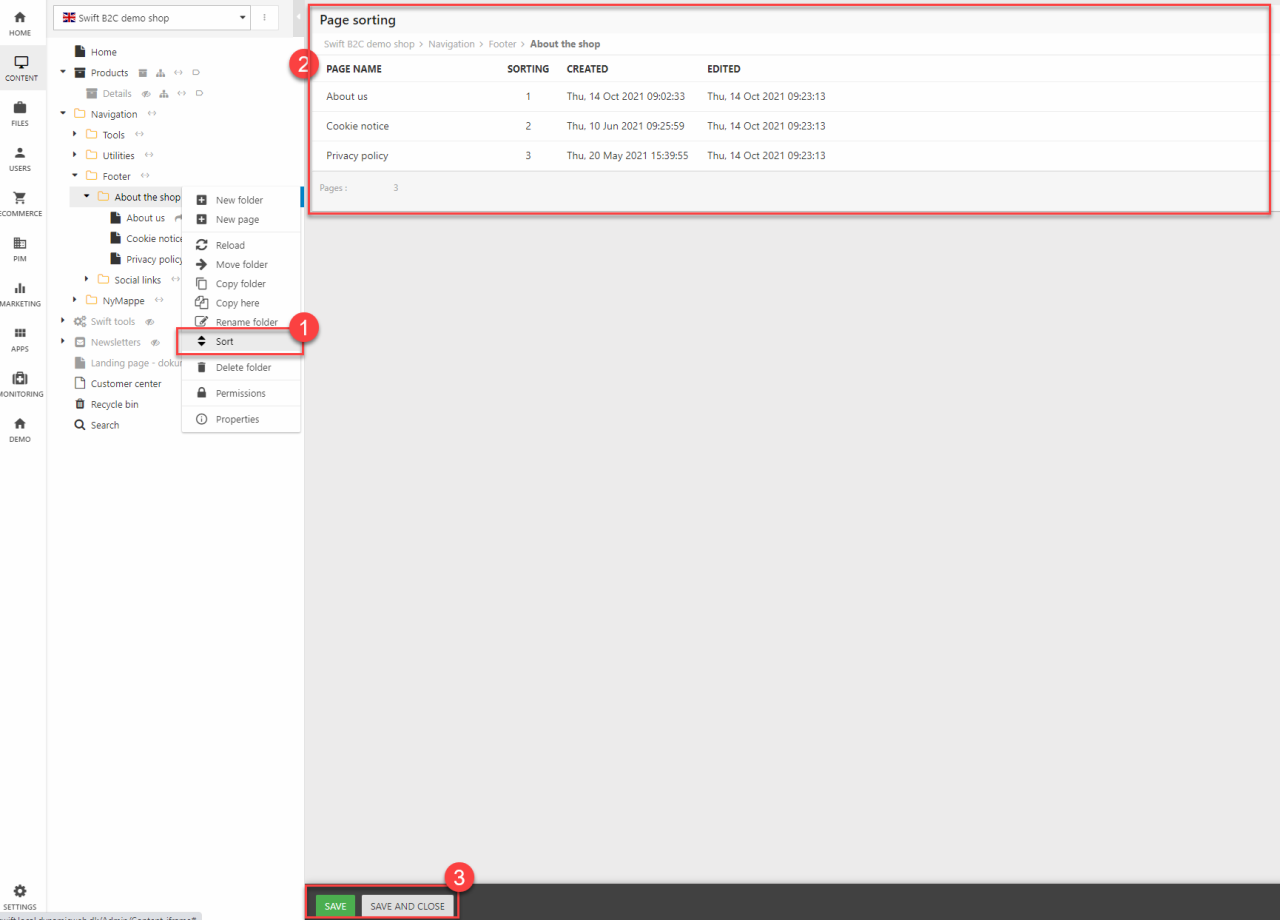
Changing the order of the links
When creating a new link in a navigation list, like we did in the section just above, the new page will be positioned at the bottom. If you want to change this, you’ll have to sort the pages in the folder.
Let’s say you want the About us link to be the first one in the navigation list:
- Navigate to the folder containing the discussed pages. In this case the About the shop folder. Hit the three vertical dots on the right or right click the folder.
- This will open the drop-down menu. Hit Sort (1).
- This will open a list containing the names of the pages and other data about them (2).
- To change the order of the pages in the folder, and there by the links in the navigation list, Click, Hold and Drag the pages up and down until the preferred order is achieved.
- REMEMBER to hit SAVE at the bottom (3).