
Tutorial 3: Indexing, searching & filtering the product catalog
In tutorial 1 you created a shop, some product groups and a number of products - and in tutorial 2 you created a shopping cart, added products to the cart, and modernized the checkout flow.
In this tutorial we are going to use the New Indexing engine to:
- Create and configure a product index
- Create a query for free-text searches & faceting
- Modify the search templates to use the query and render a filter
Basically, we’ll be creating a simple free text search and a filter in your product catalog – and get acquainted with the powerful New Indexing engine in the process.
Create a Repository
A repository is a kind of top folder for indexing configuration files – each repository can contain a number of indexes, queries etc.
Create a new repository:
- Go to Settings
- Right-click the Repositories node and click New repository
- Name it Products or equivalent
- Click OK
You now have an empty repository (Figure 2.1).
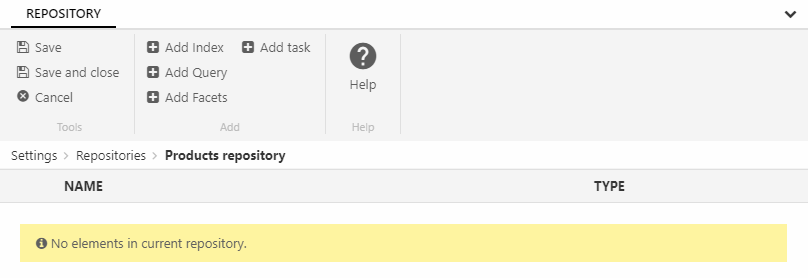
Repositories work as containers for configuration files and can be used to organize different search scenarios. They are basically folders in the file archive and can easily be moved from one solution to another.
Indexing your products
Next, you must index your content – in this case your products. This is a fairly complicated process, but of course it only needs to be done once – after which the index can be automatically rebuilt at intervals.
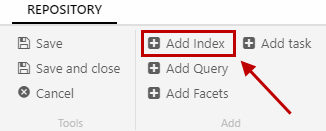
- Click Add Index in the ribbon bar (Figure 3.1)
- Name the index Products
- Click OK
This opens the index configuration view – there’s nothing there yet, but we’ll define the index in a minute.
Broadly speaking, an index consists of:
- One or more Instances of the index (data destinations)
- One or more build definitions (for retrieving data and putting it in the index)
- A number of fields (mappings between the data retrieved by the builder and the index being built)
- Optionally a number of custom field types – but we don’t need them in this scenario
Define your Product index by following the steps below.
Creating an instance
An instance is basically a folder with a provider for putting data in the index instance – and to make things simple currently only one provider is available.
To create an instance:
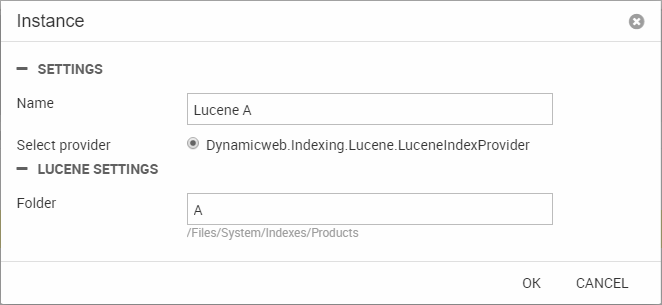
- Click Add instance to open the instance configuration view (Figure 4.1)
- Name the instance Lucene A
- Specify the folder name A
- Click OK
Configuring a build
A build is a configuration for retrieving data from Dynamicweb and passing it on to the IndexProvider on the instance.
Create a new build:
- Click Add build to open the build configuration view (Figure 5.1)
- Name the build Full build
- The ProductIndexBuilder should be selected by default – if it’s not, select it
- Leave the builder action (Full) and the settings as they are
- Click OK

Note that you can set up notifications – this means you will get an email whenever the index is built (or fails, which is more useful).
Adding field mappings
Fields are mappings between the data retrieved by the builder and the index you are building. Or, in more concrete terms, fields are what you query (search in).
You can add field mappings manually using the standard Field mapping, but this is a lot of work..
So we’ve made things easier for you by creating a default schema of field mappings – the ProductIndexSchemaExtender.
Create a schema extender field:
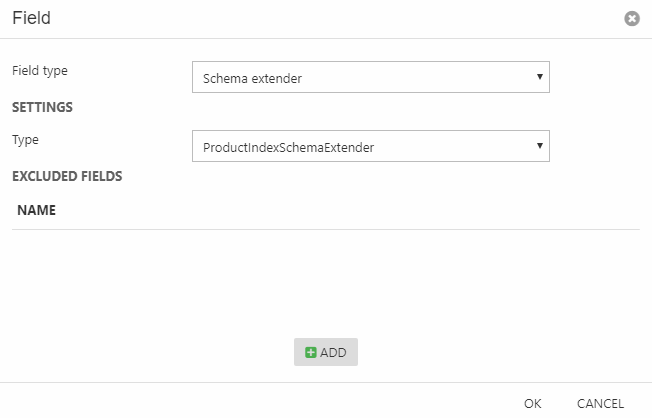
- Click Add field to open the field configuration view (Figure 6.1)
- Select the Schema Extender field type
- Select the ProductIndexSchemaExtender
- Click OK
- Save the Index
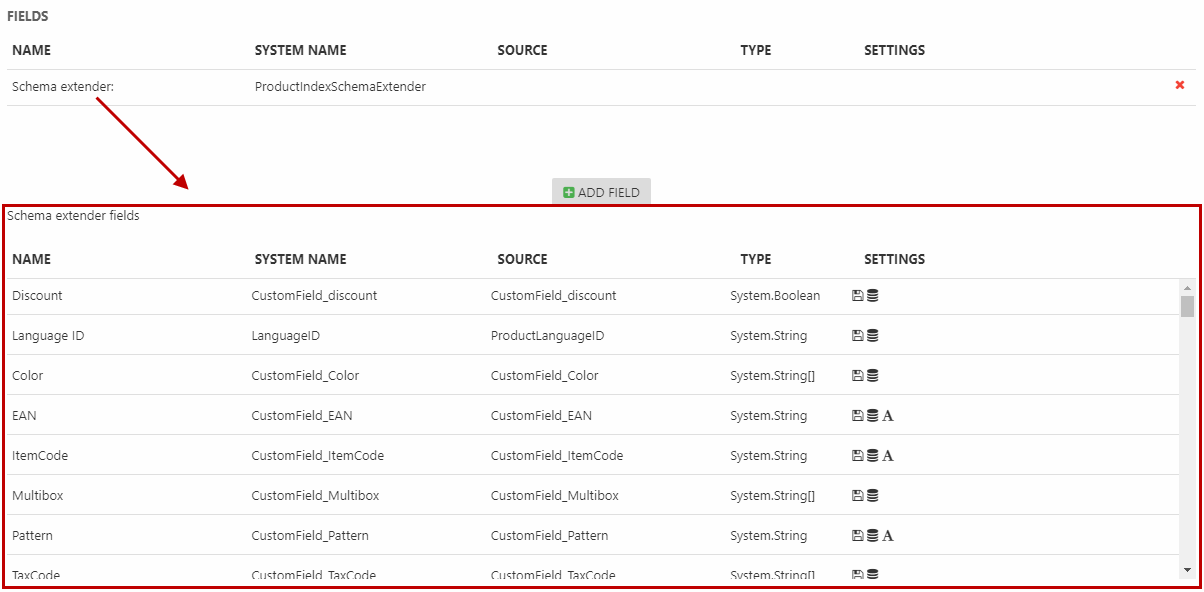
Once the index has been saved, you can see a list of schema extender fields – with the Name, System Name, Source and data Type for each field.
If you are unhappy with the way a schema extender maps a particular field, you can exclude the field in the schema extender field settings – and then add the field manually using a standard Field type field, which will let you configure it to your liking.
Have a look at the fields available from the schema extender – then save and close the index definition.
Building the index
The final step is building the index – and to do that simply click the Build button next to your build definition (Figure 7.1).

This will build your instance – it should look approximately like Figure 7.2 afterwards.

Creating a query
Once you have an index configured and built, you can start querying it – i.e. asking it to return information to you.
We will be building a simple query asking for active products containing a particular search term in their name or descriptions.
- Click Add Query in the ribbon bar (Figure 8.1)
- Name it Free-text
- Select your Products index as the data source
- Click OK
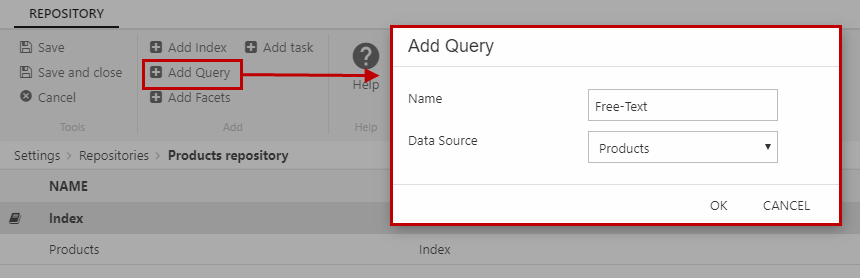
This opens the query configuration view (Figure 8.2).

Create the free-text query:
- Add a Parameter, then:
- Name it Search
- Select the System.String type
- Click OK
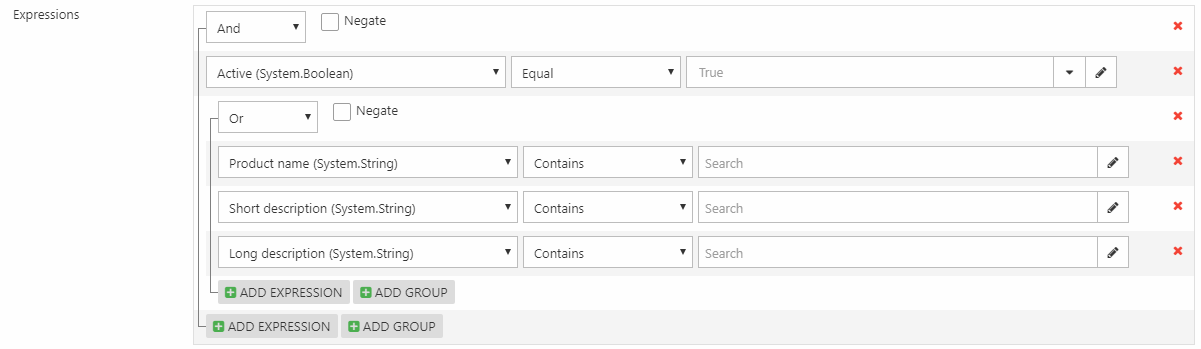
- Click Add Group under Expressions, then:
- Select the Active field and the Equal operator in the dropdown
- Click the test value field (to the right) and select the 'True'
- Click Add group again, then:
- Change the group operator to Or
- Add two empty expressions (so there’s three in total in the group)
- Select the fields Product name, Short description and Long description
- Select the operator Contains for all three
- Click the pencil icon for all three and select Parameter > Search
- Save the query
This query is going to return all active products where either the product name field, the long description field, or the short description field contains the value of parameter Search, which is the search term entered by the user. While this is a simple query, it’s easy to refine it further – but let’s try it out first.
Your query should look like Figure 8.3 before proceeding.
Using the free-text query in frontend
To use your shiny new query in frontend you must do two things:
- Make your product catalog to use your query to publish products – this also means that you can pass values to the query parameters from frontend
- Set up a search template to pass values to the Search parameter
- Include the search template in your product list template
Publish products using a query
To publish products using a query:
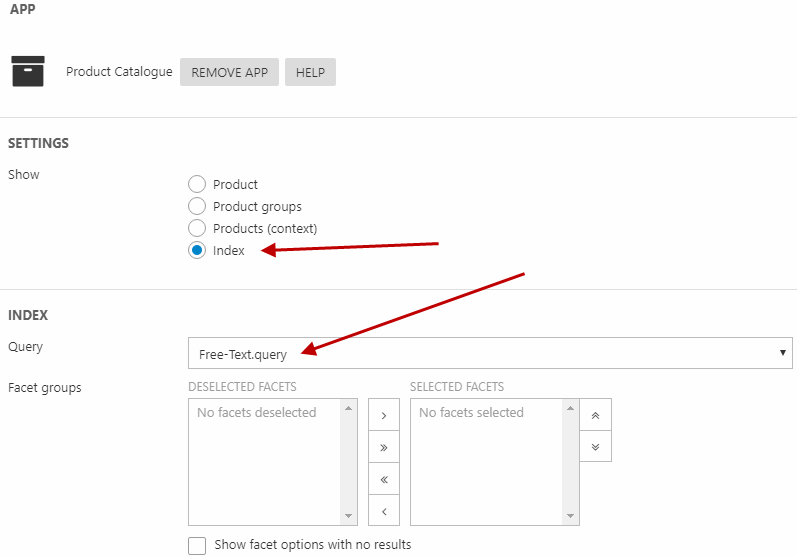
- Open the product catalog app settings (Figure 10.1)
- Under the Show setting, select Index
- Select your Free-Text query in the query dropdown
- Save
As soon as this has been done, you can actually pass values manually to the query using the query string – try it out:
- Open your store in frontend and verify that you see the products matched by your query
- Add ?Search= to the query string and write the name of one of your products
Pretty cool – but obviously you want to pass values entered in a search field to the query instead, which is what we’ll be doing next.
Modifying and using the Search template
Next, you must create or modify a search template to pass values (search strings) to the Search parameter you created in the Free-text query. Dynamicweb ships with a (very simple) html template called SearchForm.html, but feel free to create your own Razor-based template.
To access and modify the searchform.html template:
- In the product catalog templates section, click the Search checkbox
- Open the SearchForm.html template
- Change the value of the name parameter to Search (or whatever you called your query parameter):
- Save and close
Once the search template has been modified, it must be included in the Product List template:
- Open the product list template
- Figure out where you want the search box to appear
- Use @TemplateTags to find the tag which includes the search box – and then include it
And that’s all – open your product list and try searching for one of your products.
Creating a facet (filter)
Most web shops let users filter a product list using some sort of control, e.g. a dropdown or a checkbox list – which lets the user choose e.g. the color or the size they want to see.
With new indexing, this is accomplished by creating and using facets – mappings between a field and a parameter. A facet can retrieve all the various values in a field which exist in your index to the user, and passes the selected value to a parameter in your product list query, which will then filter the list based on that value.
Before creating a facet, you need to create the surrounding infrastructure.
First you must create a query parameter to pass filter values to:
- Open your Free-Text query
- Add a parameter – call it Manufacturer
- Select the type System.String
- Click OK
Next you must modify your query to include the values passed to the Manufacturer parameter:
- Add an expression to the outermost level of the query
- Select the Manufacturer ID field
- Select Equal as the operator
- Click the pencil icon and select the Manufacturer parameter
- Save and close
As you can see, the process is similar to when you created the Search parameter and used it in your query. You can test it in frontend in the same manner – add ?Manufacturer= and the ID of one of your manufacturers (e.g. "MANU1") and verify that you see the products you expect.
Creating a facet
For a filter, you want to retrieve all values for a given field from the index and display them to the user, then pass the selected value to the query.
This is done by creating a facet group and a facet:
- Click Add Facets in the Repository overview (where your index and query is located)
- Name the facet group (e.g. Manufacturers)
- Select your Free-text query
- Click OK
This opens the facet group definition view (Figure 13.1).
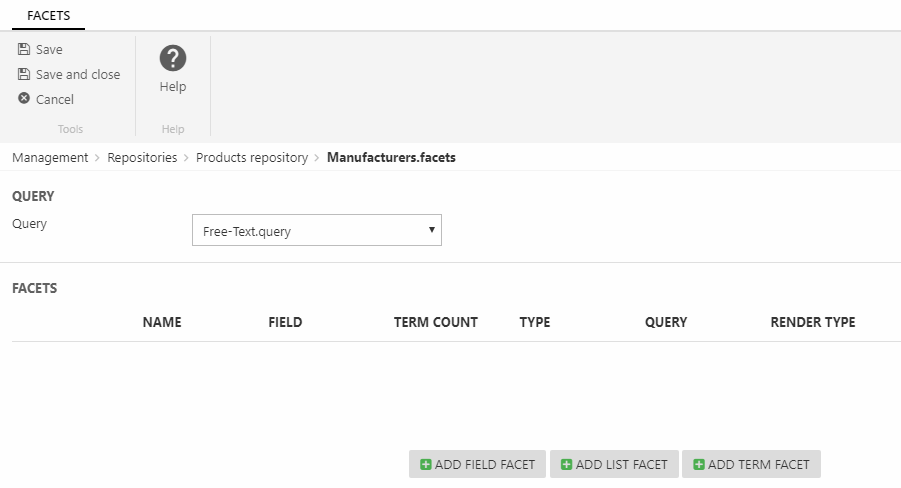
From this view:
- Click Add field facet
- Name the facet Manufacturer
- Select the Manufacturer ID field
- Select the Manufacturer parameter
- Set the render type to Checkboxes
- Click OK
- Save and close
Field facets are the simplest type of facet – it simply retrieved all values from a field and makes them available. A list facet lets you create labels (Spring Colors) and match them to field values (green, orange, mauve, etc.), and a term facet will take the top 2048 field values from a field (but if you facet on that kind of data, rethink your approach).
Once created, the facet can be rendered in frontend.
Rendering the filter in frontend
Filters are rendered in frontend by looping through all the facets in a facet group and rendering them as you see fit.
To make a particular facet group available in a ProductList template:
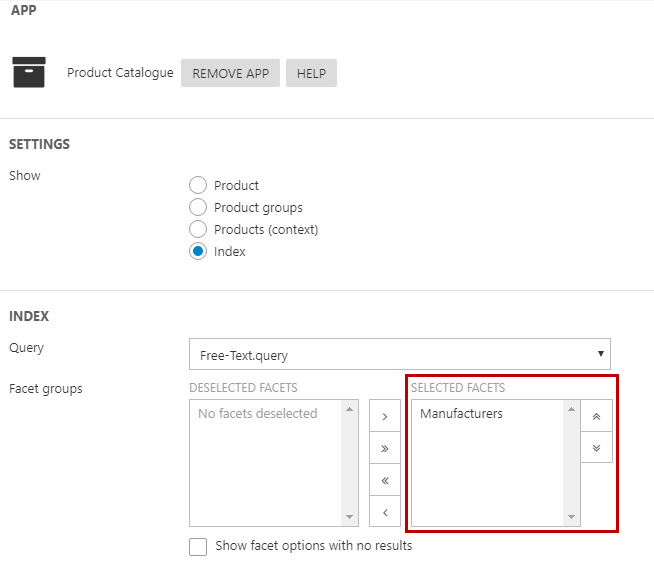
- Open the Product Catalog app
- In the Index section, move the Manufacturers.facets group from the deselected facets column to the selected facets column (Figure 14.1)
- Save
Open the Product list template and use the FacetGroups loop to loop through and render the facets.
You can render them in any way you want, e.g.:
Which html elements to use when rending facets, and which type of behavior they should have, is completely up to the implementer.
What you’ve learned – and what’s next
During this tutorial you’ve learned how to:
- Create and configure a product index:
- Creating an instance
- Configuring a build
- Adding field mappings using the Schema Extender field type
- Build a query and use it to publish products
- Create parameters to receive values from frontend
- Pass values from frontend to the query parameters
This means that you now have basic knowledge of how to work with New Indexing.
In the next tutorial you will learn how to:
- Create and use a shipping method
- Create and use a payment method
- Work with VAT in Dynamicweb