
Dynamics 365 Business Central
This article explains the process of installing the Dynamicweb D365 BC plugin, a component in an integration between Microsoft Dynamics D365 Business Central and a Dynamicweb solution.
The plugin is a piece of software which reacts to XML requests from Dynamicweb by:
- Extracting data from D365 BC
- Wrapping the data in an XML format understood by Dynamicweb
- Returning it to the Dynamicweb solution via an encrypted connection
First, download the Integration v2 Dynamicweb 365 BC plugin from the downloads area – it contains a single .app file with the plugin code.
The installation process differs depending on whether you’re installing to Dynamics 365 BC On Premise or to Dynamics 365 BC Cloud.
D365 BC On-Premise
Before installing Dynamicweb Plug-In Unit for Dynamics 365 Business Central
Please note that our plug-in unit uses object ranges between 6211181 to 6212180. Permission to use this range is not included in a standard BC license, which means that you cannot use our plug-in unit until the BC license has been updated. Updated licenses can only be issued by ERP partners registered as Authorized Resellers.
If your ERP partner is not an Authorized Reseller of our plug-in unit you must:
- Contact the ERP partner/reseller which issued the current BC license and obtain their Microsoft PartnerSource Business Center Account ID
- Contact us on support@dynamicweb.dk and ask us to authorize this reseller in our PartnerSource Business Center
- Contact the ERP partner/reseller and ask them to issue a new license with authorization to use our ISV Module (with Module ID 62511).
To install the app on Dynamics 365 Business Central On-Premise:
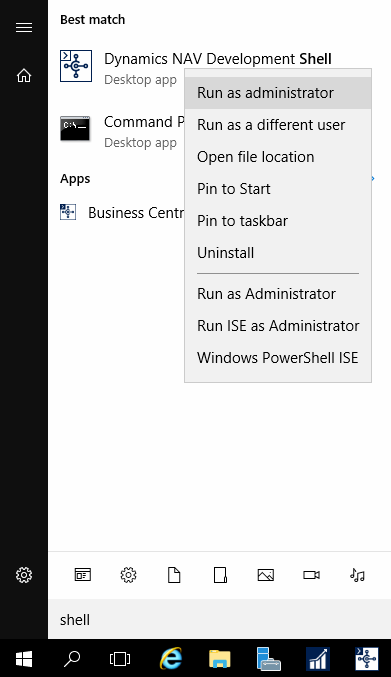
- Start the Dynamics NAV Administration Shell (Figure 3.1)
- If you have the extension already installed, you need to uninstall it first. Run the commands:
- Then run the following commands to install:
Where "C:\Extensions\Dynamicweb_Dynamicweb Plug-In Unit_1.0.0.0.app" is the path to the extension .app file, and Dynamicweb Plug-In Unit is the name of the extension hardcoded in the .app file. –SkipVerification is used when your application is not signed with an Authority key.
Once the install procedure has completed, you should have access to the DWWebService (Figure 4.1).

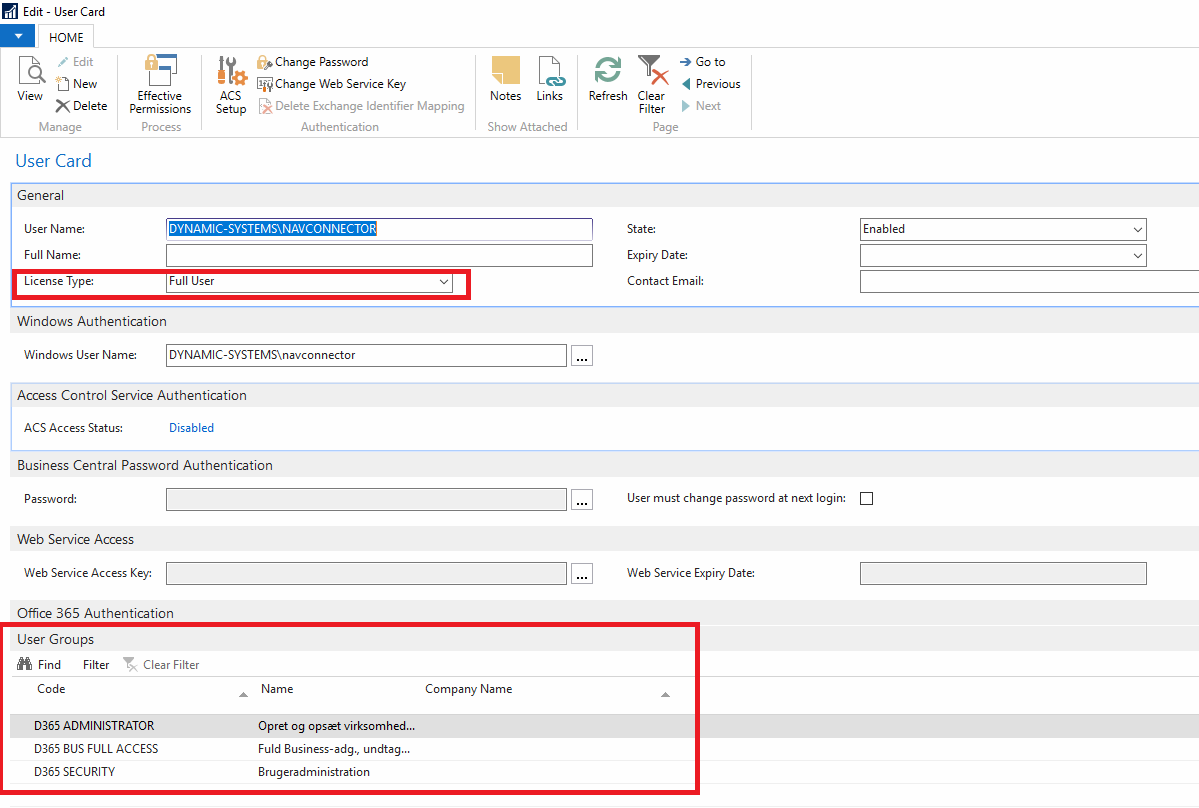
To connect to the web service from the Dynamicweb Connector service you need to configure a user in BC - Go to Users and add a user like shown in Figure 4.2. If you want to create orders in BC via the live integration the user must have D365 BUS FULL ACCESS permission - if not, D365 BASIC will suffice.
Copy the webservice URL and username and password for the BC user – you will need these when configuring the Connector service.
D365 BC Cloud
To install the app on Dynamics 365 Business Central Cloud:
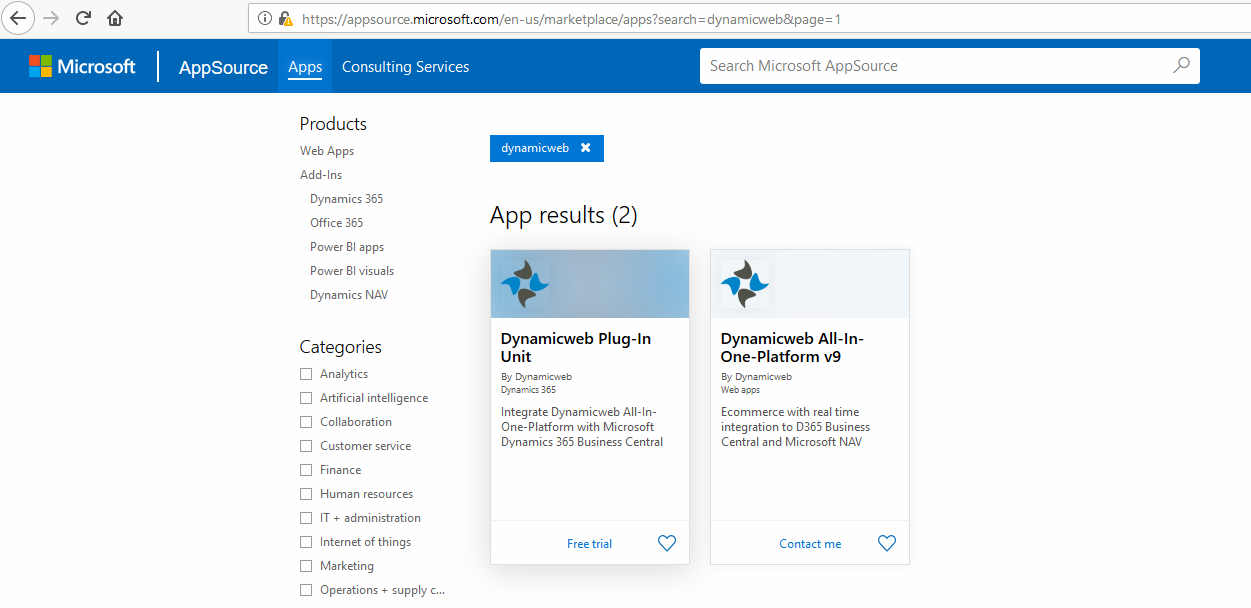
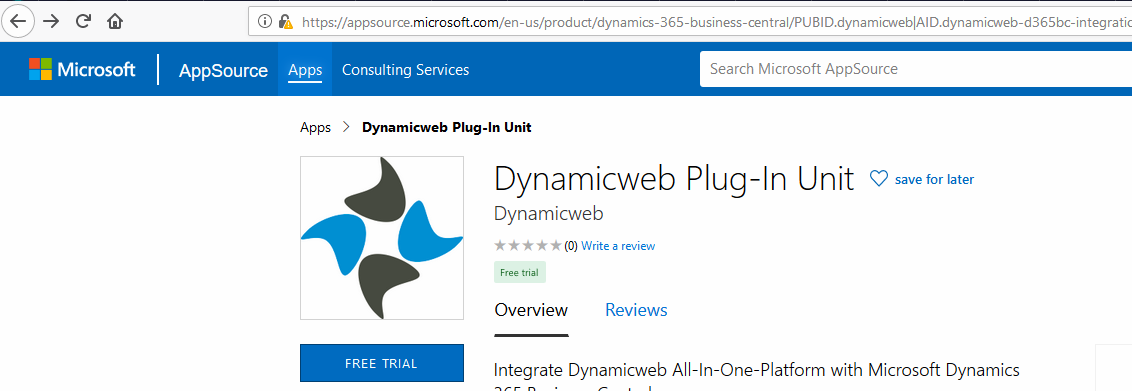
- Select the Dynamicweb Plug-In Unit and click Free trial:
- Choose Production or Sandbox – we recommend you start with a Sandbox and test everything before installing on the Production environment (Figure 5.3)

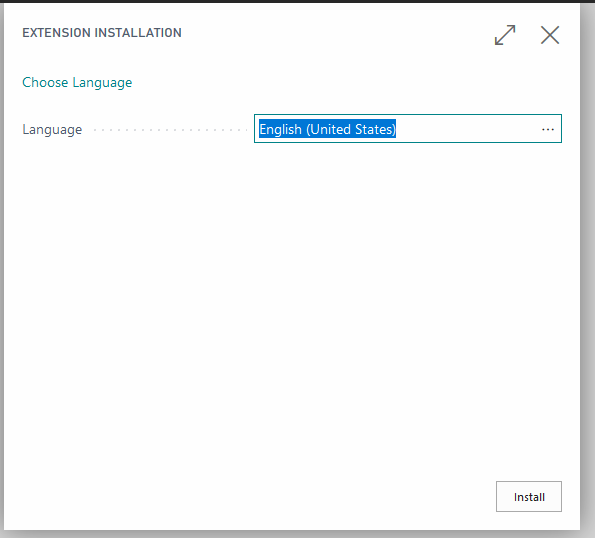
- Choose language and click install
- After installation, go to Setup & Extensions > Manage > Deployment Status and verify that deployment has been completed (Figure 6.2)

- Once the install procedure has completed, you should have access to the DWWebService (Figure 6.3).

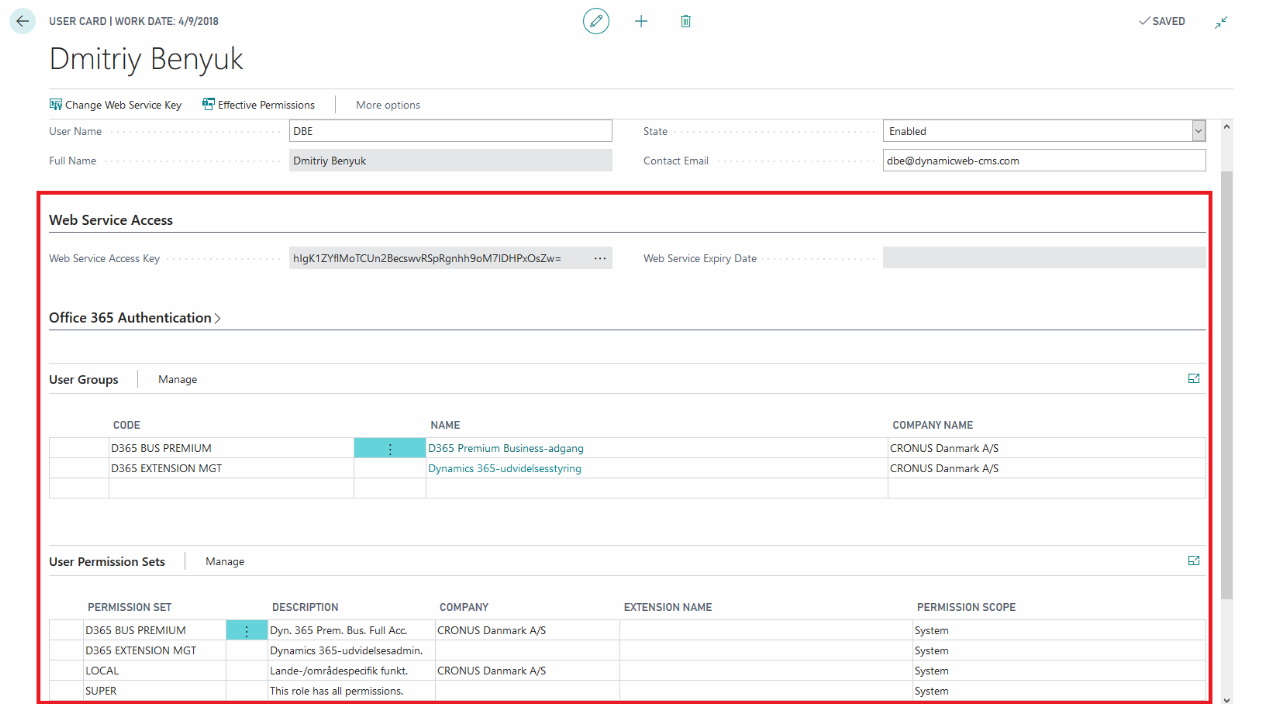
To connect to the web service from the Dynamicweb Connector service you need to create a user (Figure 7.1). If you want to create orders in BC via the live integration the user must have D365 BUS FULL ACCESS permission - if you are not planning to use live integration to create orders in BC, D365 BASIC will suffice. To generate a password check the Web service access key checkbox on the user.
Copy the webservice URL, username, and password for the user – you will need these when configuring the Connector service config file.
Data mappings
The Business Central codeunit/plug-in unit works by extracting data from certain Business Central data fields, wrapping it into XML-format and inserting into the corresponding Dynamicweb tables. A comprehensive overview of the mappings between the two systems can be accessed in the Codeunit mappings article.