
Deploying Rapido to an existing solution
Ok, so you’ve read the deployment tool documentation and you’re now looking for a more hands-on example of how to actually use it. Well, look no further – you’ve come to the right place!
In this scenario, you want to switch en existing solution from its current design to using Rapido, but you don’t want to start from scratch with just the design – you want to use the Rapido example content as a starting point.
Please note, that we presume that you have a staging environment set up where you can safely test out design changes before deploying them to the live site. The staging environment should be a copy of the live site, but with a separate files folder and database.
In addition:
- Both the source and the destination must run the exact same version of Dynamicweb
- The destination must be reachable from the machine running the source
Create the source solution
Since you want to deploy Rapido with content to the existing solution, you should have somewhere to deploy it from. If you don’t already have a local solution running Rapido create one:
You can also Create a VS project with code hinting and add the Rapido /Files folder to it – this is primarily useful if you’re looking to develop locally and deploy to staging on a more permanent basis. If you just want to deploy a Rapido website and be done with it you can skip this step.
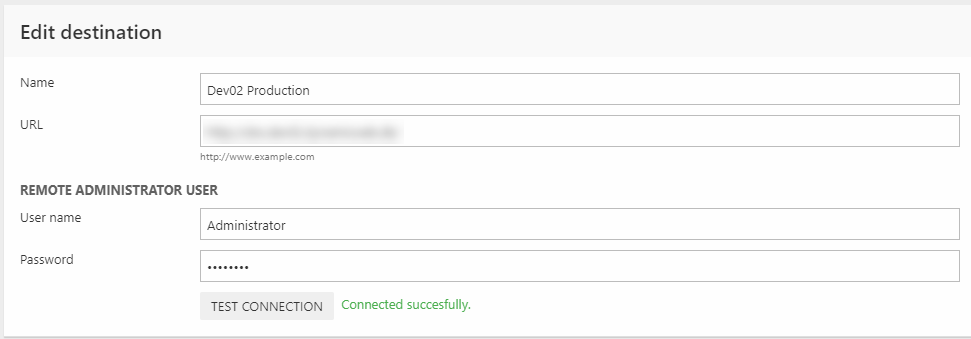
Create the data destination
After the install procedure is done, log in to the local Rapido installation and create a new data destination pointing to the solution you want to deploy to (Figure 3.1).
Determining what to deploy
The Deployment tool is very flexible – the built-in data item providers make it possible to move anything from one solution to another, provided that you know what you need to deploy.
So what actually do you need to deploy to move a Rapido website from one solution to another?
- Item Types – all content on a Rapido solution is created and configured using a set of item types
- Design – the Rapido design folder contains templates for all the various content item types, as well as any Rapido-specific app templates used.
- Content – Rapido comes with a set of example websites, at the time of writing a Bike shop and a Fashion shop. In this scenario we want to use one of these shops as a starting point for the new design, and so pages and paragraphs must be deployed alongside e.g. the /Images subfolder related to the example website.
- Repositories – Rapido comes with a number of preconfigured repository configurations which are used to publish products, index files for the digital warehouse, drive searches, etc.
If you’re looking to develop locally on a more permanent basis you may also want to include e.g. Integration jobs, translation files, and more – but this will have to be determined on a case-by-case basis.
Creating the deployment configuration
The next step is to create the deployment data group – the configuration which specified which data you want to deploy:
- Go to Settings > Developer > Deployment
- Right-click the Deploy node and click Add Data group - then create the following:
|
Data |
Data Item Provider |
Parameters |
|
Item Types |
FilesDataItemProvider |
Point to System/Items folder and check Recursive search |
|
Design |
FilesDataItemProvider |
Point to /Templates/Designs/Rapido and check Recursive search |
|
Content |
ContentDataItemProvider |
Select the area(s) you want to transfer |
|
Images |
FilesDataItemProvider |
Point to the /Images subfolder related to the website you’re deploying |
|
Repositories |
FilesDataItemProvider |
Point to /System/Repositories and check Recursive search. |
As you can see, this configuration is fairly simple since it mostly moved files from the source to the destination. In more advanced scenarios you will need some of our more specialized data item providers, e.g. the FormsForEditorsDataItemProvider or the SqlDataItemProvider.
You can also download a set of predefined data groups and use them as templates for your more advanced needs.
Deploying the data
While deploying the data is very simple, you must keep in mind that the Deployment tool is dumb; it will do exactly what you tell it to do. So to avoid error and odd behavior you should make sure you deploy the templates folder and the items type definitions before transferring content dependent on those templates and item type definitions:
- Click on the Data Group in the deployment tree
- Select the Item Types and Design data items (Figure 6.1)
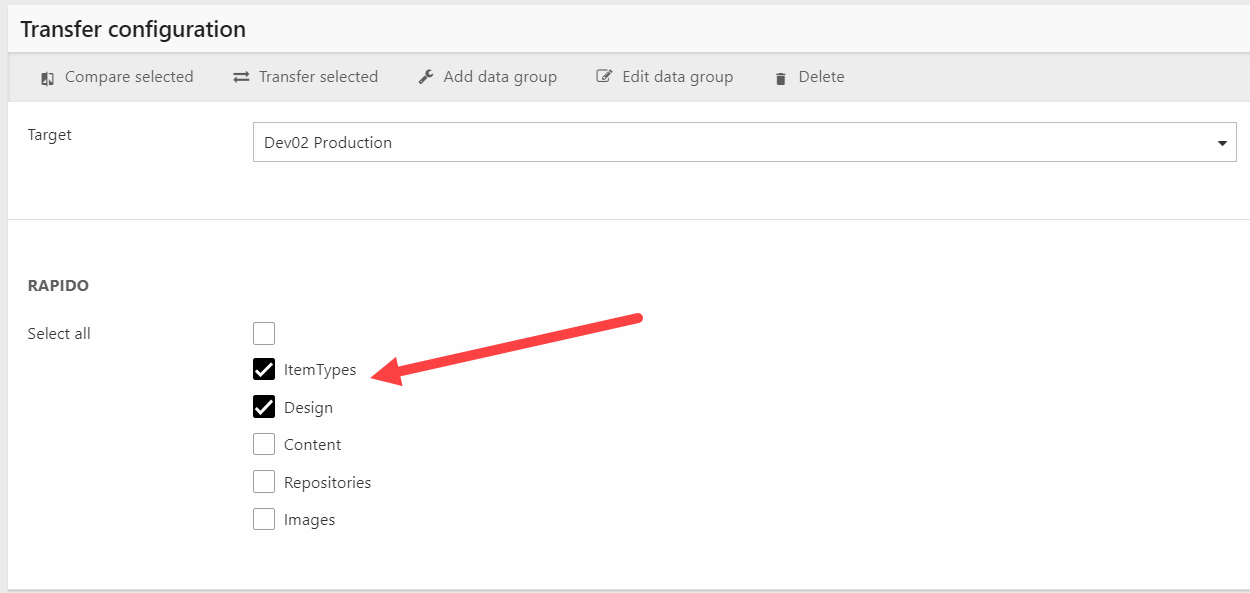
- Click Compare selected and review the comparison
- Check the items you want to deploy
- Click Transfer selected
After this, the data will be transferred and you will see log – hopefully with a positive outcome.
Repeat the process for Content, Repositories, and the Images folder. You may have to IISRESET the destination site before all the deployed content is visible.