Newsletters
Newsletters are created as pages in the Content Area. There’s probably already a folder for you to place newsletters in.
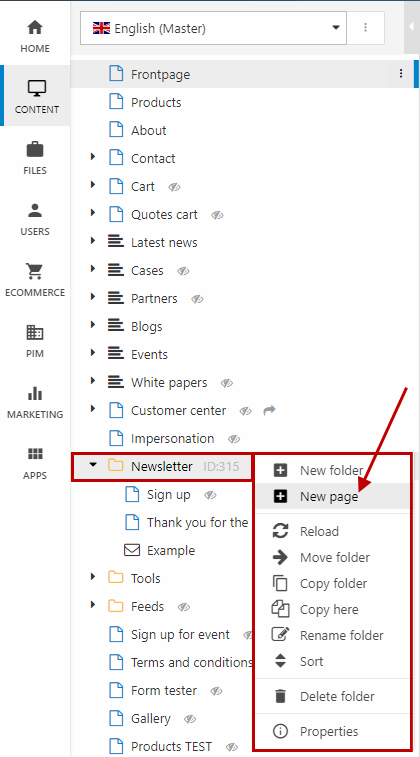
Click the menu button for the (Newsletter) folder to open the folder menu. Click New page (Figure 1.1).
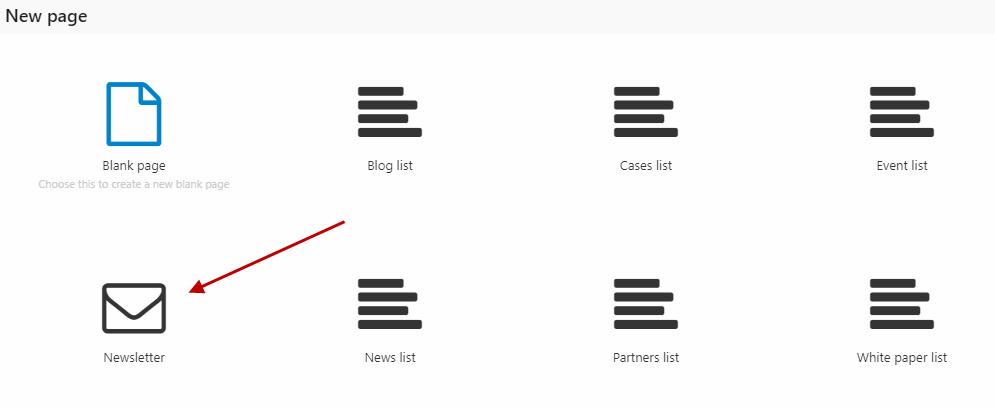
Choose the item type Newsletter (Figure 1.2), name your newsletter and select a publish state.
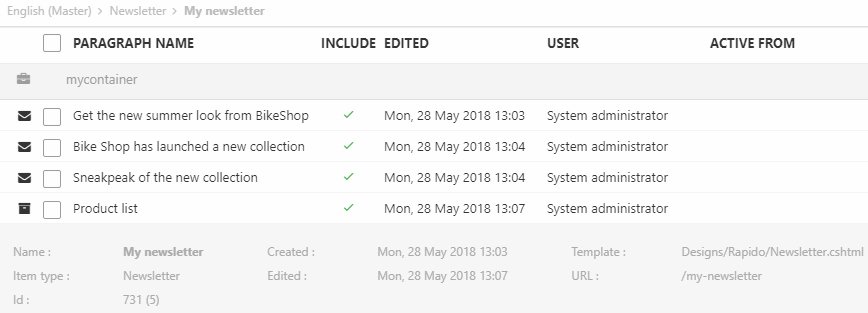
The content of your newsletter is created with paragraphs. You can choose the following item types for your paragraphs:
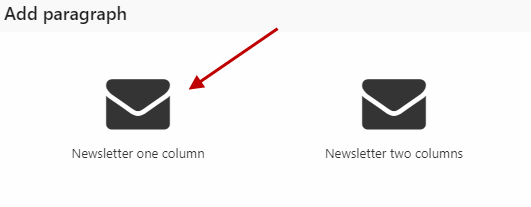
- One column
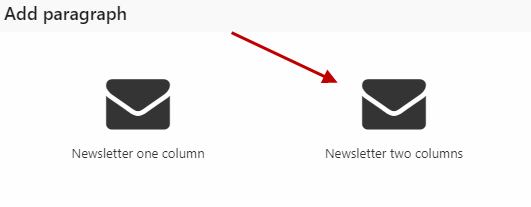
- Two columns
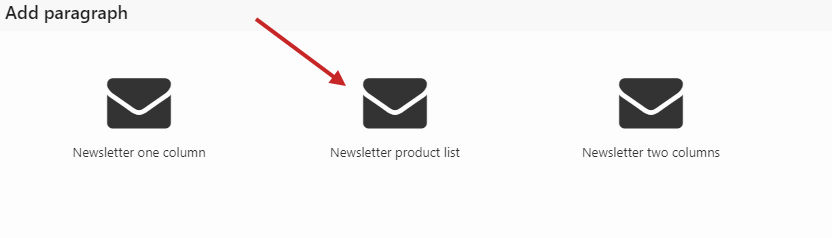
- Product list
For the item types One column and Two columns, you can add the following:
- Topic (placed above the heading with all caps casing)
- Heading
- Image
- Text
- Button with link text and button type selector - you can link to a page, paragraph, or a file (download)
- Customize colors for background, font, and topic font
- Separation line after the paragraph
One column paragraph
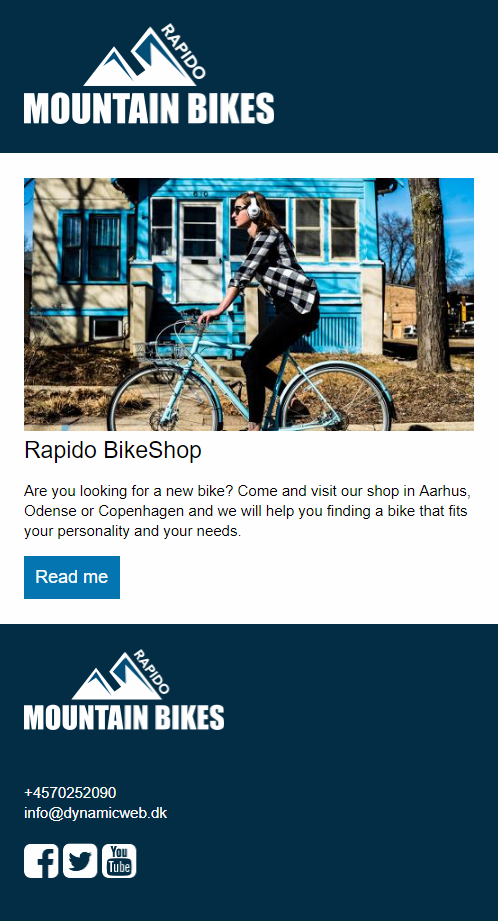
The One column item type is ideal for header content like banners (Figure 2.1).
So, let’s try to make a banner for the newsletter. To do so, click New paragraph (Figure 2.2).
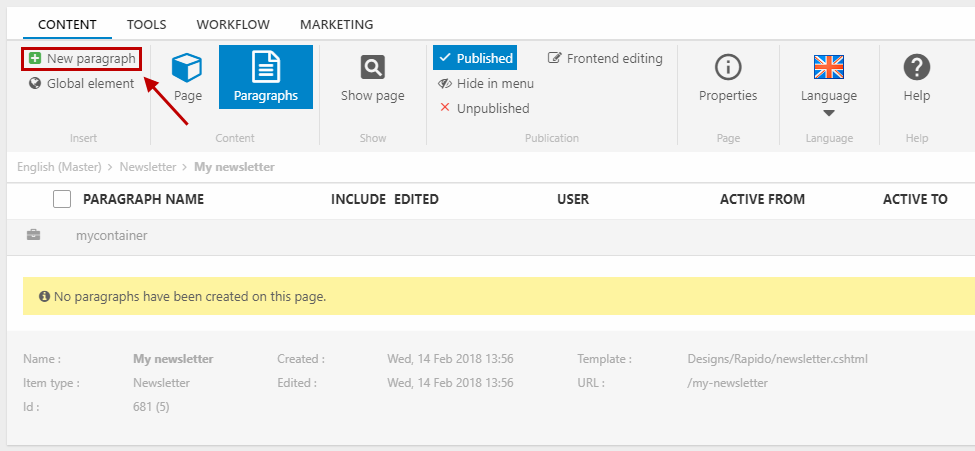
Then, select the One column item type (Figure 2.3) and name it.
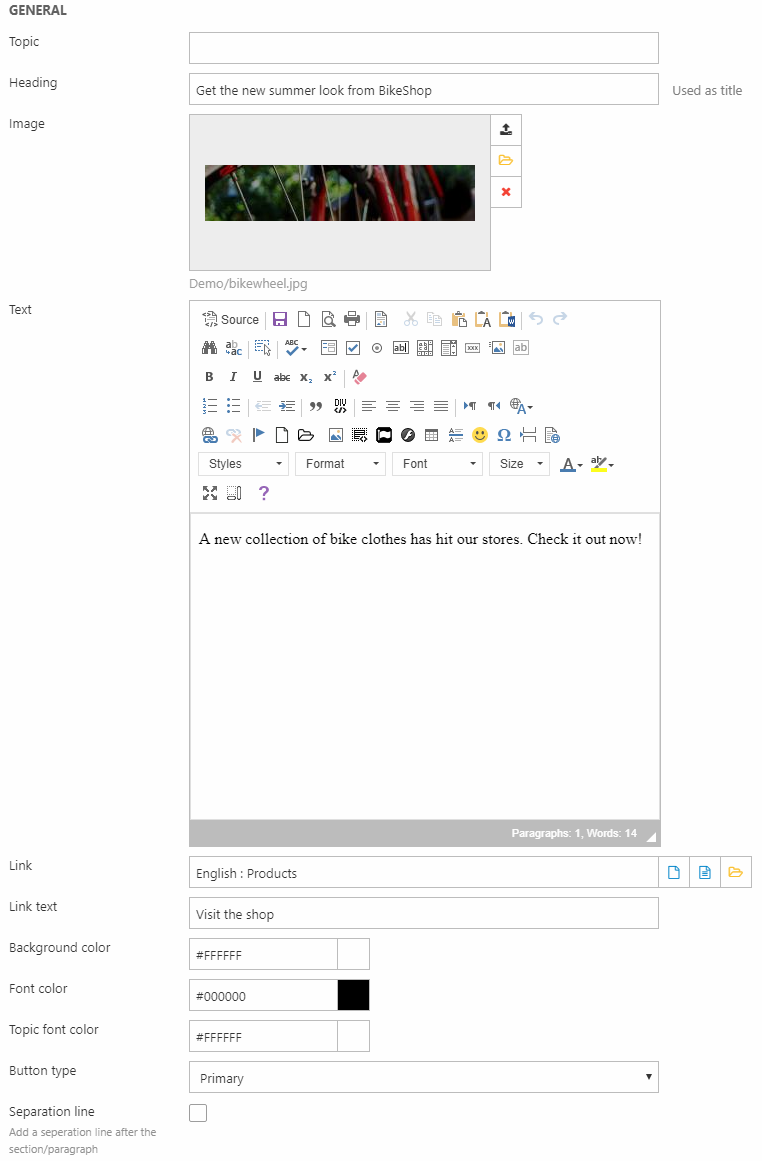
Give your banner a heading and some text. You can also insert a button linking to a page / paragraph / file and enter the link/button text. Choose one of your predefined button types (Content layout settings) or leave it be like in this case Figure 3.1.
Furthermore, you can choose to insert a separation line after the paragraph and play around with the color settings.
Two columns paragraph
The Two columns item type is ideal for any content with an image and some text. This item type renders an image and text placed side by side (Figure 4.1).
Click New paragraph and select the Two columns item type (Figure 4.2) and name it.
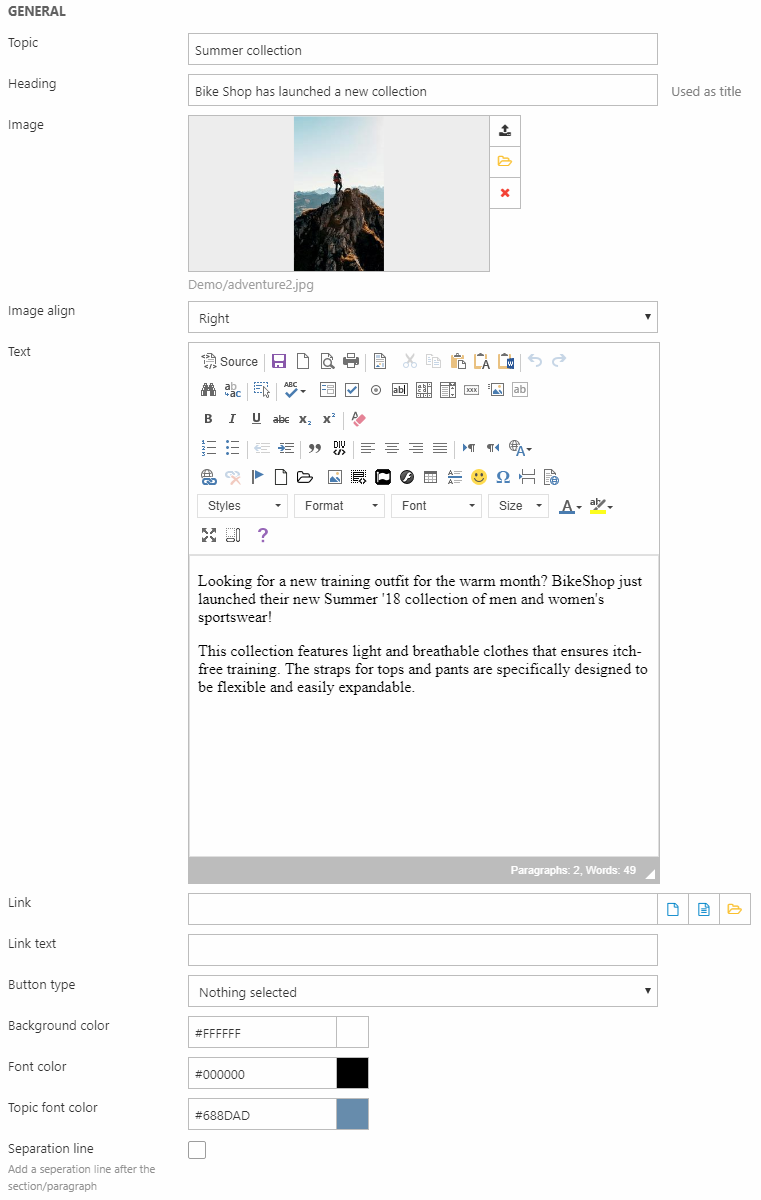
Set the paragraph up like this (Figure 4.3):
- Select an image for your paragraph and choose to place it to the left or right (not selecting anything for Image align, will place the image to the left)
- Give the paragraph a topic, a heading and some text
You can also insert a button linking to a page / paragraph / file and enter the link/button text. You can choose one of your predefined button types (Content layout settings) or leave it be.
Furthermore, you can choose to insert a separation line after the paragraph (can be useful if the paragraph is followed by another paragraph) and play around with the color settings.
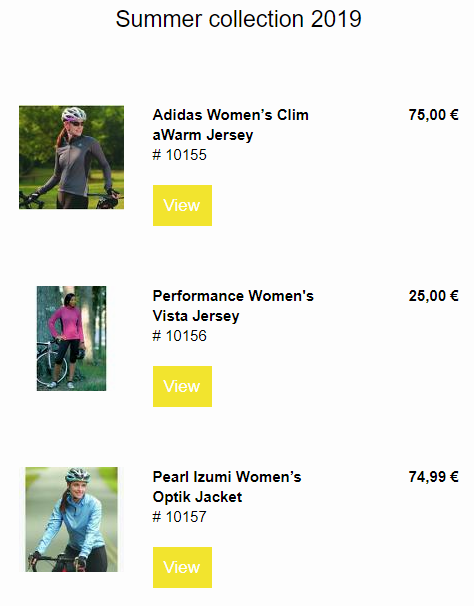
Product list
Using the Product list item type, you can showcase selected products in your newsletter (Figure 5.1).
Create a new paragraph and select the Newsletter product list item type.
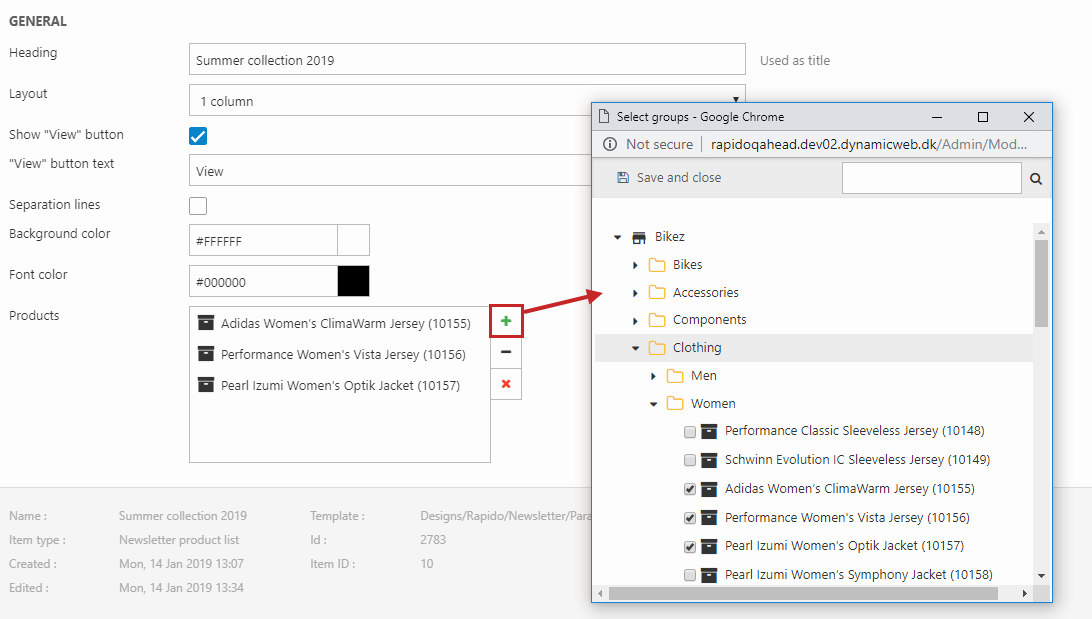
With the settings (Figure 5.3), you can:
- Add a heading
- Enable a View button for the products with customizable text
- Change the layout of the product list
- 1 column and 2 columns
- List 1 renders a product list with images to the left
- List 2 renders a product list with images to the right
- List 3 renders a product list with images alternately to the left and right
- Add seperation lines in between each product
- Change background and font color
- Select products to include in your list

To add products click the green "+" icon and select them (Figure 6.1) and you can remove a single product using the "-" icon or all of the products using the red x.
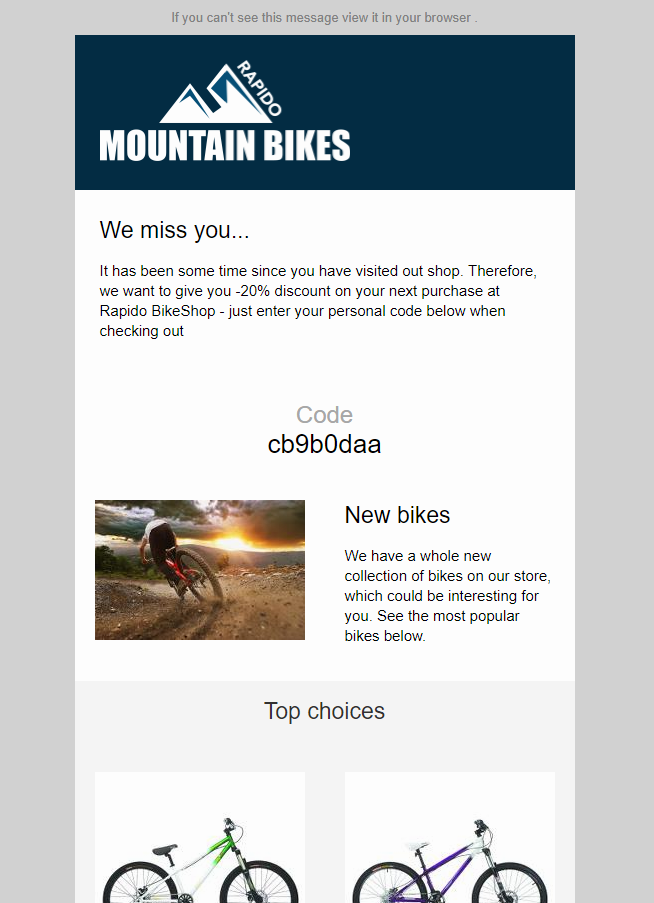
Voucher
It is also possible to attach a voucher to a newsletter e.g. a personal discount for users that have been inactive for a period of time (Figure 7.1).
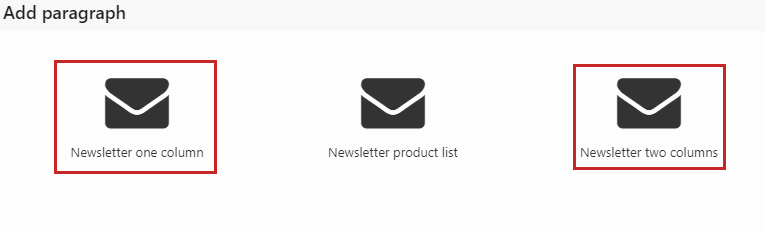
Create a new paragraph and add either the One column or Two columns item type (Figure 7.2).
You can add some content which will be shown above the voucher code. To add the voucher code:
- Go to App
- Attach the Voucher renderer app
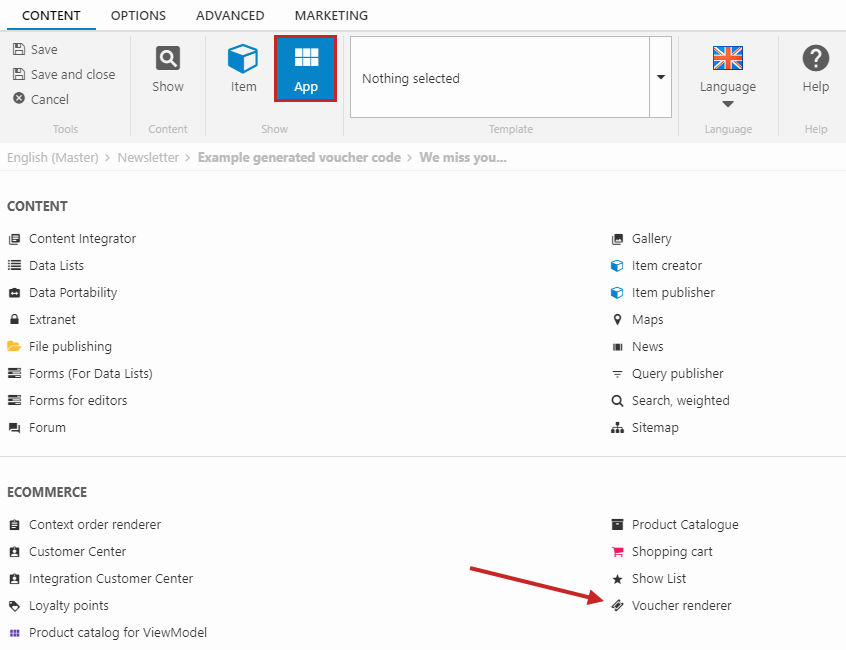
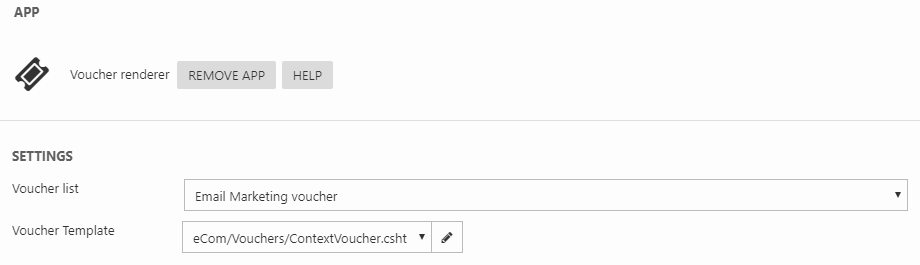
For the app settings (Figure 8.1), you must:
- Select your voucher list
- Select the ContextVoucher.cshtml template
- Save