
Data Processing
The Data Processing app allows you to create activities and collect consents, in order to comply with the General Data Protection Regulation (GDPR) which was adopted in April 2016 and became enforcable on May 25th 2018.
With the Data Processing app you can:
- Create Activities – e.g. Newsletter Consent
- View Consents collected from the Extranet app and the Forms for Editors app
Activities
An activity is a convenient way of creating clear, concise and granular opt-in categories – e.g. Consent to receive email newsletters. Activities will always be specific to your business and data flow.
To create an activity:
- Go to Apps > Data Processing
- Click the Activities node and click Add in the toolbar (Figure 2.1)
- Add a Name and a Description
- Save and Close

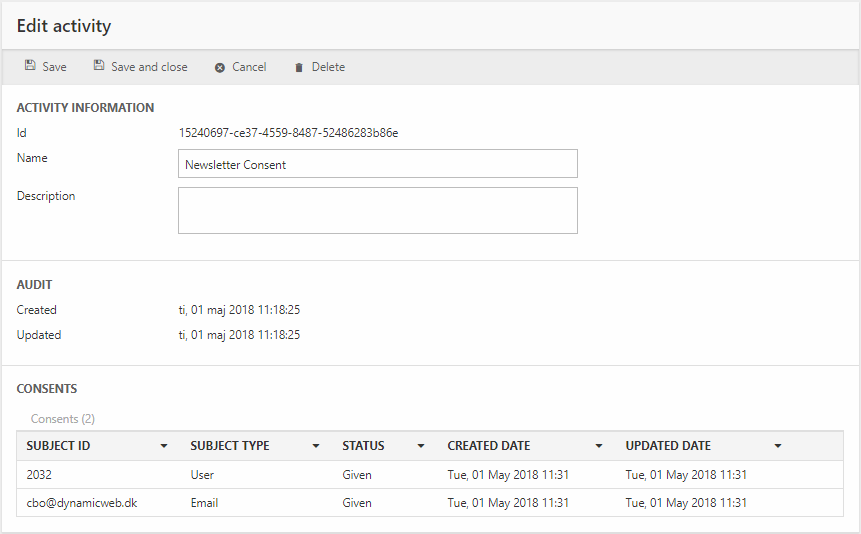
Once an activity has been created, you can click it and edit or view the activity details (Figure 2.2).
You can see:
- The activity ID
- The Name and Description
- When the activity was created & updated
- A list of consents received for this activity with the most essential consent information
On editing activities
Please note, that a user gives consent to a particular activity as it is worded at the time of consent. If you edit the name or the description of an activity afterwards, their consents are no longer valid.
So unless you are correcting a simple spelling mistake, we advise you to start over and create a new consent every time.
Consents
Once you have one or more activities defined, you can start collecting consents - more on that later.
For each consent, the following must be registered:
- Who gave consent
- What they consented to
- How they consented (e.g. via website form, on phone, via email, etc.)
- When they consented or withdrew consent
Consequently, for each consent we register the following:
|
Field |
Values |
Comment |
|
Activity ID |
The ID of an activity in the Data Processing app |
|
|
Subject ID |
AccessUser ID/email/checksum |
For logged in users, this is their AccessUser ID. For anonymous users it is either an email (if we know it, from e.g. a form) or a checksum if we don’t. |
|
Subject Type |
User/Email/Visitor |
Logged in users have ’User’, anonymous users where we know the email have ’Email’, and a truly anonymous users have ’Visitor’ |
|
Status |
Given/Withdrawn |
|
|
Request user host address |
An IP address |
|
|
Request user agent |
User agent details |
|
|
Created date |
Date & Time |
|
|
Updated date |
Date & Time |
|
|
Checksum |
Checksum value |
|
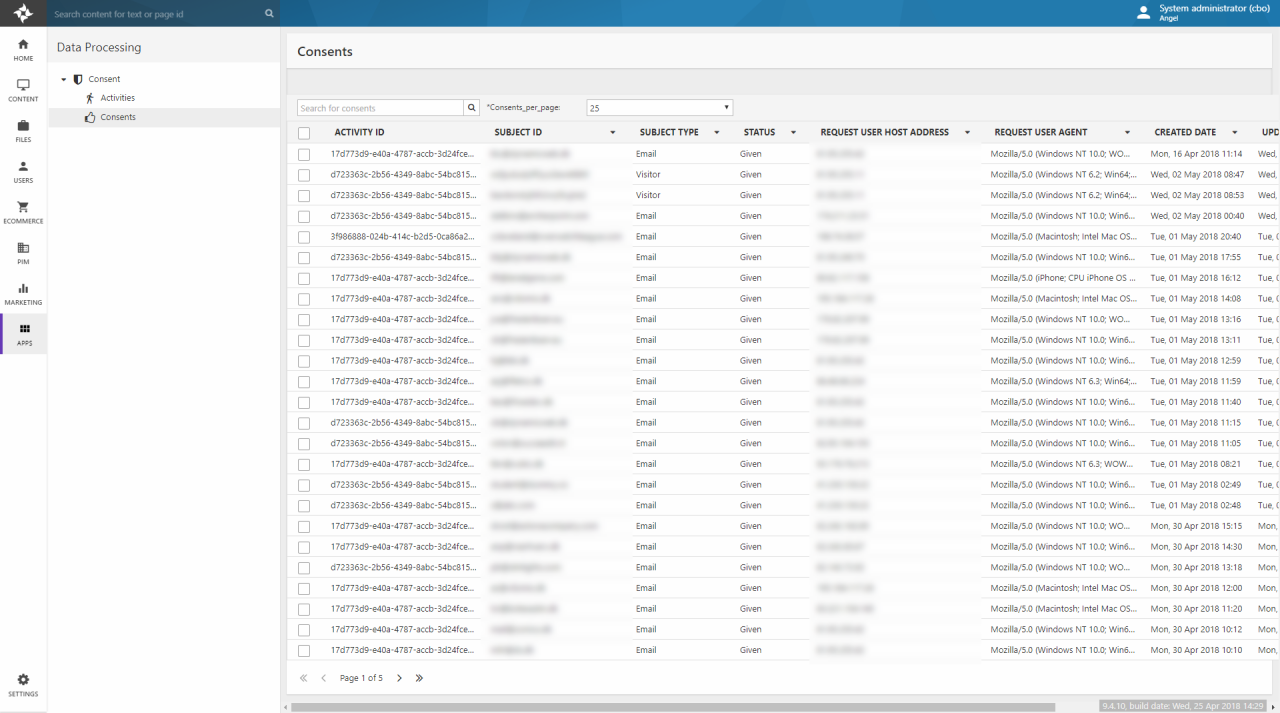
Consents can be browsed from the Consents view (Figure 3.1) inside the Data Processing app. You can also view consents for a specific activity by opening that activity, as described above.
In frontend, logged-in users can manage their consents via the Extranet app. Use the Consents loop to iterate through the relevant data:
- In the View mode the user can access a list of all available consent activities and see which consent activities they have agreed to
- In the Edit mode the user can access a list of all available consent activities and give or withdraw consent for each consent activity
Obtaining consents
Consents can be collected from the following places:
- The Forms for Editors app when submitting a form
- The Extranet app when creating or editing a user
In short, each app instance can be associated with a consent activity – and when the user is edited/created or submits a form, the consent is then saved to the consent lists described above.
Using consents
At present, the Consents which are stored and managed using the Data Processing app are only used in Email Marketing.
To automatically check for consents when sending emails using the Email Marketing tool:
- Create an email
- Switch to the Advanced tab
- Click the Recipient Provider button
- Select the Dynamicweb Users recipient provider
- In the Recipients section, select the appropriate consent activity (Figure 5.1)
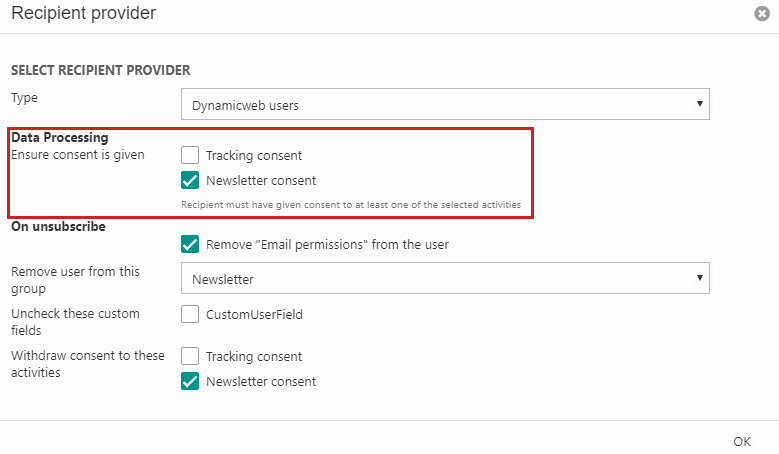
Once this option has been selected, the list of recipients will be automatically filtered to check for consent instead of the Email Permission checkbox of old.
Listing & managing consents in frontend
In frontend, logged-in users can manage their consents via the Extranet app. Use the Consents loop to iterate through the relevant data:
- In the View mode the user can access a list of all available consent activities and see which consent activities they have agreed to
- In the Edit mode the user can access a list of all available consent activities and give or withdraw consent for each consent activity. You do so by including input fields to the edit profile form. The input names must have the "Consent_" prefix followed by the activity id. The value of each input should be "true" (consent given) or "false" (consent withdrawn).
Here is an example of a form for changing consent states:
For advanced scenarios you can make use of @Consents in your razor templates. This will give you an instance of ConsentManager which provides a number of methods for managing consents.