
Web and HTTP
The Web & HTTP settings let you control how your solution handles Web & HTTP-related events.
Using the Web & HTTP settings you can:
- Upgrade or downgrade your Dynamicweb solution
- Configure host headers
- Control if and how your solution should generate SEO-friendly customized URLs for your content
- Create and manage virtual direct paths
- Configure the form and SQL inject security settings
- Configure the Cookie Manager
- Configure your HTTP compression settings
- Configure the SMTP settings for the solution
- Set a global CDN provider
- Set up Load balancing
Most of these options are administrator only – so if you need any changes, please contact your administrator before you contact support.
Manage Versions
Provided that you have Administrator access, the Manage Versions area (Figure 2.1) allows you to upgrade (or downgrade) your Dynamicweb solution.
To access the Manage Version area go to Settings > Web and Http and click the Manage Versions node.
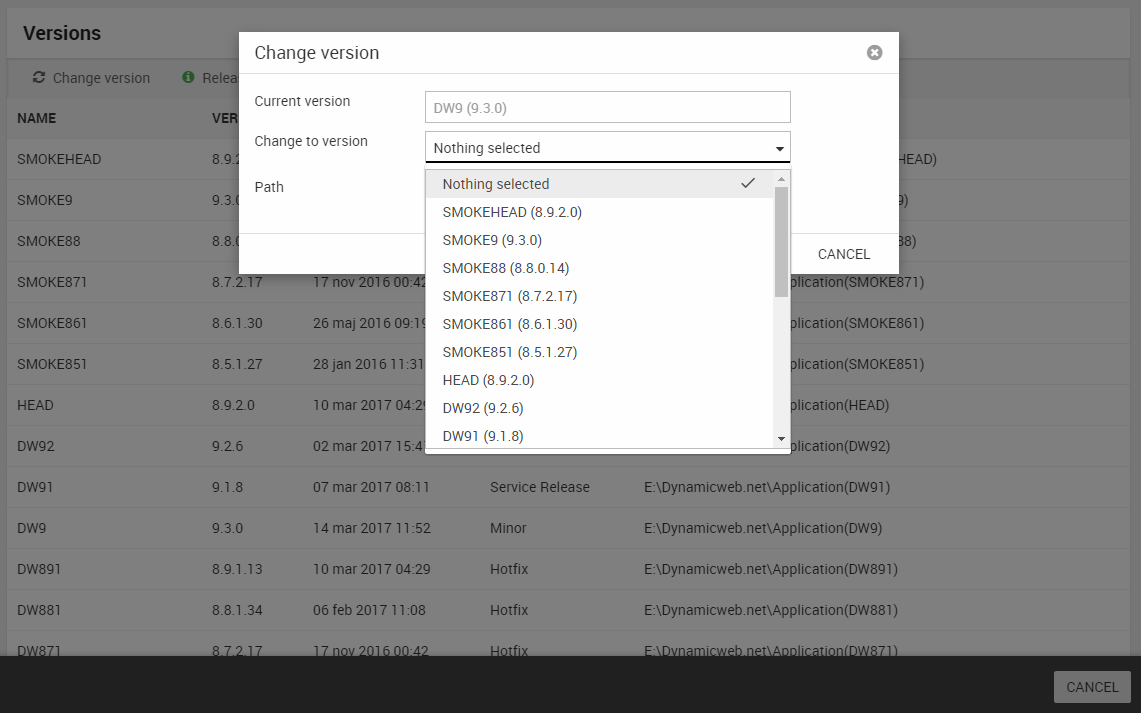
To change version:
- Click Change version in the toolbar to open the Change version window
- Select the version you want to change to
- Click Ok
Your solution will now upgrade (or downgrade) to the selected version. Please note that the solution will restart and you will be logged off.
Upgrading custom solutions
We do not recommend upgrading custom solutions to a new version using the Manage Versions tool. Please upgrade custom solutions manually.
Host Headers
If you have administrator access, you have access to the Host Headers settings (Figure 3.1). They allow you to create and configure multiple host headers for your solution directly on the IIS.
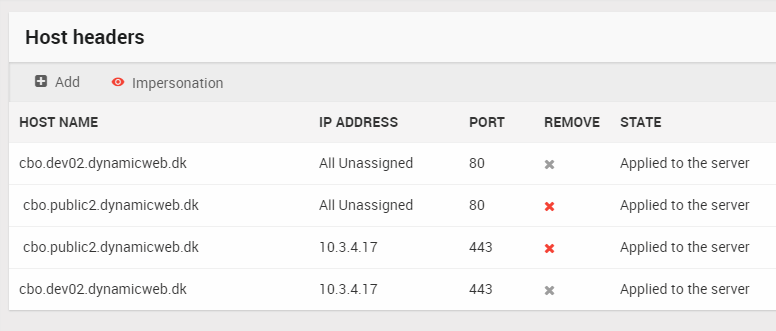
To create a new host header:
- Click Add in the toolbar
- Specify a host name, and optionally an IP address and a port to use (port 80 is default)
- Click OK to add the host header to the list
Once you’ve added the host headers you need, click Save and apply to save the host headers to the IIS. Please note that your solution will restart and you will be logged off.
On special characters
Dynamicweb automatically detects the IIS version you are running on and converts to/from punycode as needed.
Older versions may receive a ‘Operation failed’ error when trying to save a hos header using spaces or special characters.
Security
The Security section controls various settings related to security on the solution, including:
- Form antispam settings
- SQL Injection checks and emails
- Security Headers settings
- Debugging and Exceptions
- Restricted access for Dynamicweb Support staff
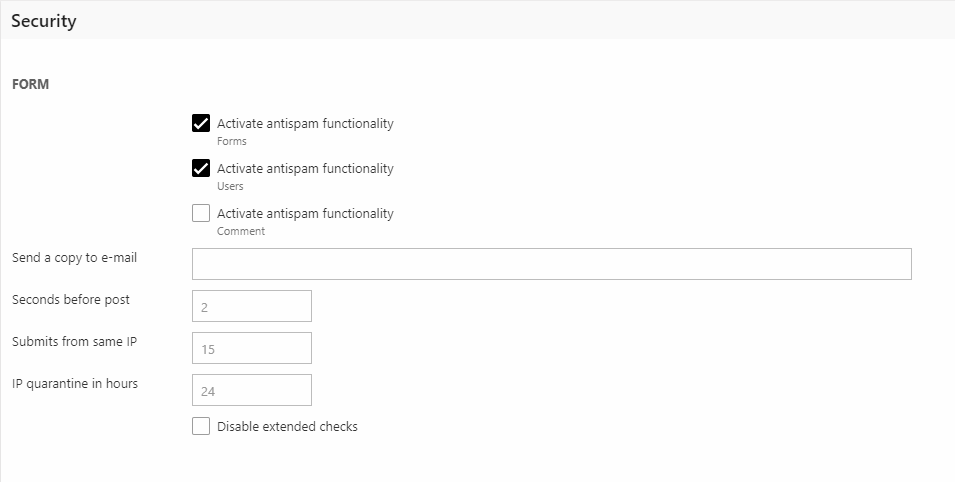
The Form settings allow you to activate and configure antispam on forms for editors, extranet forms, and comment forms (Figure 4.1).
Once antispam has been activated, a set of hidden input fields can be added to a form - these will then be filled by bots but not by users.
If you're using the various FormStart tags to create a form they are added to the output automatically, if not you can add them via other tags, e.g. the UserManagement:User.FormHidden tag in Extranet-forms or the Form.SystemFields tag in forms for editors.
You can also:
- Enter an email which should receive a copy of all filtered forms – this can be useful when debugging
- Set a seconds before post limit, which will cause forms submitted before that limit to be marked as spam
- Set a submits from same IP limit, which will cause subsequent submissions to be flagged as spam
- Specify the IP quarantine length in hours
- Disable extended checks which will disable the seconds limit and the IP submission limit entirely
The SQL Injection settings (Figure 4.2) allow you to disable Dynamicweb’s built-in security measures against SQL injections. We strongly advise against this, use at your own risk. You can instead exclude specific fields from the check.

When the SQL injection check is active - the default state - everything looking like an injection attempt will result in a temporary ban, and optionally a longer IP ban. The list of banned IPs can be found under \Files\System\_BannedIps.txt with additional information about the cause of the ban.
Only SQL injection attempts will return in IP bans – other forms of attack, such as cross scripting attempts, will only result in 404 on subsequent tries.
You can also:
- Specify the ban length - defaults to 30 days
- Specify a list of fields to ignore
- Specify a list of IPs to ignore
- Specify one or more emails to notify when an SQL injection attack is detected
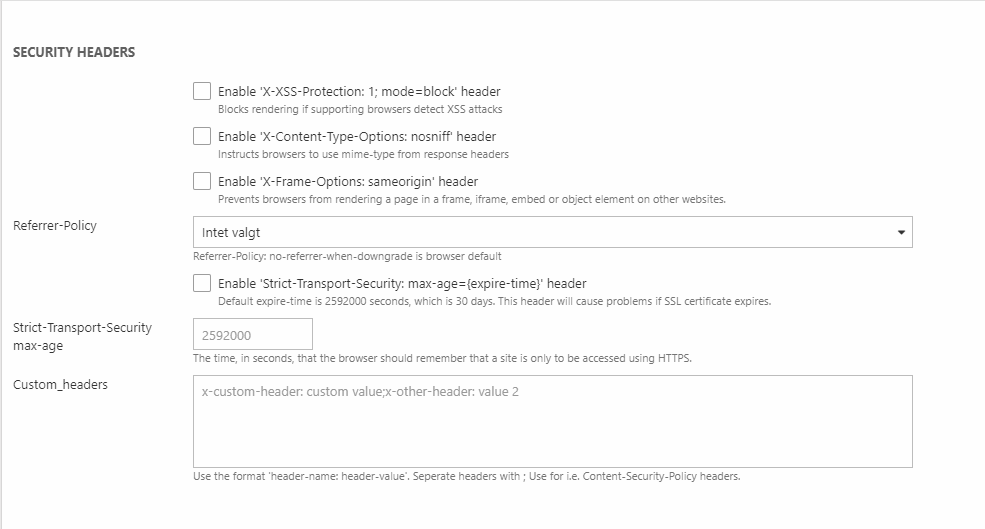
The Security Headers section (Figure 4.3) allows you to enable or disable several different security-specific headers in http request headers.
The Debugging settings (Figure 5.1) allow you to disable various debugging & exception related features.
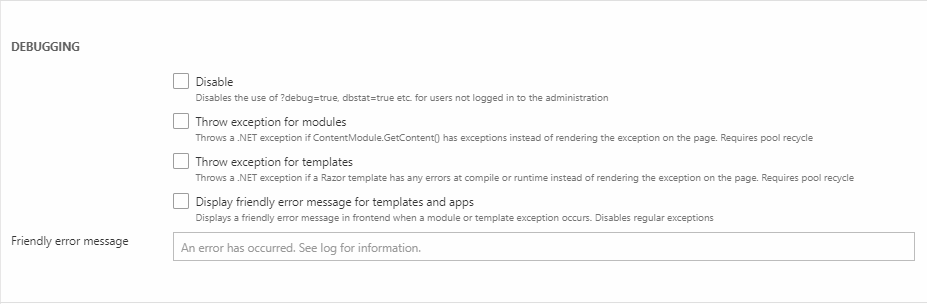
The following settings are available:
- Disable – disables the use of debug=true, dbstat=true, etc. for users not logged in to the administration
- Throw exception for modules – forces the system to throw .NET exceptions on App-errors instead of rendering the Razor exception on the page
- Throw exception for templates – forces the system to throw .NET exceptions instead of rendering the Razor exception on the page
- Display friendly error message for templates and apps - overrides system exceptions with a friendly error message in frontend. This disables regular exceptions.
The Dynamicweb support section (Figure 5.2) makes it possible to remove angel-access to the solution. This includes all support-staff at Dynamicweb.

Cookie Manager
In the EU, all websites must explicitly provide users with the opportunity to refuse the use of cookies. This means that you are required to obtain consent from each visitor before storing or accessing information in a cookie.
Dynamicweb ships with a Cookie Manager tool, which can help you comply with EU legislation - read more here.
HTTP
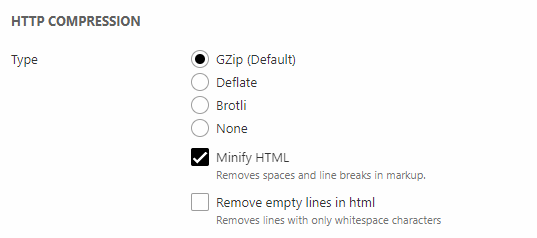
With the HTTP Compression settings (Figure 7.1) you can:
- Select a compression type:
- GZip (default)
- Deflate
- Brotli
- None
- Check Minify HTML to remove spaces and line breaks from templates before they are served - this can improve page speed in some circumstances
- Check Remove empty lines in HTML to remove lines with only whitespace characters from templates before they are served - this can improve readability and page speed in some circumstances
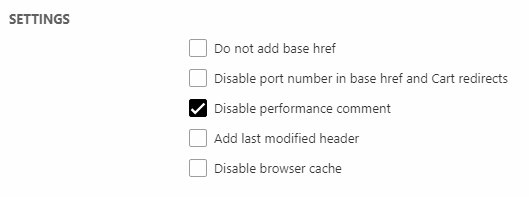
The Settings section (Figure 7.2) contains further customization options.
|
Setting |
Function |
Comment |
|
Do not add base href |
Disables base href meta tags on this solution |
|
|
Disable port number in base href and Cart redirects |
Disables adding port numbers to base href & redirects when using SSL |
On some hosting environments, SSL http requests are translated by a firewall, in which case the base href tag is needed without a port number. |
|
Disable performance comments |
Disables performance comments from being added to page html |
|
|
Add last modified header |
Adds a Last modified header to all http responses |
This header is used by some browsers for cache invalidation |
|
Disable browser cache |
Disables browser cache |
|
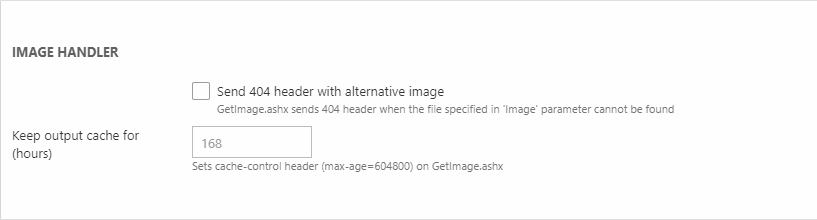
The Image Handler settings (Figure 7.3) control for how long the output cache from the Image Handler tool should be saved (in hours) . The default is 168 hours (one week).
You can also change the response when the file specified using the Image parameter cannot be found from 200 to 404. Please note that this stops the AlternativeImage parameter from working.
SMTP
With the SMTP settings (Figure 8.1), you can configure your mail server. To learn how to use an Office 365 account as SMTP go here.
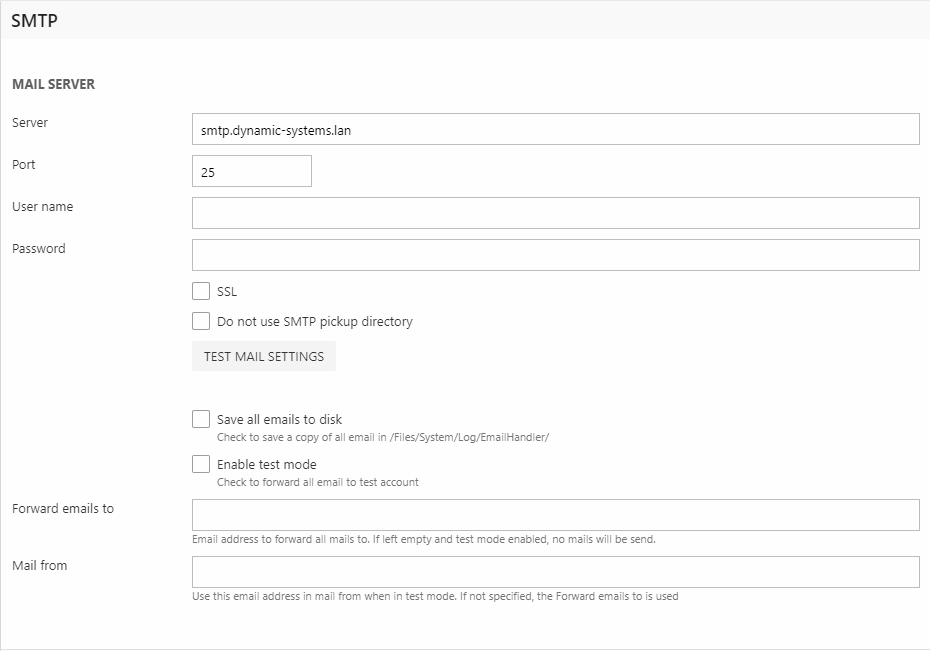
To set up the mail server by providing:
- A mail server address - you can add more than one using ";" as a separator (e.g. smtp.yourdomain.dk;mail.yourdomain.dk)
- A port - the default smtp port is 25, but we also support port 587 and 2525
- A user name and password for the smtp server
Check SSL to use SSL Encryption, and Do not use SMTP pickup directory to bypass the pickup directory on your mail server. This should be set when both a username and password has been specified in the other settings.
You can use the Test Mail Settings button to verify that SMTP is working correctly.
You can also use two test settings:
- Save all emails to disk saves all emails to /Files/System/Log/EmailHandler/. This will of course slow down performance very considerably, due to a synclock in the savinf process.
- Enable test mode - forwards all emails sent from the solution to the address specified in Forward emails to field. The From email can be set using the Mail from field.
Port 465
Please note that we use System.Net.Mail for sending emails and this library only supports explicit SSL. If you have problems sending emails with SSL enabled then check if the SMTP server supports TLS/SSL on other port numbers, like the standard port 25, and use that instead.
CDN
A Content Delivery Network is a network of servers - usually located at various sites around the world - which deliver cached static content to websites, e.g. images, CSS and JavaScript files.
With the CDN settings (Figure 9.1) you can configure a global CDN network, which can then be inherited or overwritten in the website settings for each of your websites, as appropriate.
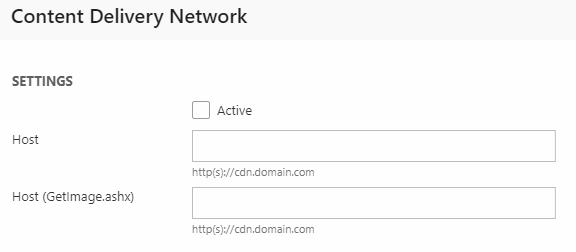
If your website uses the HTTPS protocol the CDN host should also use the HTTPS protocol.
Static resources placed under /Files will not be replaced.
Tracking
The Tracking node contain settings related to statistics and tracking in Dynamicweb. It is described in the Tracking article.