
Product Import/Export
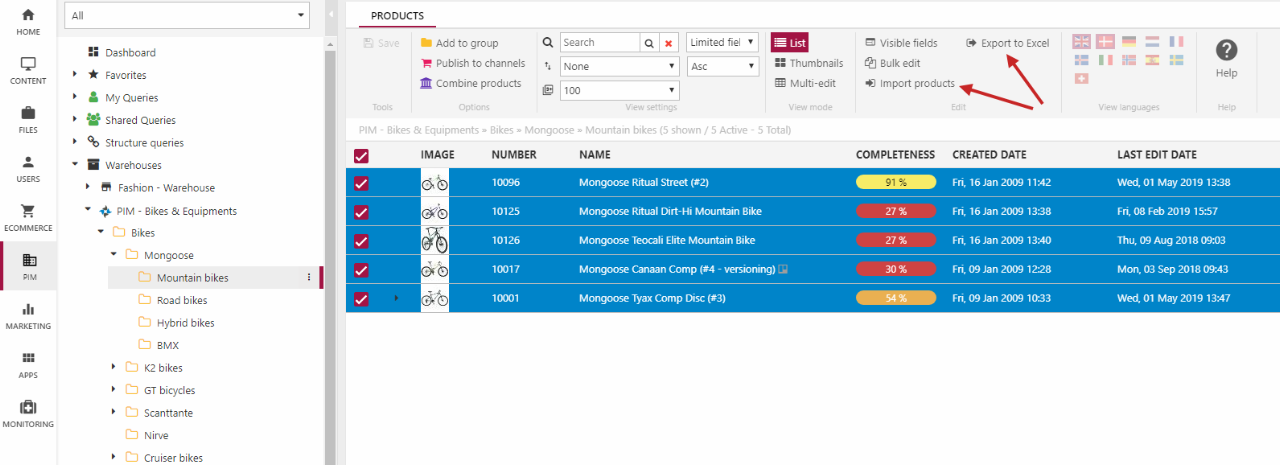
If you use external staff for product enrichment – e.g. external translation bureaus – you can use the Export to Excel button to export product data in the .xlsx format, and then the Import products button to reimport the product data afterwards using either the CSV, Excel, or Excel (dynamicweb) provider (Figure 1.1).
Export to Excel
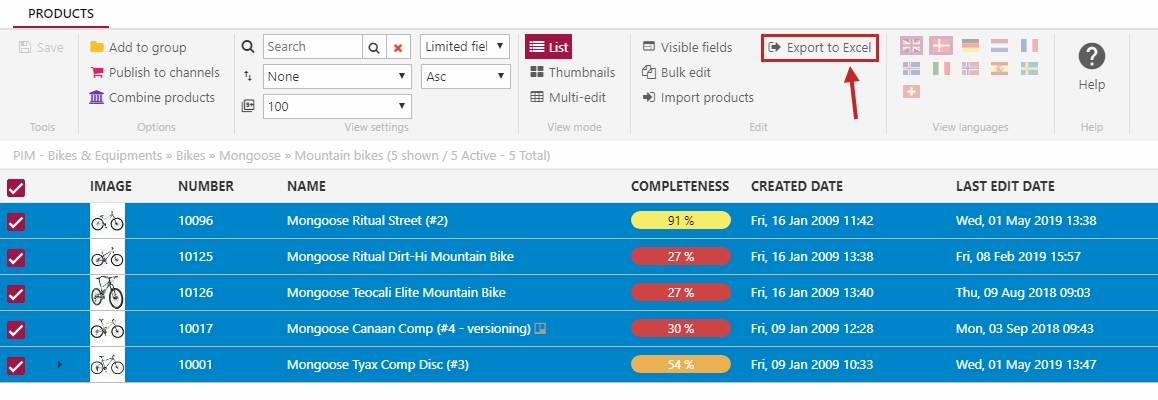
To export products to Excel:
- Open the warehouse group where the product are
- Mark the products you wish to export
- Click Export to Excel in the toolbar (Figure 2.1).
The Export to Excel button launches a language & field selector (Figure 2.2), where you can:
- Select an export format:
- Excel (Dynamicweb structured) - use this if you want to only enrich or translate products
- Excel (unstructured) - use this if you want to make structural changes, e.g. reimport products to other warehouse groups
- Optionally:
- Check All products if you want to export more than 1000 products at once (but don’t do this, you don’t want this)
- Check Include extended variants in the export
- Select a settings preset to use
- Specify which languages and fields to include
Field settings will be respected so that fields which are not allowed to differ from the main product cannot be edited for variants or languages, and so on. Each language version will be exported with language specific system names if available (Name > Navn).
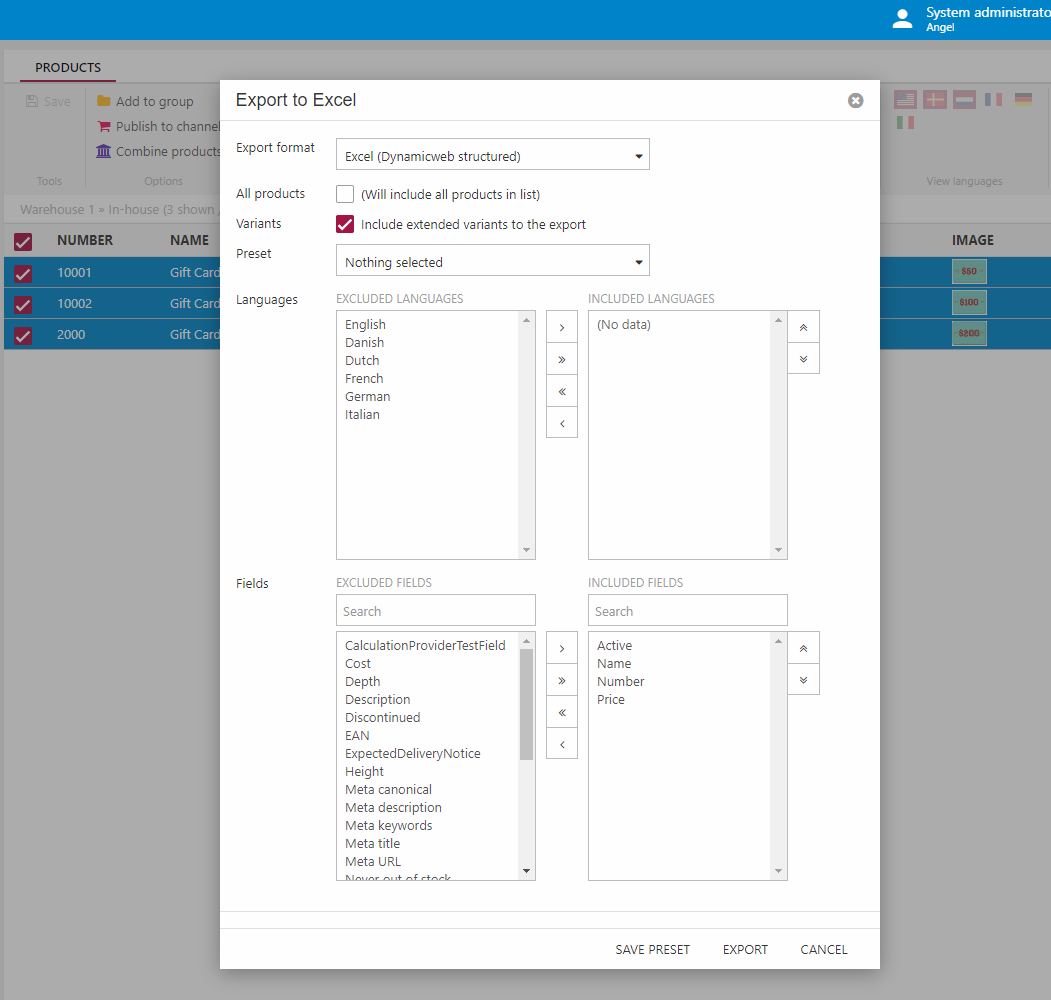
When you're done, click Export and the export file is downloaded to your computer in .xlsx format. Click Save settings to save a preset with the current settings which will then be available the next time you export products.
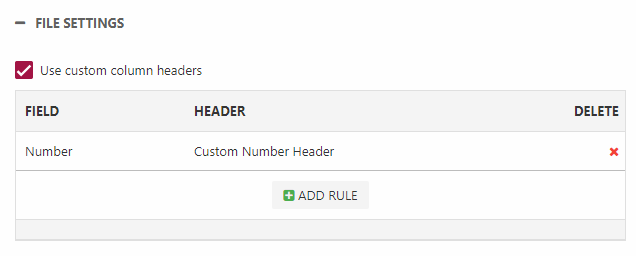
If you select the Excel (Unstructured) file format you can check Use custom headers to use the field name rather than the field system name as column headers in the exported file. You can also supply your own fully customized headers (Figure 2.3).
Import products
Once the data has been translated/enriched you can import it again:
- Upload the file to your solution (to make it easier to find it later consider uploading it to the Files folder)
- Open the warehouse group you want to import products to
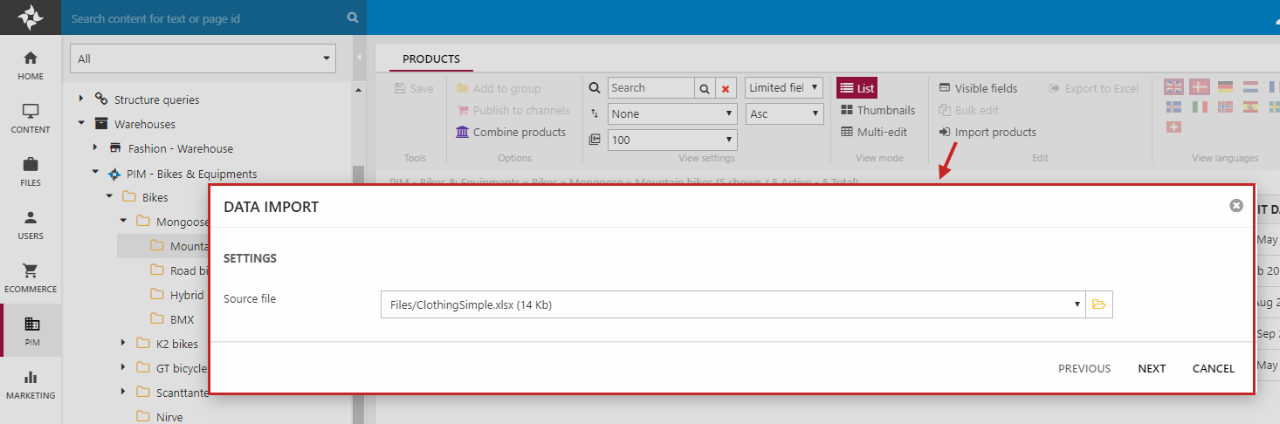
- Click Import products in the toolbar to launch the import view (Figure 3.1)
- Select the source file - content in the Files folder can be selected directly in the dropdown, otherwise you can use the browse button to locate the file
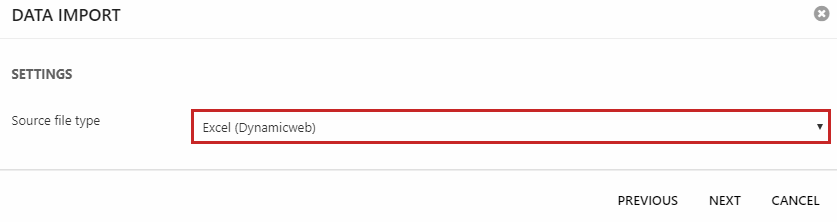
- Click Next and select the matching source file type:
- Other
- CSV
- Excel
- Excel (dynamicweb)
The Excel (dynamicweb) file type is generated by the Export to Excel-button in PIM, and is only meant to be used for off-line enrichment and translation purposes. If this file type is selected the parameter setup and data column mapping steps are skipped, and only existing products will be updated. They will also not be added to the warehouse group you're in, as we assume group membership is handled either manually or as a part of the regular import.
For all other file types see below.
Click Next to proceed to the source parameters (Figure 3.2), which differ for each source provider. Again, Dynamicweb will automatically determine which source provider to use based on the file format.
Set up the parameters and click Apply settings to preview to see a preview of the imported data. See examples and field notes for the Excel and CSV source type parameters below.

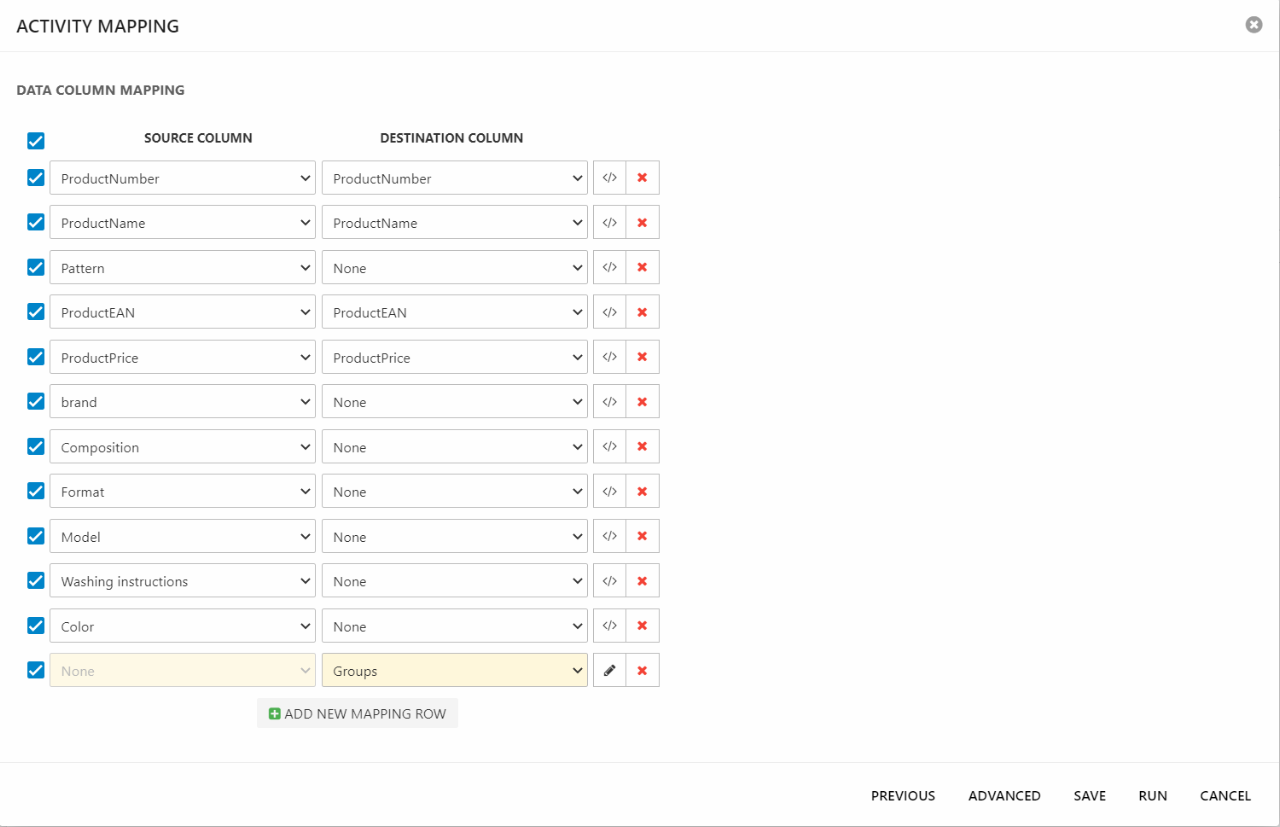
Click Next to proceed to the data column mapping (Figure 3.3).
- Select which fields you wish to include in the import
- Match the fields from the Source columns to the existing fields on your solution in Destination columns.
- You can delete fields you don't need using the X button
- You can add scripting to a field, i.e. prepend or append a value during he import, or set a constant value
- You can add additional mapping rows, e.g. when you want to match a source column to two separate field on a solution
When you're finished mapping the data, you can either click Run to just run the job once, or click Save to save the configuration as an import activity if you need to import in same format another time.
If you click Advanced you gain access to more advanced settings, read more about these in the Ecom Provider documentation.
Parameters for the Excel source type
Parameters for the Excel provider (Figure 4.1):
| Parameter | Use | Comments |
| Source file | Selecting a new source file | Will show the file selected during previous step |
| Table/sheet | Selecting a table/sheet to preview | |
| Import key | Select field to use as a strict primary key | Used to set the primary key when deciding whether a product should be created or updated during an import |
Parameters for the CSV source type
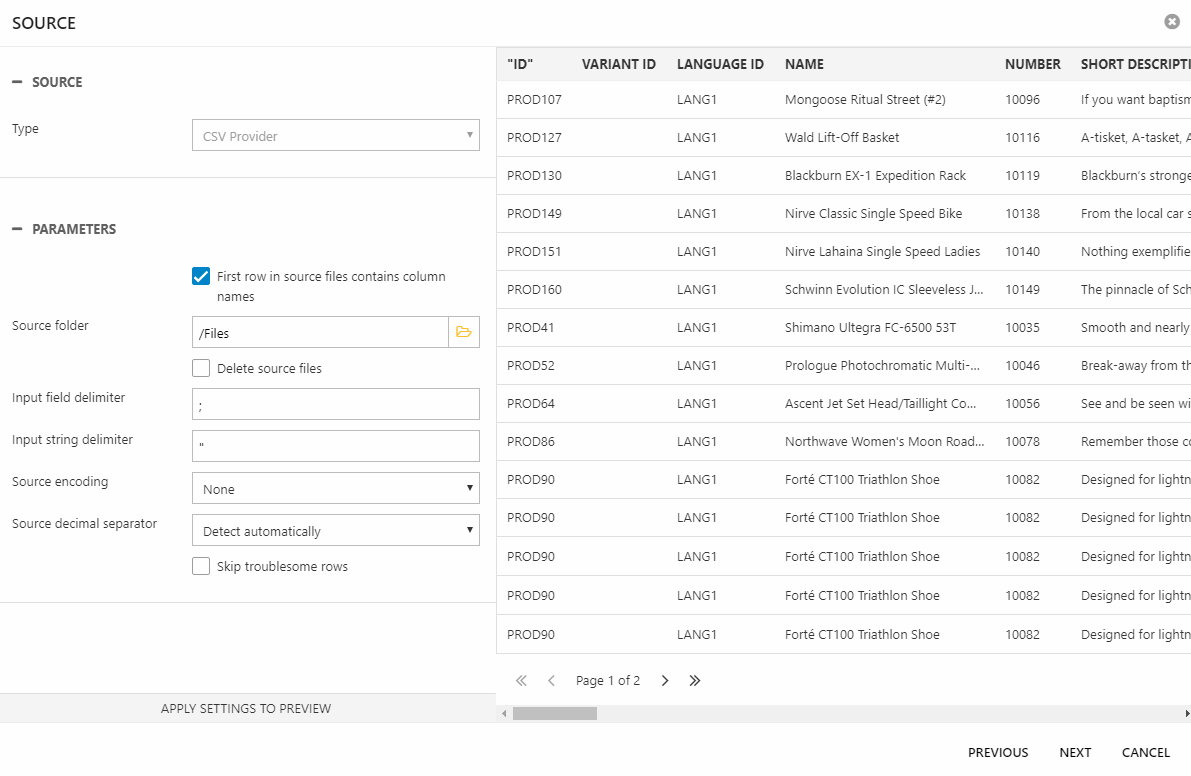
Parameters for the CSV provider (Figure 5.1):
| Parameter name | Comments |
| First row in source files contain column names | Check this if the first row of the source file contains the column/field names |
| Source folder | The source import file selected previously |
| Delete source files | |
| Input field delimiter |
Specify the delimiter of fields in the source file ; by default |
| Input string delimiter |
Specify the delimiter of strings in the source file " by default |
| Source encoding | |
| Source decimal separator |
Select the decimal separator used in the source file You can either set it manually to comma or dot, make it detect it automatically, or use the system culture |
| Skip troublesome rows |
Please note
When you select a CSV file for import, you should ensure that the CSV file is the only CSV-file in the selected source folder. When working with the CSV provider, each CSV in the selected folder is considered a table. If you have multiple CSV-files in the selected folder, the PIM import may parse the wrong CSV-file, having you end up with an unwanted result.
Excel (dynamicweb) source type
If the source file comes from the Export to Excel feature and none of the column names have been changed, the Excel (dynamicweb) source type will be auto-selected during import and the source file type dropdown disabled (Figure 6.1).
When this source type is used, the parameter setup and data column mapping step is skipped.
After choosing the source type, you would then have to:
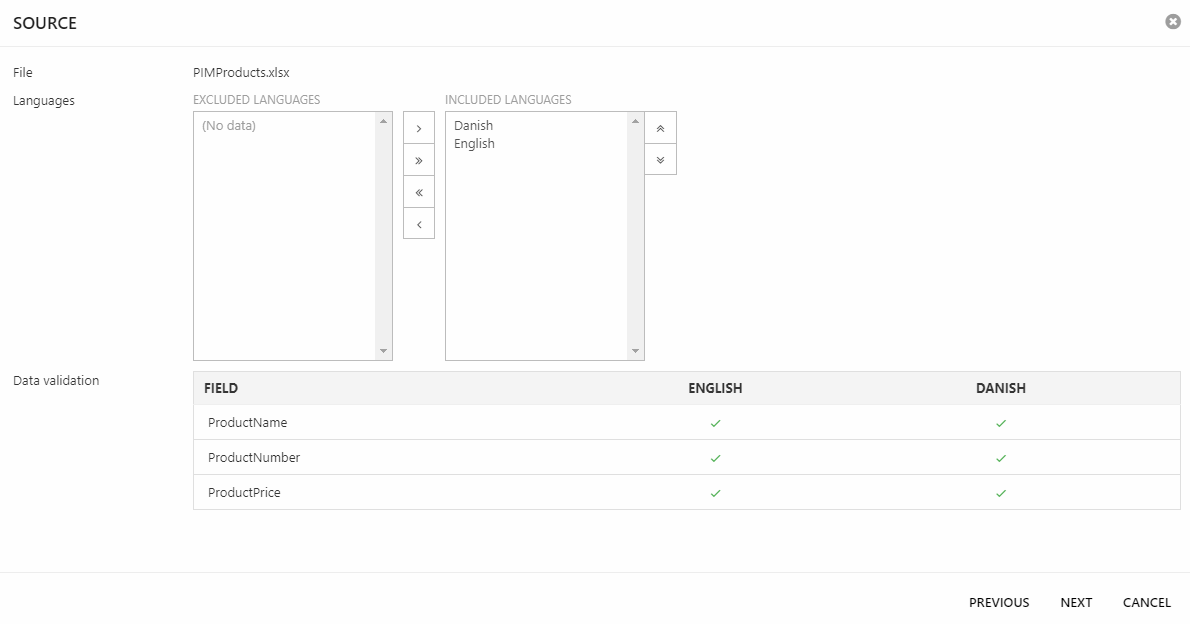
- Click Next and select the language layers you want to add the products to
- Review the data validation schema (Figure 6.2) to ensure that the data type in the file matches the one required by Dynamicweb
- Click Next and Finish to import the products
| Name | Article Type | Icon |
|---|---|---|
| Update multiple existing products based on information in a single Excel row |