Exporting Orders to Excel
Exporting orders can be a quick way to back up your order history, or it can be an important step in transferring order data to third-party accounting software.
This guide is a step-by-step instruction to exporting orders to the file format used by Microsoft Excel (.xls or .xlsx).
We will be covering:
- Creating the integration activity for exporting order
- Selecting and configuring the source provider
- Selecting and configuring the destination provider
- Running the activity
Creating the Data Integration activity
To create the integration activity:
- Go to Settings > Integration and click the Data Integration node
- Click New Activity in the toolbar to open the integration activity wizard
- In the Source dropdown select the Order provider (Figure 2.1)
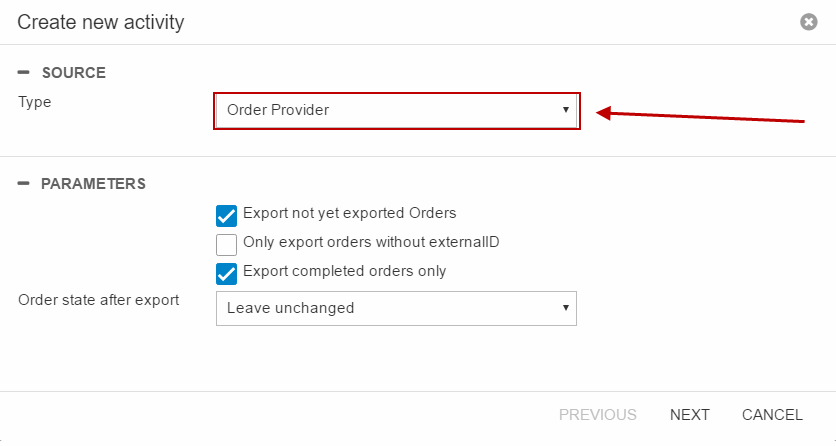
In this example, I’ve checked the Export not yet exported orders and the Export completed orders only checkboxes. This means that only completed orders which have not been exported before will be exported whenever the activity is run.
Next you must configure the destination provider which controls where to put the data extracted by the order provider:
- Click Next
- Select the Excel Provider (Figure 2.2)
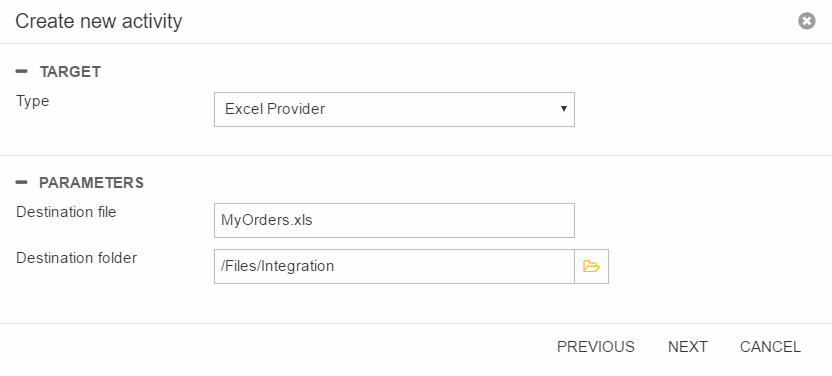
- Enter a name in the Destination file field– the name must end in .xls or .xlsx
- Optionally, select a custom Destination folder
- Click Next.
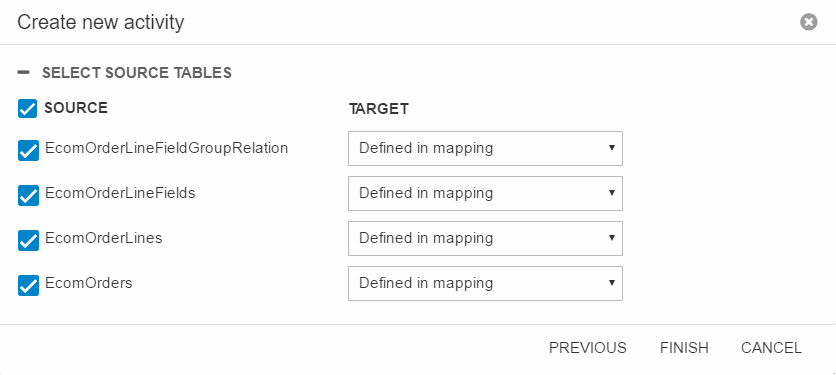
You will then be prompted to select which tables you want to export (Figure 2.3):
- Check them all
- Click Finish
- Name the activity
- Click OK
Running the Data Integration activity
Once you’ve finished the wizard, you will be looking at the integration activity details screen, and the multitude of tools at your disposal, most of which are not relevant to what you want to accomplish.
You can read about the tools in the Data Integration Module article.
To run the activity and export orders, simply click Save and Run in the toolbar (Figure 3.1).

After having run the activity, you will see a log of how the export went (Figure 3.2):

If the export was successful click OK in the toolbar – if not, click Reconfigure and fix the issue(s).
Exporting less data
You may discover that you don’t want to export everything about your orders – after all, there’s a lot of information stored about each order or order line.
To export less than everything:
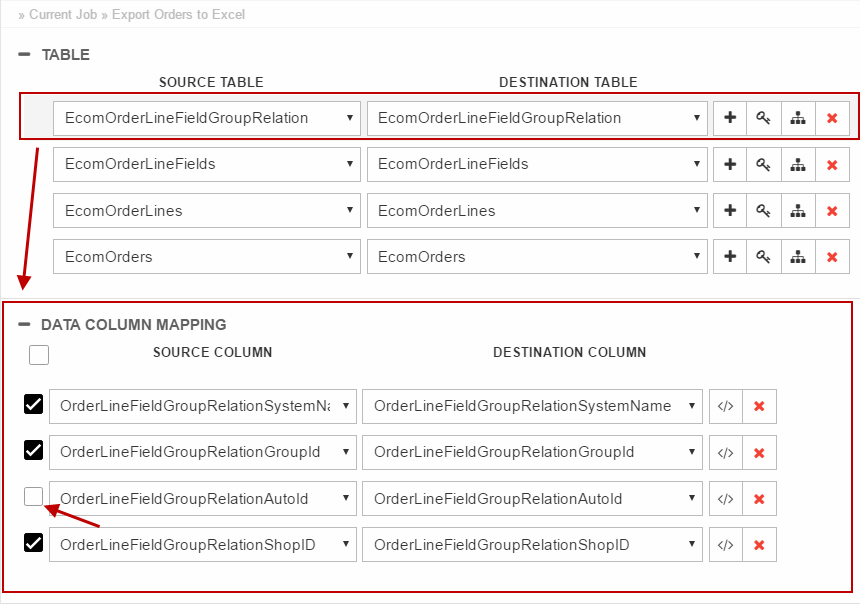
- Open the data integration activity
- Click on one of the source tables to select it (Figure 4.1)
- In the list of source columns uncheck the columns which you don’t want to export
- Save and Run