
Dynamicweb Provider (with Views)
Two separate Dynamicweb Providers exist; one without and one with support for SQL Views. If you need to use SQL Views, simply select the provider with support for Views. All settings are otherwise identical.
The Dynamicweb Provider is the fastest provider to use when adding data to the Dynamicweb database.
However, the price is a higher level of complexity when setting up the activity, compared to the more specialized providers – e.g. the Ecom Provider, the User Provider, or the Order Provider.
With the Dynamicweb Provider, data is continually added to the database, so the size of the data input is effectively only limited by your database or disk size.
When using the Dynamicweb Provider, relations between tables must be handled manually (as the table structure you access is the underlying Dynamicweb database).
For instance, if you want to add products and product groups to the database you cannot limit the import to EcomGroups and EcomProducts, you also need to add the relevant rows to the EcomGroupProductRelations table and the EcomShopGroupRelations table - and define the relevant keys.
Used as a source provider
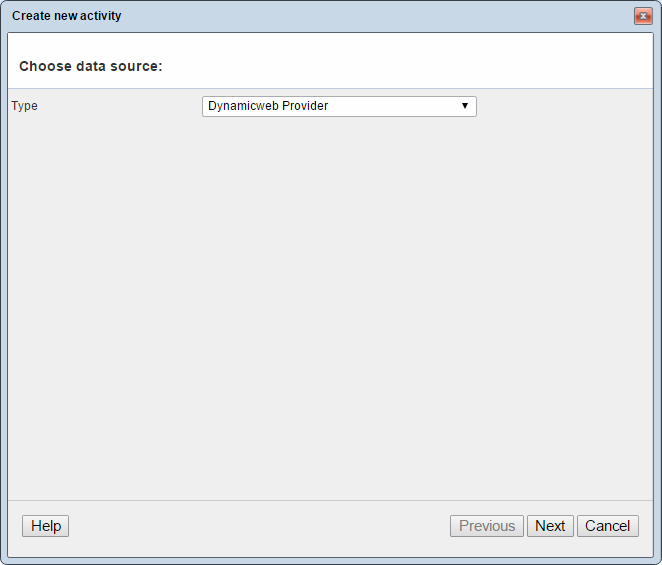
When used as a source (for exporting data) no advanced settings are available to you (Figure 2.1). It is simply a way for you to access the full Dynamicweb database.
Used as a destination provider
When used as a destination provider (i.e. to import data into Dynamicweb) you have access to more extensive settings and options (Figure 3.1).
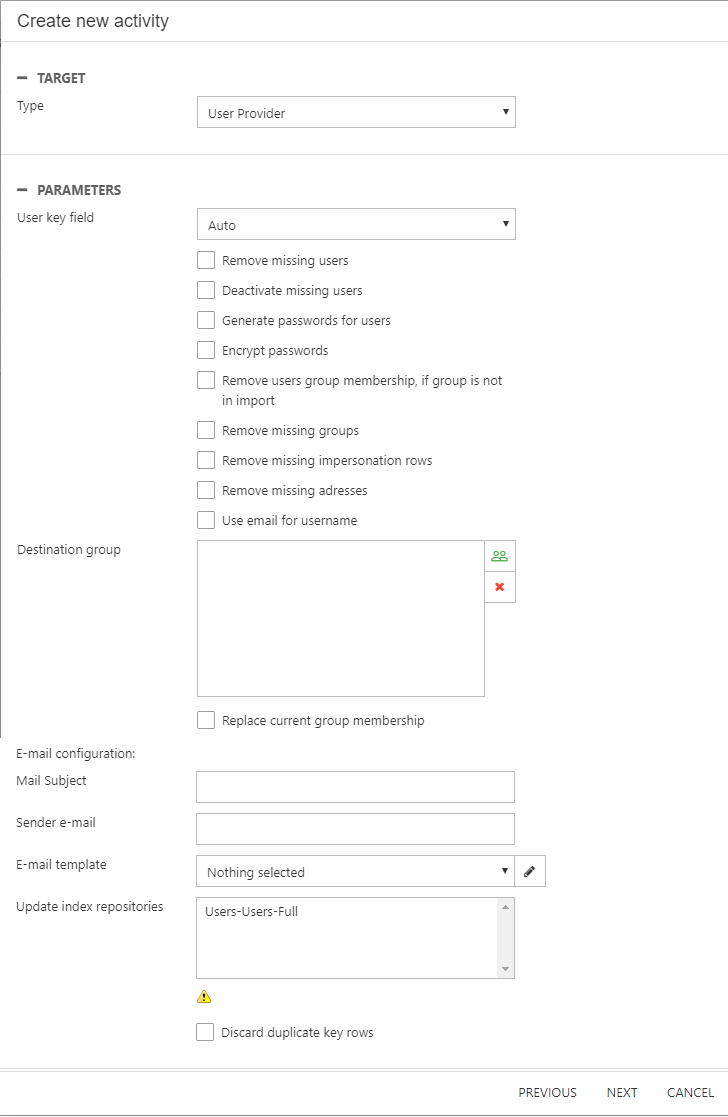
Now, the Dynamicweb Provider can be used access the entire Dynamicweb database, and so you can import all kinds of data into your solution. Most of the time, however, you will be importing products, product groups or related Ecommerce data, and so there are extra options available for that.
These options apply to all destination tables:
- You can limit the import to update only existing records. This will skip all rows in the source for which the key does not match a key in a row which already exists in the destination table.
- The Remove missing rows after import setting causes all rows in the tables affected by the activity to be deactivated if they are not present in the imported dataset.
- You can also use the Delete incoming rows setting, in which case the rows with a key matching a key in the dataset are deactivated – this means that you only need to import key data, everything else is ignored.
These options are only relevant when adding data to EcomProducts and EcomGroups:
- Checking Deactivate missing products will cause all products in the existing database, which are not present in the imported dataset, to be deactivated. This setting overrides the ‘Remove missing rows after import’ setting.
Now, if you activate the Remove missing rows after import or Deactivate missing products settings, you can limit their effect to a particular context by using the shop and language dropdowns. This means that you can update select shops or language contexts separately.
If you want to update two languages contexts at the same time, check the delete products/groups for languages included in input checkbox. The effect is identical to selecting two languages in the language dropdown (which you can’t).
Finally, the Dynamicweb Provider supports updating your indexes every time an activity has been run:
- Use the Product index update dropdown to update the old index at runtime
- Use the update index repositories selector to select one or more indexes to rebuild once an activity is run
Which tables & columns?
All tables and columns from the database are available when using the Dynamicweb Provider.
However, the AccessUser table cannot have rows removed with the Dynamicweb Provider. Recognized on AccessUserID you may update the table, but even though "Remove missing rows" has been set for destination, it will be ignored within the Dynamicweb Provider. To remove rows from AccessUser you must use the User Provider.
Please note, that Primary key columns must be provided for every table in an activity that is using the Dynamicweb Provider as a destination.
Appendix A: Examples of advanced imports
Below is a description of the tables/columns needed when importing advanced data structures to the product catalog in Dynamicweb Ecommerce.
Products with Product Groups
When you want to import product with a related group structure, the import is fairly straight forward, although you do have to add data to quite a few tables.
Basically, you must add data to the main tables:
- EcomProducts
- EcomGroups
- EcomShops
As well as the usual relations tables – these relations are not language sensitive, so it is not possible to have different group structures depending on the language.
- EcomShopGroupRelation
- EcomGroupProductRelation
Additionally, if you have a tree structure in your groups, you must populate one more table:
- EcomGroupRelations
This is because, technically, it is possible for one group to have multiple “parent” groups. If you add a group with more than one parent group, make sure to mark one of them as “isParent”
NOTE: if you import your own shops instead of creating them through the dynamicweb administration, you should make sure that the ShopId column has a value that starts with "SHOP" - this is required for the group tree in the administration to work.
Variants
If you want to import variants using the Dynamicweb Provider, there are several tables you need to add data to:
- EcomVariantGroups must contain one row for each language version of each variantGroup you are importing.
- EcomVariantsOptions must contain one row for each language version of each option for each group.
So, if you have color and size as variant groups, and color options are red and blue, size options are small and large, this table must contain 4 rows. The VariantOptionId can be any string, as long as it is unique for each variant option, when combined with the languageID.
Naturally, you must also add data to the EcomProducts table – and there are several things you need to be aware of:
- Add one row to the EcomProducts table for each variant and a “base” row for the product. This means that if you have a product “shoe”, which is available in colors red and blue, sizes large and small, you will add 5 rows to the database – one for “shoe” and one for each variant.
- Add values to the ProductVariantCounter. The ProductVariantCounter must contain the total number of variants for this product, so each of the mentioned 5 rows should contain the value 4, since there are a total of 4 variants of the product.
- Add values to the ProductVariantGroupCounter. The ProductVariantGroupCounter must contain the total number of variants for this product, so each of the mentioned 5 rows should contain the value 2, since there are two variant groups, color and size.
- The VariantID column must contain a concatenation of the variantIDs for the variant options a given row fall under, combined by a period. So assuming “red” has variantID V01 and “small” has variantID “V05”, the small red variant row must have variantID “V01.V05”. The order of the variant IDs is not important.
Then you need to associate a product with a variant group, in order to determine which variants are available for the product:
All are required, except Sorting & PriceDif.
Finally, you need to import the active variants for a product:
Product Category Fields
As of 8.9.1 you can create product category fields and product categories by modifying the <config>-node in the the XML file - view an example here.
If you need to add new product categories and product category fields through import, you will have to populate three tables:
- EcomProductCategory (only has one column, but it is still necessary to add the ID for each category to this table.)
- EcomProductCategoryTranslation
- EcomProductCategoryField
The value in the FieldType column is an integer taken from the following list:
|
Value |
Field Type |
|
1 |
Text (255) |
|
2 |
Long text |
|
3 |
Checkbox |
|
4 |
Date |
|
5 |
DateTime |
|
6 |
Integer |
|
7 |
Decimal |
|
8 |
Link |
|
9 |
File manager |
|
10 |
Text (100) |
|
11 |
Text (50) |
|
12 |
Text (20) |
|
13 |
Text (5) |
|
14 |
Editor |
|
15 |
List box |
The value in the FieldPresentationType column is an integer taken from the following list:
|
Value |
List type |
|
1 |
RadioButtonList |
|
2 |
DropDownList |
|
3 |
MultiSelectList |
|
4 |
CheckBoxList |
The column should be left empty if none of these values apply.
- EcomProductCategoryFieldTranslation (the column FieldTranslationFieldOption can safely be left blank)
The actual field values are saved in the EcomProductCategoryFieldValue table. All fields in this table are fairly self-explanatory.