
Items
The idea behind items is to provide administrators with a generic and powerful way of creating, managing and presenting content or data on a website.
Additionally, an item-based structure provides editors with an easy-to-use editorial interface, designed for their business needs.
At the most basic level, you can use items to:
- Create pages and paragraphs from item types
- Extend website, user and page properties with item fields
- Collect data submitted by your users through an item
In order to get started with items:
- Familiarize yourself with item types – which are the item ‘molds’ you build, and from which you and your users (e.g. editors) create new items.
- Determine if the Item Creator module – which enables you to create item-based pages and paragraphs from the frontend – is useful for your purposes.
- Determine if the Item Publisher module – which lets you publish items and item fields on the frontend – is useful for your purposes.
Pay special attention to the item type fields available to you – these will give you a very hands-on idea of what you can do with items.
Here's a very short video introduction to the concept of items:
Since items are so flexible, a comprehensive document detailing all the different ways you can work with items is impossible. The possibilities are almost endless, and that’s the point of items.
To give you, the implementer, a toolbox with which you can do almost everything you want with content.
And to give you, the editor, an easy, intuitive way of working with these endless possibilities.
In that light, the following document will be limited to showing you how to do concrete, basic things with items, such as:
- Creating and rendering item based pages and paragraphs
- Extending website and page properties with item fields
- Creating and using named item lists

Basic Concepts
In this section you will learn about:
- Working with item based pages
- Working with item based paragraphs
Item based pages
If your license type allows only for a limited number of pages, be aware that item based pages are not exempt from this limit, and will count as part of your total number of pages.
If you have an item type created, which is enabled for pages, you will be able to create item based pages containing the fields from that item type.
Here's how.
Creating an item based page from an item type
To create an item based page from an item type:
- Click New page on your content tree
- Select the item type you want to use to create your page
- Name your page and click OK
This creates the page, and takes you to the edit page view (Figure 4.1).
You can now work with the page in a regular manner, filling out the fields of your item type
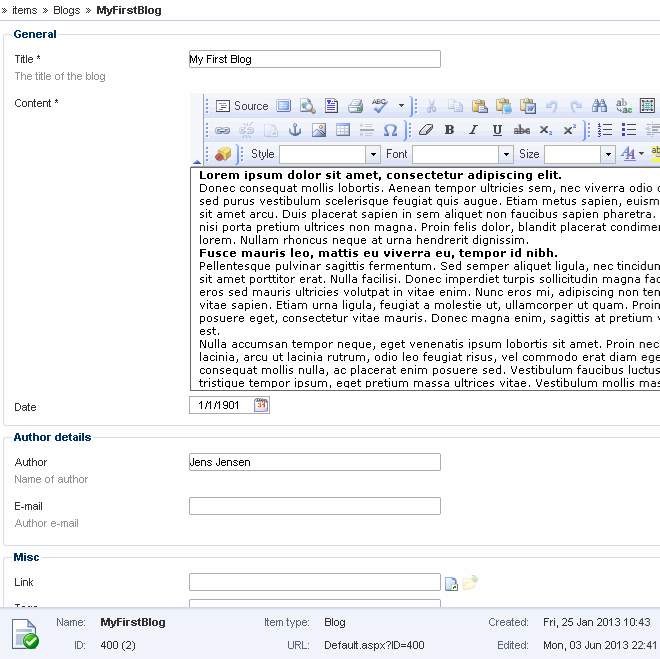
In the page footer, you will see a number next to the page ID – in this case 2. This means that this is the second page built with this particular item type.
Combining item based pages with regular pages
It’s possible to combine item based pages with features from regular pages – in case you want to use e.g. an Ecommerce product catalog on your item based page.
To do so, click Paragraphs on your page ribbon.
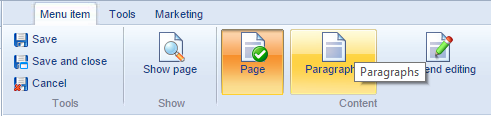
This enables you to add paragraphs in the standard manner, attach modules to them, and so forth.
You can set the default view of a new created item to be either the item-view or the paragraph view. Read more here.
Deleting an item based page
To delete an item based page, simply:
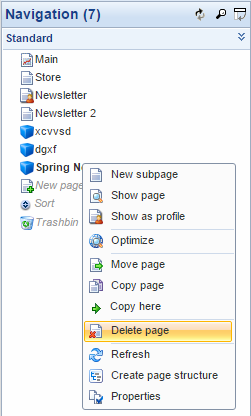
- Right click on the page in your content tree
- Select Delete page
When prompted, confirm your decision to delete the page (including all subpages and content)
If you delete the item type a page is created from, all pages based on that item type will be deleted. Read more about deleting item types.
Selecting a template for your item based page
To select a template for your item-based page:
- Right click in the item-based page in the content tree
- Click Properties
- Go to the Layout tab on the page properties ribbon
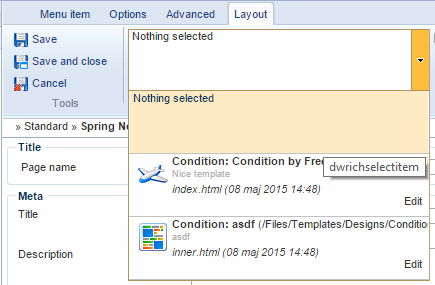
From here, select the template you want to use – don’t forget to Save the page properties afterwards.
Read more about modifying your templates to render item field content in the Implementing section of this document.
You can set default templates for your item types. Read more here.
Item based paragraphs
If you have an item type created, which is enabled for paragraphs, you will be able to create item based paragraphs containing the fields from that item type.
Creating an item based paragraph
To create an item based paragraph:
- Go to the page where you want the paragraph to be located
- Click New Paragraph
- Select the paragraph item type you want to use to create your paragraph
- Name your paragraph and click OK
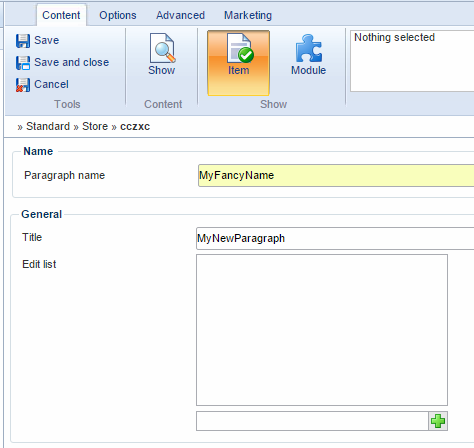
This creates the paragraph, and takes you to the edit paragraph view (Figure 9.1).
You can now work with the paragraph in a regular manner, filling out the fields of your item type.
You cannot add item-based paragraphs to an item-based page. Well, you can – but not in this manner. Rather, use item specific item fields, such as the Link to item field, Item type field or Item list field. Read more about item type fields.
Attaching a module to an item based paragraph
It’s possible to add a module to an item-based paragraph – if, for instance, you want to have an Ecommerce product catalog on an item based-paragraphs.
However, you must have the right setting configured for the item type. Read about item type settings here.
If you have the right permission set, simply click the Module button on the paragraph content ribbon (Figure 10.1).
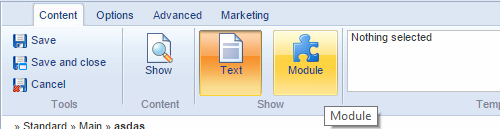
You can then attach and configure a module in the standard manner.
Deleting an item based paragraph
To delete an item based paragraph:
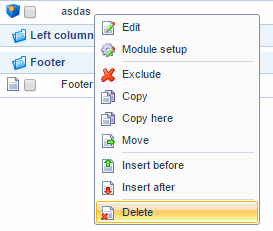
- Right click on the paragraph on your list of paragraphs
- Click Delete (Figure 11.1)
- When prompted to confirm, click OK
If you delete the item type a paragraph is created from, all paragraphs based on that item type will be deleted. Read more about deleting item types.
Selecting a template for your item based paragraph
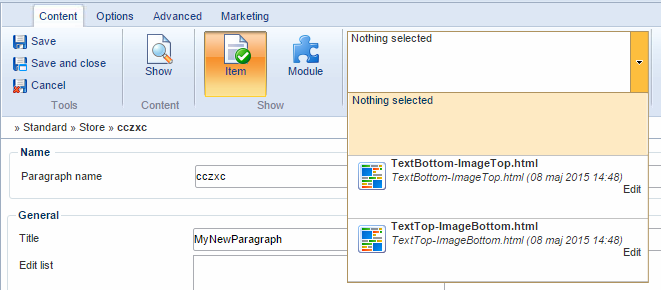
To select a template for your item-based paragraph, click the template drop down menu in the paragraph content ribbon (Figure 12.1).
Read more about modifying your templates to render item field content in the Implementing section of this document.
You can set default templates for your item types. Read more here.

Implementing
In this section you will learn about:
- How to render item based content on the frontend
- How to extend your website or page properties with items
- Named item lists, and what they are used for
Rendering item based content
Since items are flexible, item field content is NOT rendered automatically in frontend. Rather, you must modify or create page and paragraph templates and output content using our tags and loops.
Here’s an example, which you can modify to suit your needs.
Extending website or page properties
You can use items to extend your page or website properties with extra fields – adding, for instance, a background color selector, or perhaps a footer text or background image.
In this manner, the full flexibility of item type fields are at your disposal in an easy-to-use editorial interface.
First, you must build an item type containing the fields you want to extend your page properties with, and enable it to be used to extend website and page properties.
Then:
- Go to Module > Websites
- Click the website that you want to edit
- Click Item type on the website ribbon
This will bring up the item type selection window (Figure 15.1).
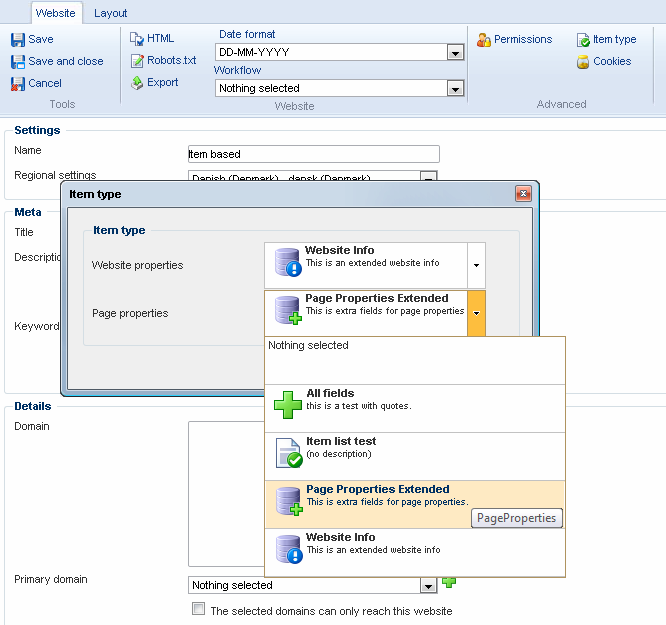
Remember that you need to make the extended properties meaningful by rendering your selection on the frontend.
Named item lists (item buckets)
Named item list are used for storing items, without automatically publishing them.
Items put into a named item list:
- Are not published automatically
- Cannot be rendered with template tags, but must be explicitly published with an Item Publisher module
- Are not counted as pages, if your solution has a page limit
Named item lists are created on and attached to a page, but can be published anywhere you add an Item Publisher module (including the page which the named item list is attached to).
Creating a named item list
Before you can create a named item list, you must have an item type which is enabled for use in a named item list created.
To create a named item list:
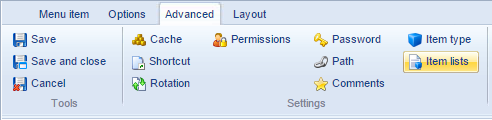
- Right-click on the page where you want to create your named item list, and click Page properties
- Go to the Advanced tab and click Item lists (Figure 17.1) to open the item list overview
- Click Add list in the upper right corner
- This opens the New named item list window (Figure 17.2)
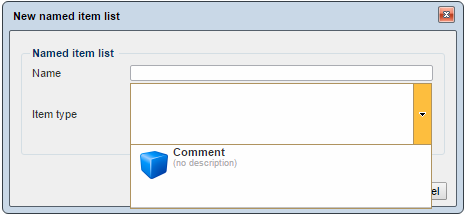
- Name your item list
- Select the item type you want to use – and click OK
You can now start using your named item list.
Adding items to a named item list
You can add items to a named item list in two ways:
- By creating items directly in the named item list
- By using an Item Creator which has been configured to create items in the named item list
To create an item directly in the named item list:
- Go to the page properties of the page where your named item list is attached
- Go to the Advanced tab
- Click the Item list button – this opens the Item list overview window
- Select your named item list from the dropdown menu in the upper left corner
- Click the Add [item type name] in the lower left corner (Figure 18.1)
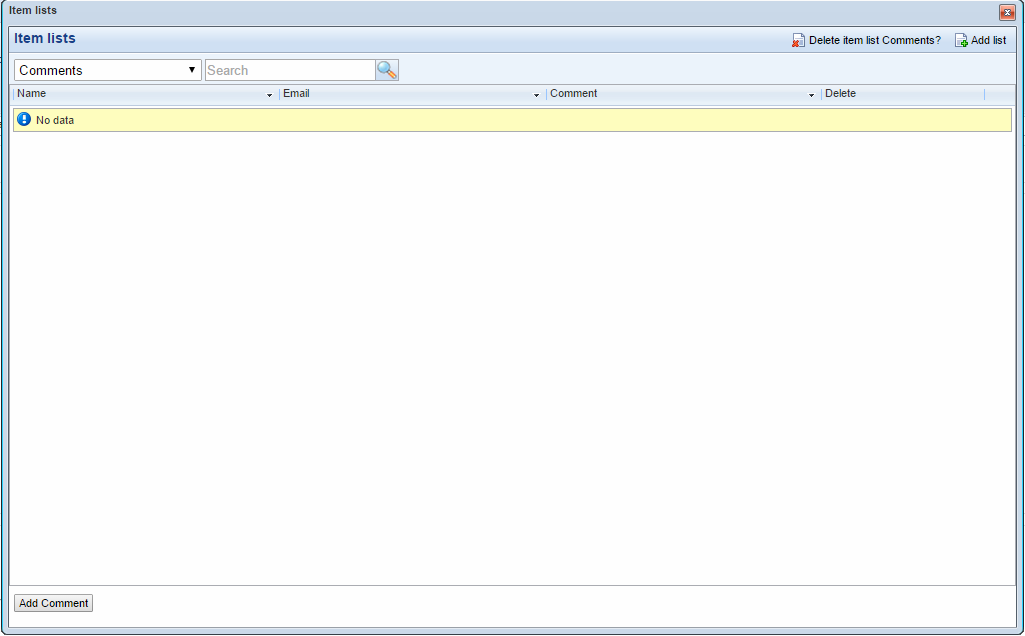
This opens a window with your item type fields, which can be filled out and saved in the standard manner. You have now created and added an item in the named item list
To use the Item Creator to create items, simply:
- Add an item creator to a paragraph, on the page which has the named item list attached
- Configure it to fit your scenario
- Go frontend and start creating items
Read more about the item creator and how to configure it.
A named item list can only contain 100 items.


