User Types
The are three system user types in Dynamicweb, representing different levels of access to the solution:
- Administrator
- Admin
- Default
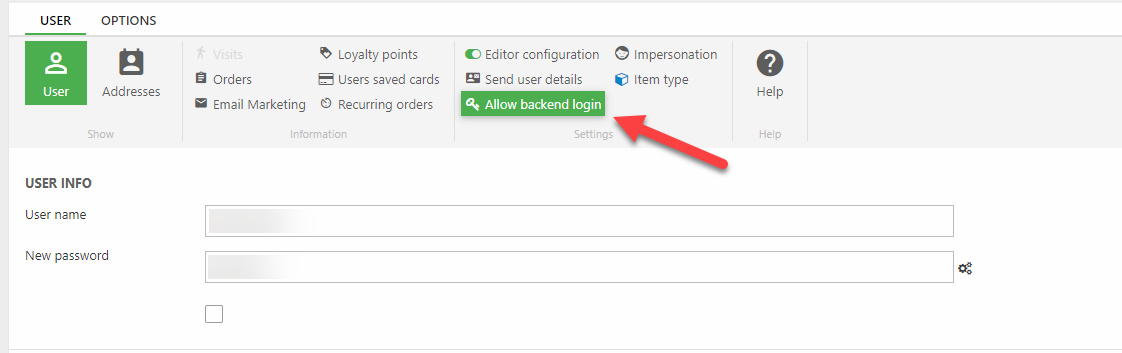
Administrators and Admins have backend access by default – for other user accounts you must explicitly toggle backend login using the ribbon bar button in the user details view (Figure 1.1).
So what else is special about admins and administrators? The answer to this question depends on the permissions model used:
- If the solution uses the new permissions model there is no difference between an admin and an administrator; both use the permission set for the Administrator system role.
- If the solution used the old permissions model the following is true:
|
Admins |
Administrators |
|
All Admin rights plus access to:
|
Of course, if you need the Admin role on a solution using the modern permissions model, you can easily create an Admin group manually and provide it with permissions matching the old model.
Custom user and group types
On some solutions the default user account is not sophisticated enough – perhaps you want to import account data from an external system and would like to have more specialized account types like Manager and Employee or Business Account and Customer Account. Or maybe you want to implement a more sophisticated role-based access control.
In such a scenario you can use the custom user and group types tool – it allows you to control the following:
- Which parent this user og group type is allowed to have
- Which of the standard user/group fields should be:
- Shown
- Read-only
- Hidden
To create a custom user or group type:
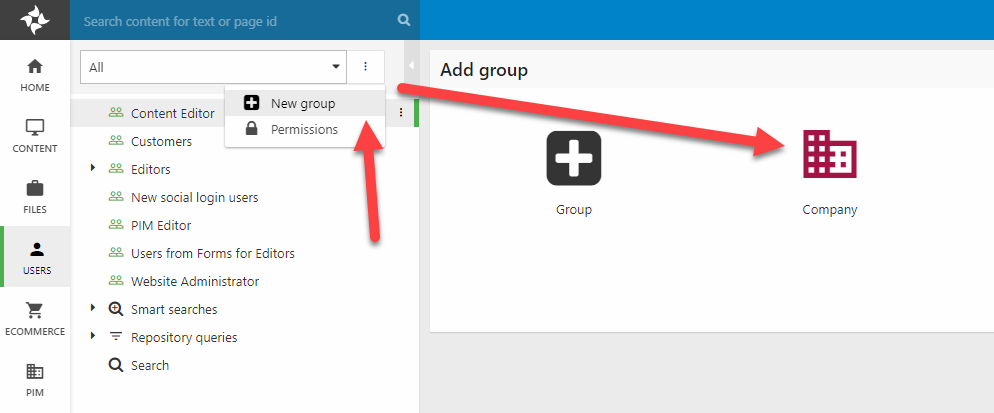
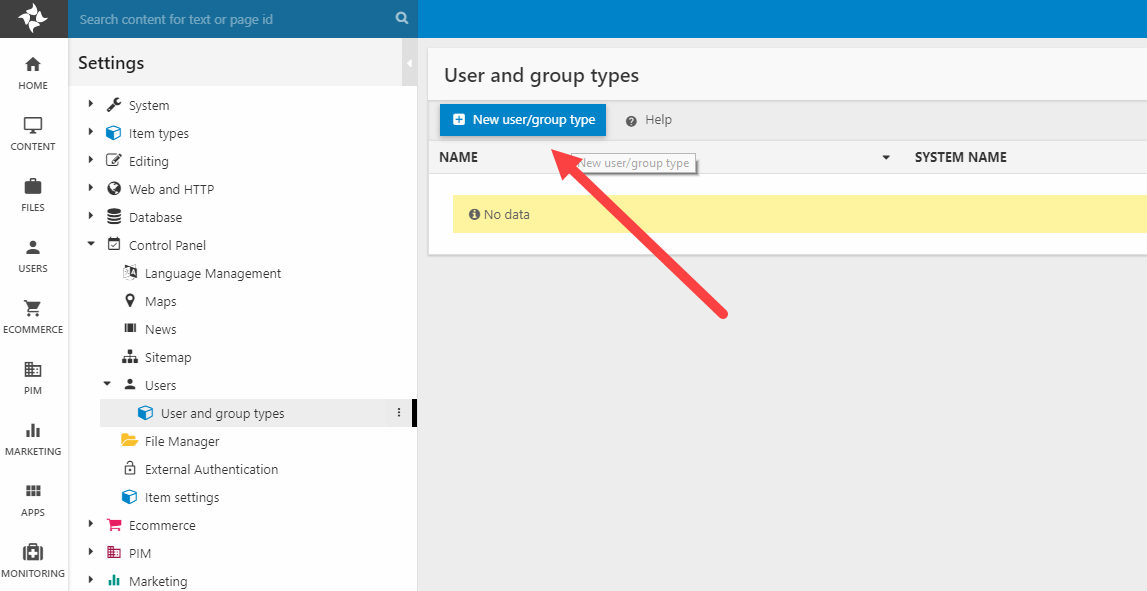
- Go to Settings > Control Panel > Users > User and group types
- Click New user/group type in the toolbar (Figure 2.1)
This opens the user/group type definition view which is used to configure the user or user group type (Figure 2.2).
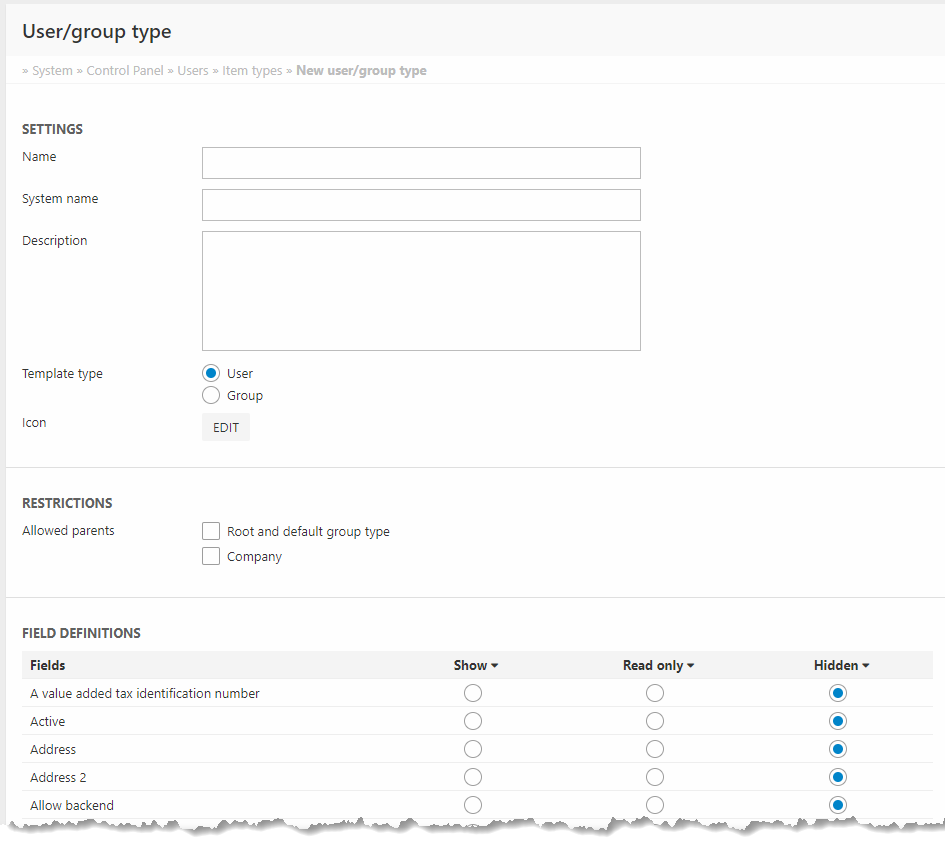
For each type you must:
- Specify a name, a system name, and optionally a description
- Select a template type:
- User
- Group
- Specify an icon (optional)
- Under Restrictions specify where this user or group type can be used. Root and default group type means that this type can be created in the root of the users tree and under default groups.
- Under Field Definitions select which fields to include on this type – please note:
- On Group types at least the Name field shoul be editable
- On User types one of Email, Name, and Username should be editable
Once a custom type has been created it will be available when creating new users or user groups, provided the Restrictions settings allow it (Figure 2.3).