Example 7: Replacing a block
In some advanced scenarios, you may need to replace an existing Rapido block completely. To do so, you can use a method called ReplaceBlock() – this method locates an existing block with the same ID as a custom block and replaces it.
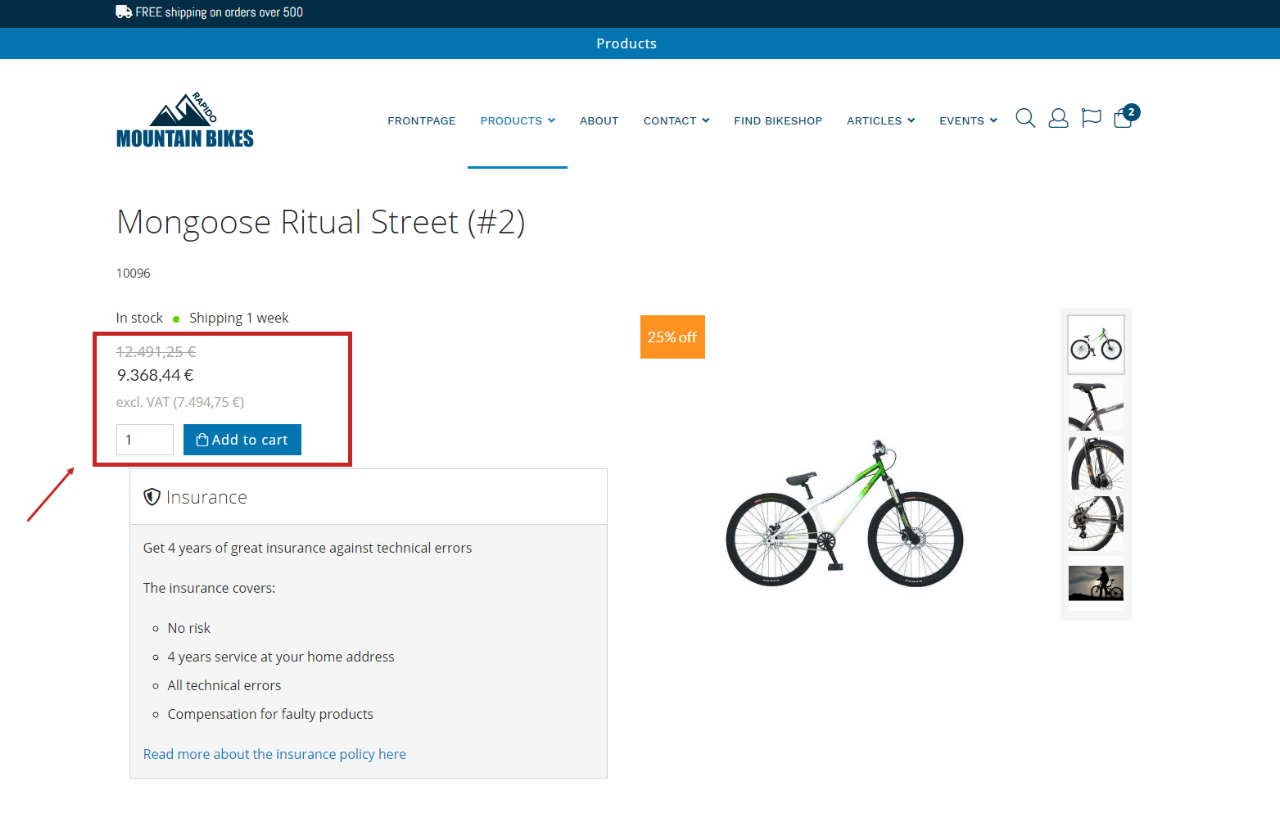
Let's say you have a product which is launching in the near future, but is not available for purchase yet. You would like your customers to view the product and the product details, but purchasing should not be available for e.g. 2 weeks. The whole buy section can then be replaced with a countdown timer instead, so they know when the product is available for purchase.
Try it out:
- Open the Rapido/eCom/Product/Blocks/Custom__Blocks.cshtml template
- Add @using Dynamicweb.Rapido.Blocks.Extensibility to get a list of imported resources (if you did example 3, this step has already been completed)
- Define a new custom Block:
The ReplaceBlock() method locates the existing Block with the exact same ID as our new custom Block (“Buy”), and replaces it with the new one. The SortId is set to 50, which is the spot just below the color variant options.
The template property specifies that this Block uses a helper called RenderCustomBuySection() – so let’s make sure this helper method exists. In this case we simply copy the existing Buy-section helper code, which is added below.
The frontend screenshot demonstrates the section we are replacing.
After making your helper function, all you need to add is the JavaScript code. This should be added right after the paragraph with the demo id. Add the following code, and check frontend to see if you are satisfied with your new replaced block.
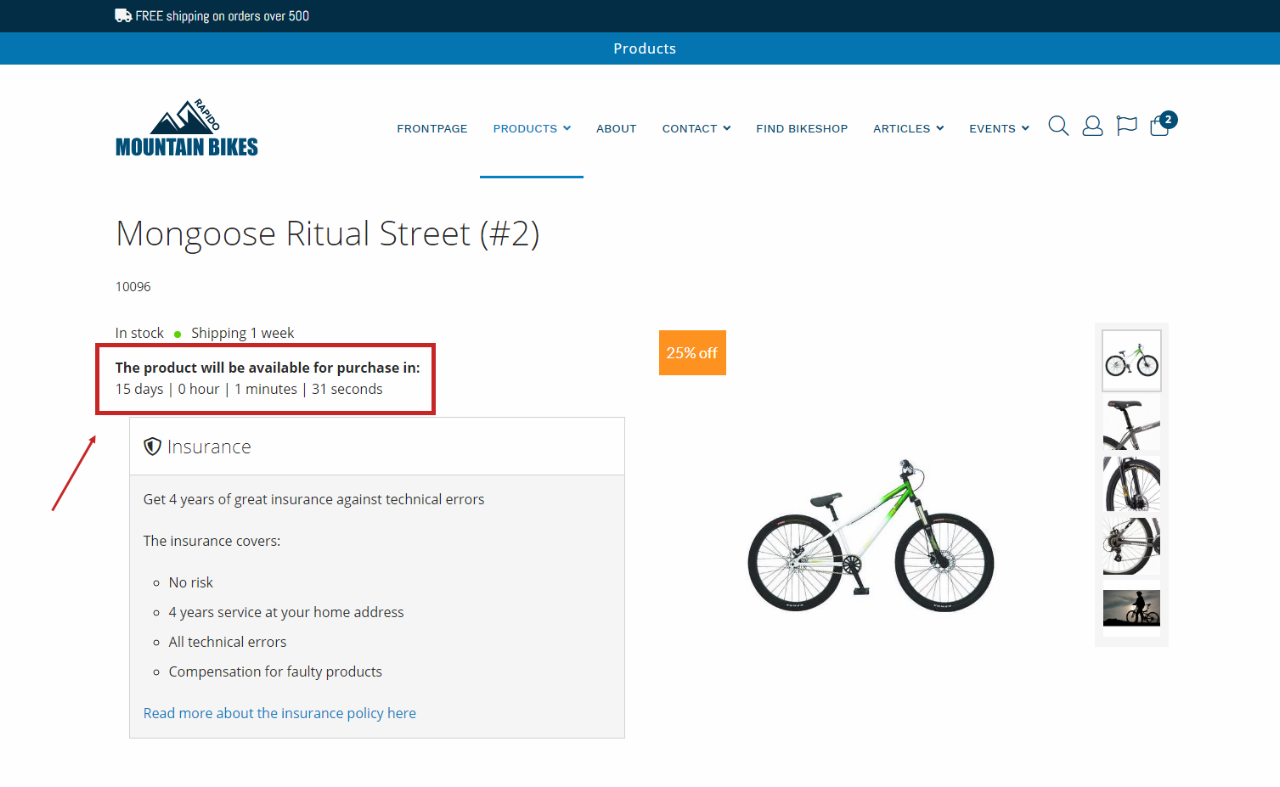
(Optional) - Adjust the countDownDate variable, so it fits your countdown and product launch.
Voila, now you are able to display products on your solution that aren't launched for purchase yet, by replacing an existing block, with a new one. See, replacing a block can be very handy in some cases :)
Below a frontend example of the replacement block is shown.