
Back-in-Stock notifications
Back-in-Stock notifications is a feature, which lets customers add themselves to a notification list when they are interested in a product that is temporarily out of stock.
You can then set up a scheduled email to alert users on the notification list once the product is back in stock.
To set up Back-in-Stock notifications:
- You must modify your product details template to let customers sign up for notification emails
- You must create an email-page using the Product Catalog in Product Context rendered mode
- You must create a scheduled email using the back-in-stock recipient provider
Once a user – anonymous or registered – has signed up for a back-in-stock notification, they will appear on the Notifications list, which is accessible from the Notifications node in your backend product catalog area (Figure 1.1).

For anonymous users, the notification is tied to an email they provide – for registered users it is tied to the UserID. Once a notification has been sent, it is automatically removed from the list. In the notification email, you should include an unsubscribe link – this will cancel all pending notifications tied to the email or userID in question.
Adding notification sign-up to the product list
To let users sign up for notification emails:
- Open the Product Catalogue app settings
- Open the Product List template
- In an appropriate location, create a check for whether or not a product is out of stock, followed by a way to submit the ProductID, VariantID, and LanguageID using the createnotificationforthisproduct cart command
In the following example, I first check if the product is out of stock. If it is, I check if a notification has already been registered:
- If it hasn’t, I render a simple link for logged in users and an input field for anonymous users.
- If it has, I render a simple 'You will be notified’ message:
Paste this code into your product template (or create and use your own).
Your customers can now add themselves to the Notifications-list, which is accessible from the Notifications-node in your backend product catalog.
Of course, they won’t receive any notifications before a notification email has been created.
Creating a notification email
Creating and sending out emails in Dynamicweb consists of two things:
- Creating a page with email content
- Creating an email which sends the page to users
Here’s how to do both.
Creating the email-page
A back-in-stock email can consist of anything you’d like, but it’s usually a good idea to show customers which product or products are back in stock.
To do so:
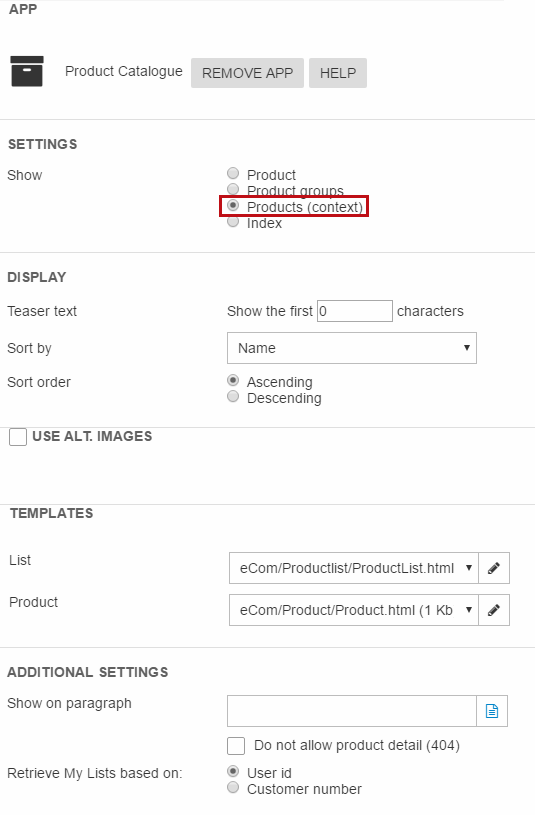
- Add a Product Catalogue app to the email page
- Select the Products (context) mode under show settings (Figure 4.1)
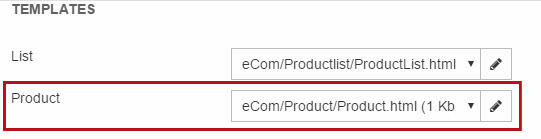
- In the templates section, select or create a List and/or details template to render the product(s) in context.
Once you’ve added the rest of the content to your email, save it.
Next up is scheduling an email targeting recipients on your notifications list.
Configuring the email
To create and schedule an email targeting the customers who add themselves to the notifications list:
- Click Marketing > Email Marketing
- Right click on an appropriate top folder and click Create new email
- Name the email – you can use email placeholder tags to personalize the subject
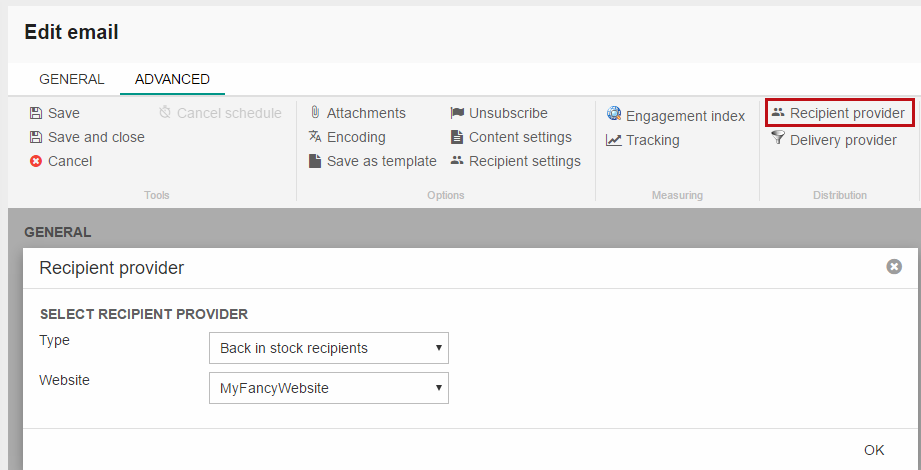
- Go to the Advanced tab, open the recipient provider settings and select the back in stock recipients provider and the website (Figure 5.1).
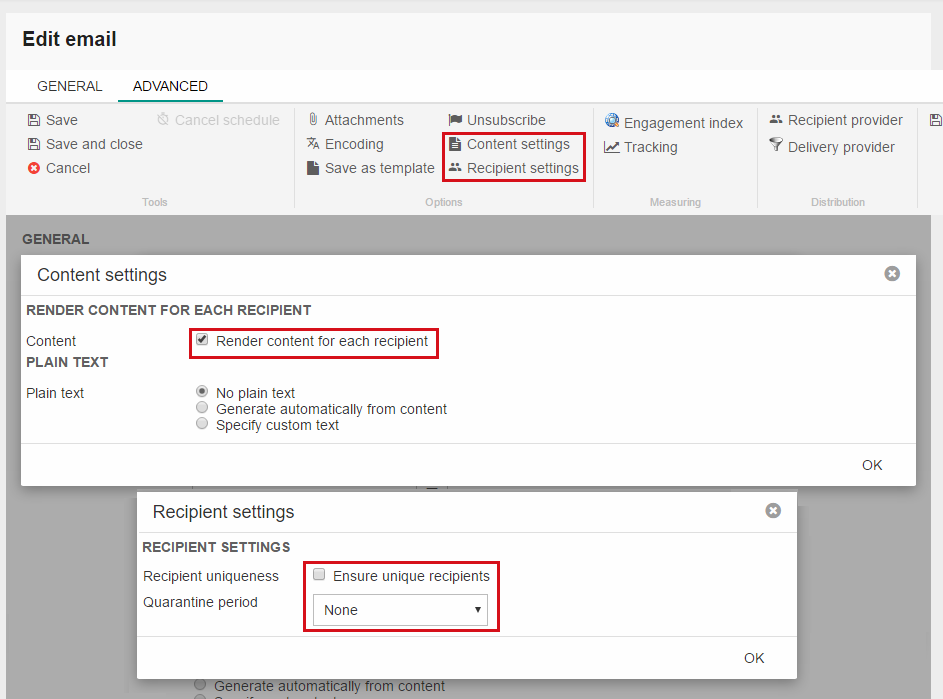
Next, open the contents settings and check render content for each recipient to make sure the product(s) back in stock are correctly rendered for each recipient, and the recipient settings and uncheck Ensure unique recipients to allow users to receive more than one notification email from you (Figure 5.2). Don’t set a quarantine period.
Finally, fill out the rest of the details – from name and email, pre-header, etc. – and select the email page you just created as the page to send to your customers.
Save – you are now ready to schedule the email.
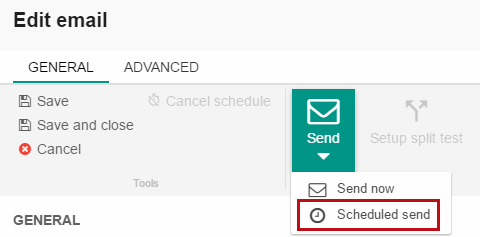
Scheduling the email
To schedule the Back-in-Stock email, click Scheduled send in the email toolbar.
This opens the scheduling window, from which you can set a repetition interval, a start date, and so forth. Select an interval appropriate to your solution.
Once scheduled, the email will be located in the Scheduled folder under the top folder you selected. Here it will remain, even as it is periodically sent out (as is standard behavior).
Testing
It’s always a good idea to test if everything works as expected.
To test your back-in-stock notifications setup:
- Locate a product which is out of stock and sign a test user up for a notification
- Put the product back in stock
- Go to Settings > System > Scheduled tasks and force the appropriate recurring email task.