
Customer Impersonation
Customer Impersonation is a feature which allows certain users – typically sales representatives or key account managers – to place orders on behalf of a customer, in effect impersonating them. This is useful in a number of B2B scenarios and also for troubleshooting purposes when a customer encounters what they perceive to be an error and you want to help them figure out what’s going on.
The Swift example website ships with an impersonation setup which consists of the following:
- A header element which makes it possible to select a customer and impersonate them
- A My Customers-page in the Customer Center which shows a list of users that the logged-in user can impersonate
To support this setup the following infrastructure is in place:
- A user index called Secondary users must be periodically rebuilt – it is used to publish the list of users on the My Customers page
- Your users must also have users in their I can impersonate list, either added manually or as part of an integration
Both the impersonation header and the My Customers page are present on the example website, so if you’re going to use that as a base for building a solution you just need to make sure the index is built and the users are linked up in addition to any design changes you want to make. If you want to or need to set up impersonation manually follow the steps below.
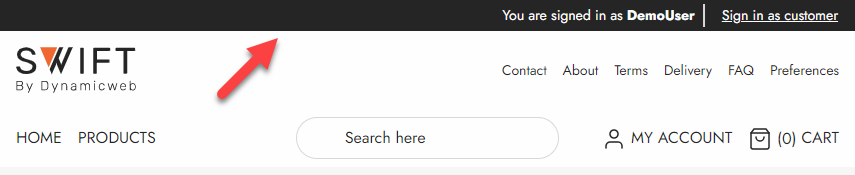
Impersonation Header
The impersonation header element is a small bar displayed at the top of the navigation when a user who can impersonate other users is logged in – it could look like Figure 2.1:
To create the impersonation header element:
- Go to Content > Swift Tools > Layout > Header > Desktop and open the visual editor view for the page
- Add a 1 Column row above the navigation bar
- Add the empty column Impersonation bar to the column – then:
- Name it
- Add a link to the My Customers page – by default this is Navigation/Utilities/My account/My customers
You can change the theme on the row to e.g. black to make it stand out more. Repeat these steps for the mobile navigation page as well.
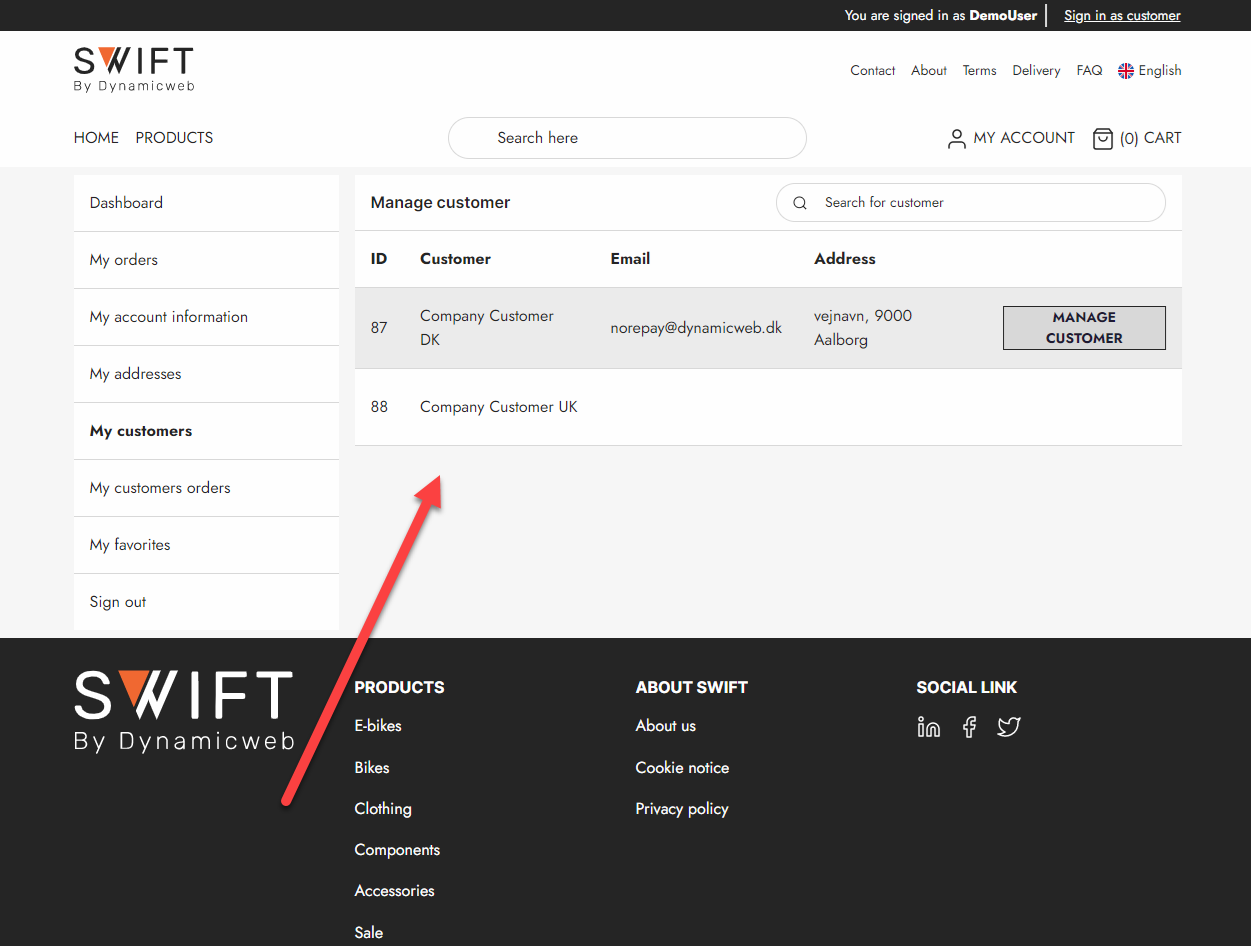
My Customers page
The My Customers page is a page which lists all users you can impersonate – and allows you to switch to impersonating a specific user. On the demo website it looks like Figure 3.1.
To create a copy of this My Customers page:
- Go to Navigation > Utilities > My Account and create a subpage called My Customers
- Switch to the Visual Editor view and add an empty 2 column 3/9 row to the page
- Drag an empty Vertical Navigation column onto the left column – then:
- Add a title – and check Hide title
- Select a navigation root – e.g. Navigation/Utilities/My account
- For Layout select Lines
- Check Show sign out link
- Apply styling as appropriate
- Drag an empty Customer Center app column onto the right column – then:
- Add a title
- Add links to various other Customer Center pages as appropriate
- Switch to the Item part of the column and then configure the Query Publisher app:
- Select the Users query
- Select the SecondaryUsers.cshtml template
- Click OK